Is it possible to have a lush flower garden, produce your own veggie patch or just add to the landscaping around your home all for free? Absolutely. One of the easiest ways to do this is to participate in your local chapter of Freecycle. This is a Yahoo list, available at FreeCycle.org. The organization began…
The Smart Gardener’s Guide: 4 Low-Cost Organic Fertilizers
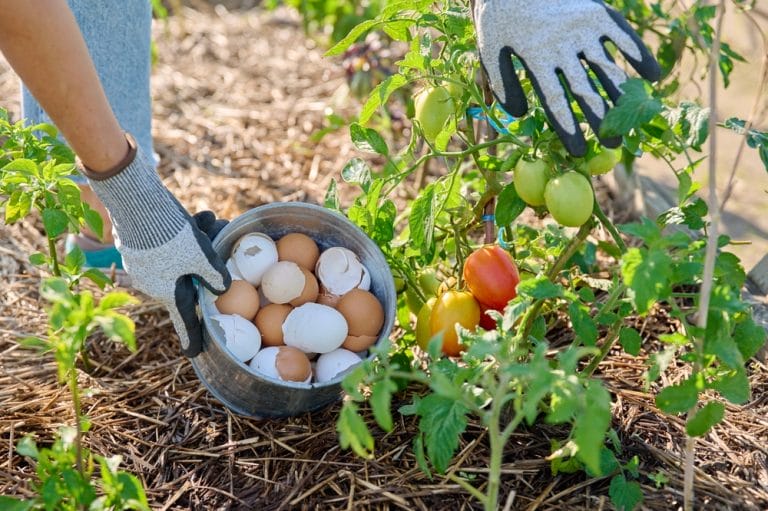
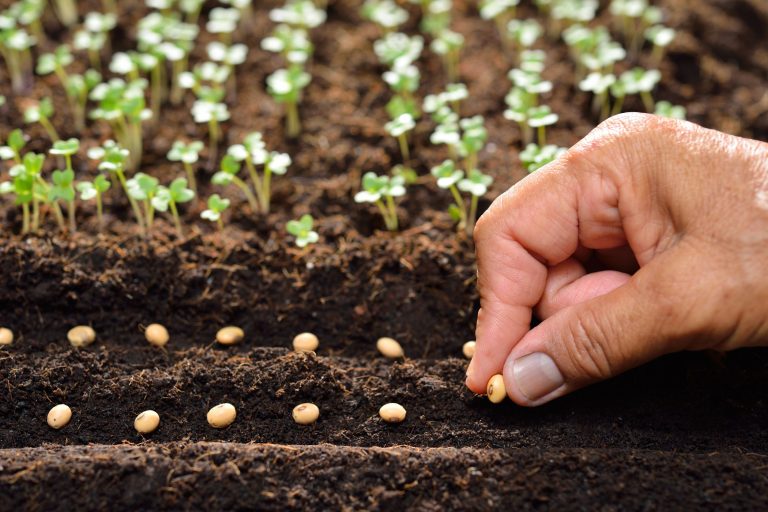
Regardless of what you’re growing, your plants need nutrients. Without fertilizer, your plants will fail to thrive and grow big and strong. In the case of edibles, a lack of nutrients can limit your crop and lead to poor production. Unfortunately, many fertilizers on the market are expensive. Thankfully, there are cheap organic fertilizers you…
Killing Weeds with Diesel? Here’s What You Need to Know First

Should you use diesel to kill weeds? Short answer: Nope. Weeds can be annoying. They compete with other plants for nutrients and can turn a pretty, organized garden into a patchy mess. Still, I’ll continue to stand up for weeds. Some of the plants we consider weeds are actually beneficial. They offer up food to hungry…
If You Only Grow One Type of Spinach Let This One Be It
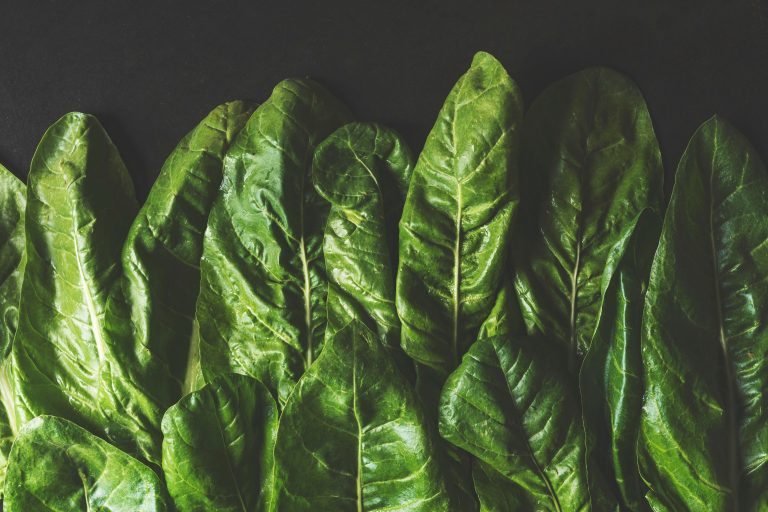
The weather has been up and down lately. One moment, it’s freezing cold; the next, there’s a mini-heatwave. It makes me glad that I didn’t bother to plant too much in pursuit of a fall and winter harvest. A few carrot and beet tops are peeking out of the ground; the zinnias are still…
Garden Planning: Crop Rotation
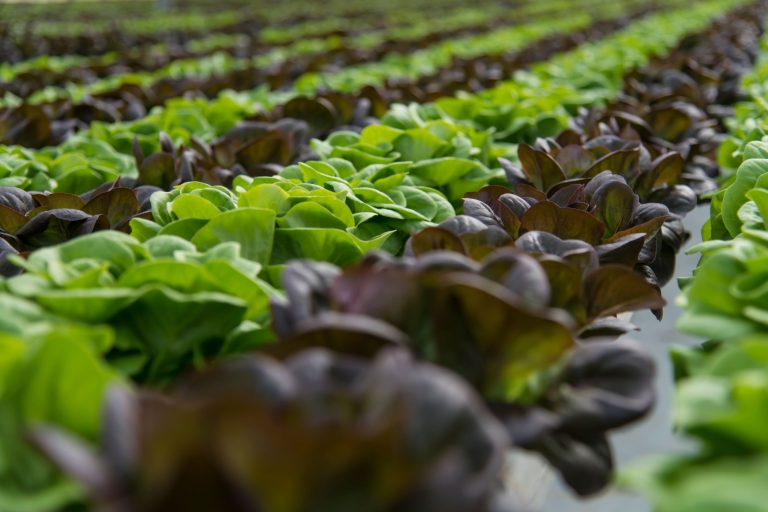
I’ve said it before. It’s so important for a frugal gardener to plan. While gardeners without a strict budget can afford to be a little lax when it comes to planning, those who are looking to save money, in the long run, need to be meticulous and start thinking about their garden layout months,…
A Wealth of Information: 4 Great Reasons to Order & Keep Seed Catalogs
Have you started receiving your seed catalogs yet? Mine have indeed begun arriving in my mailbox! I’ve set the pile aside during the holidays — I’ve been too busy cleaning, cooking, and entertaining to peruse them, but I look forward to when I have a chance to flip through the pages of delicious-looking produce. …
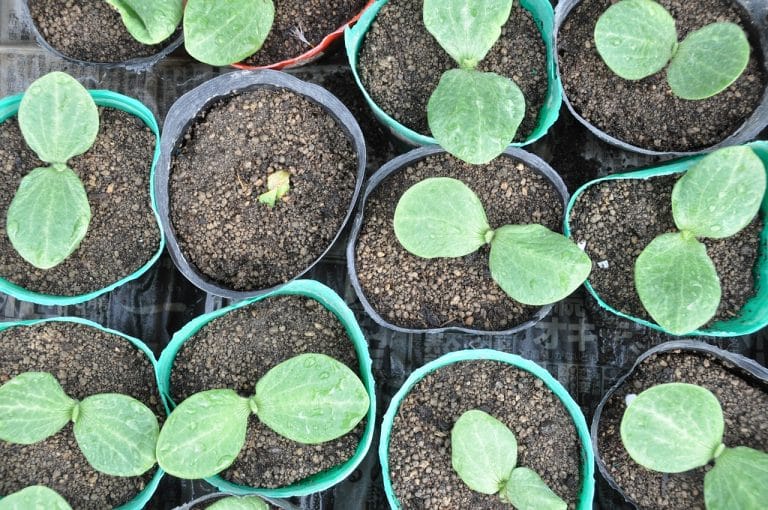
Seed Starting on a Budget Series: Inventory & Supplies

For the next few weeks, I’ll be focusing on the topic of seed starting. I’ll be providing you with budget-friendly tips, hints, and strategies to get you started this gardening season without breaking the bank. This week, let’s talk about inventory and seed starting supplies. Inventory Every year, I have a mini panic about…
Seed Starting on a Budget Series: DIY Containers

No rule says that seed starting requires fancy flats or trays. For the frugal gardener, spending money on pots and containers is a definite no-no. The smallest portion of your gardening budget should be allotted to containers. Why? Because they’re so easy to find for free or cheap! Including plenty of DIY options to…
Seed Starting on a Budget Series: Get Your Timing Right
When January rolls around, the seed catalogs start to arrive in the mailbox. Then, as soon as February hits, I get a constant flood of seed starting photos popping up on my Instagram feed. It gets me excited for the gardening year ahead, but I’ve also learned to slow my roll. Just because someone…
Seed Starting on a Budget Series: Indoors vs. Outdoors

I recently polled my social media followers to find out what kinds of questions they had about seed starting, and a common source of confusion is figuring out which seeds need to be started indoors. You don’t need to dig out all your seeds and start everything indoors before the last frost date. Why Not…