Image Source: 123rf.com
It’s almost time for me to start my very first seedlings of the season. I’ve been busy gathering supplies, cleaning out my grow room, and sanitizing trays that I plan to re-use. I’ve been organizing my seed packets, and I’m thoroughly excited to try a few new varieties this year. I’m also shifting my start dates a bit later because I always find myself stuck with seedlings outgrowing their pots, despite my best efforts to make conservative estimates based on the last frost date in my region.
The weather is so unpredictable, so this year, I’m delaying my foray into seed starting. It’s hard to resist. Those in warmer regions are already sharing photos of cute little transplants on social media. I know, though, that the wait will be a smart move.
My System
In addition to getting pots and trays ready, I’ve also done some thinking about how I’ll keep track of my seedlings this year. Because I’m growing starts just for myself, I tend to have multiple varieties and sometimes different vegetables in the same tray.
If I didn’t label starts, I’d be mighty confused. Over the years, I’ve tried multiple labeling strategies, each with pros and cons. While I can definitely tell which vegetable is growing even at the seedling stage, I would like to know a bit more information than just the vegetable type.
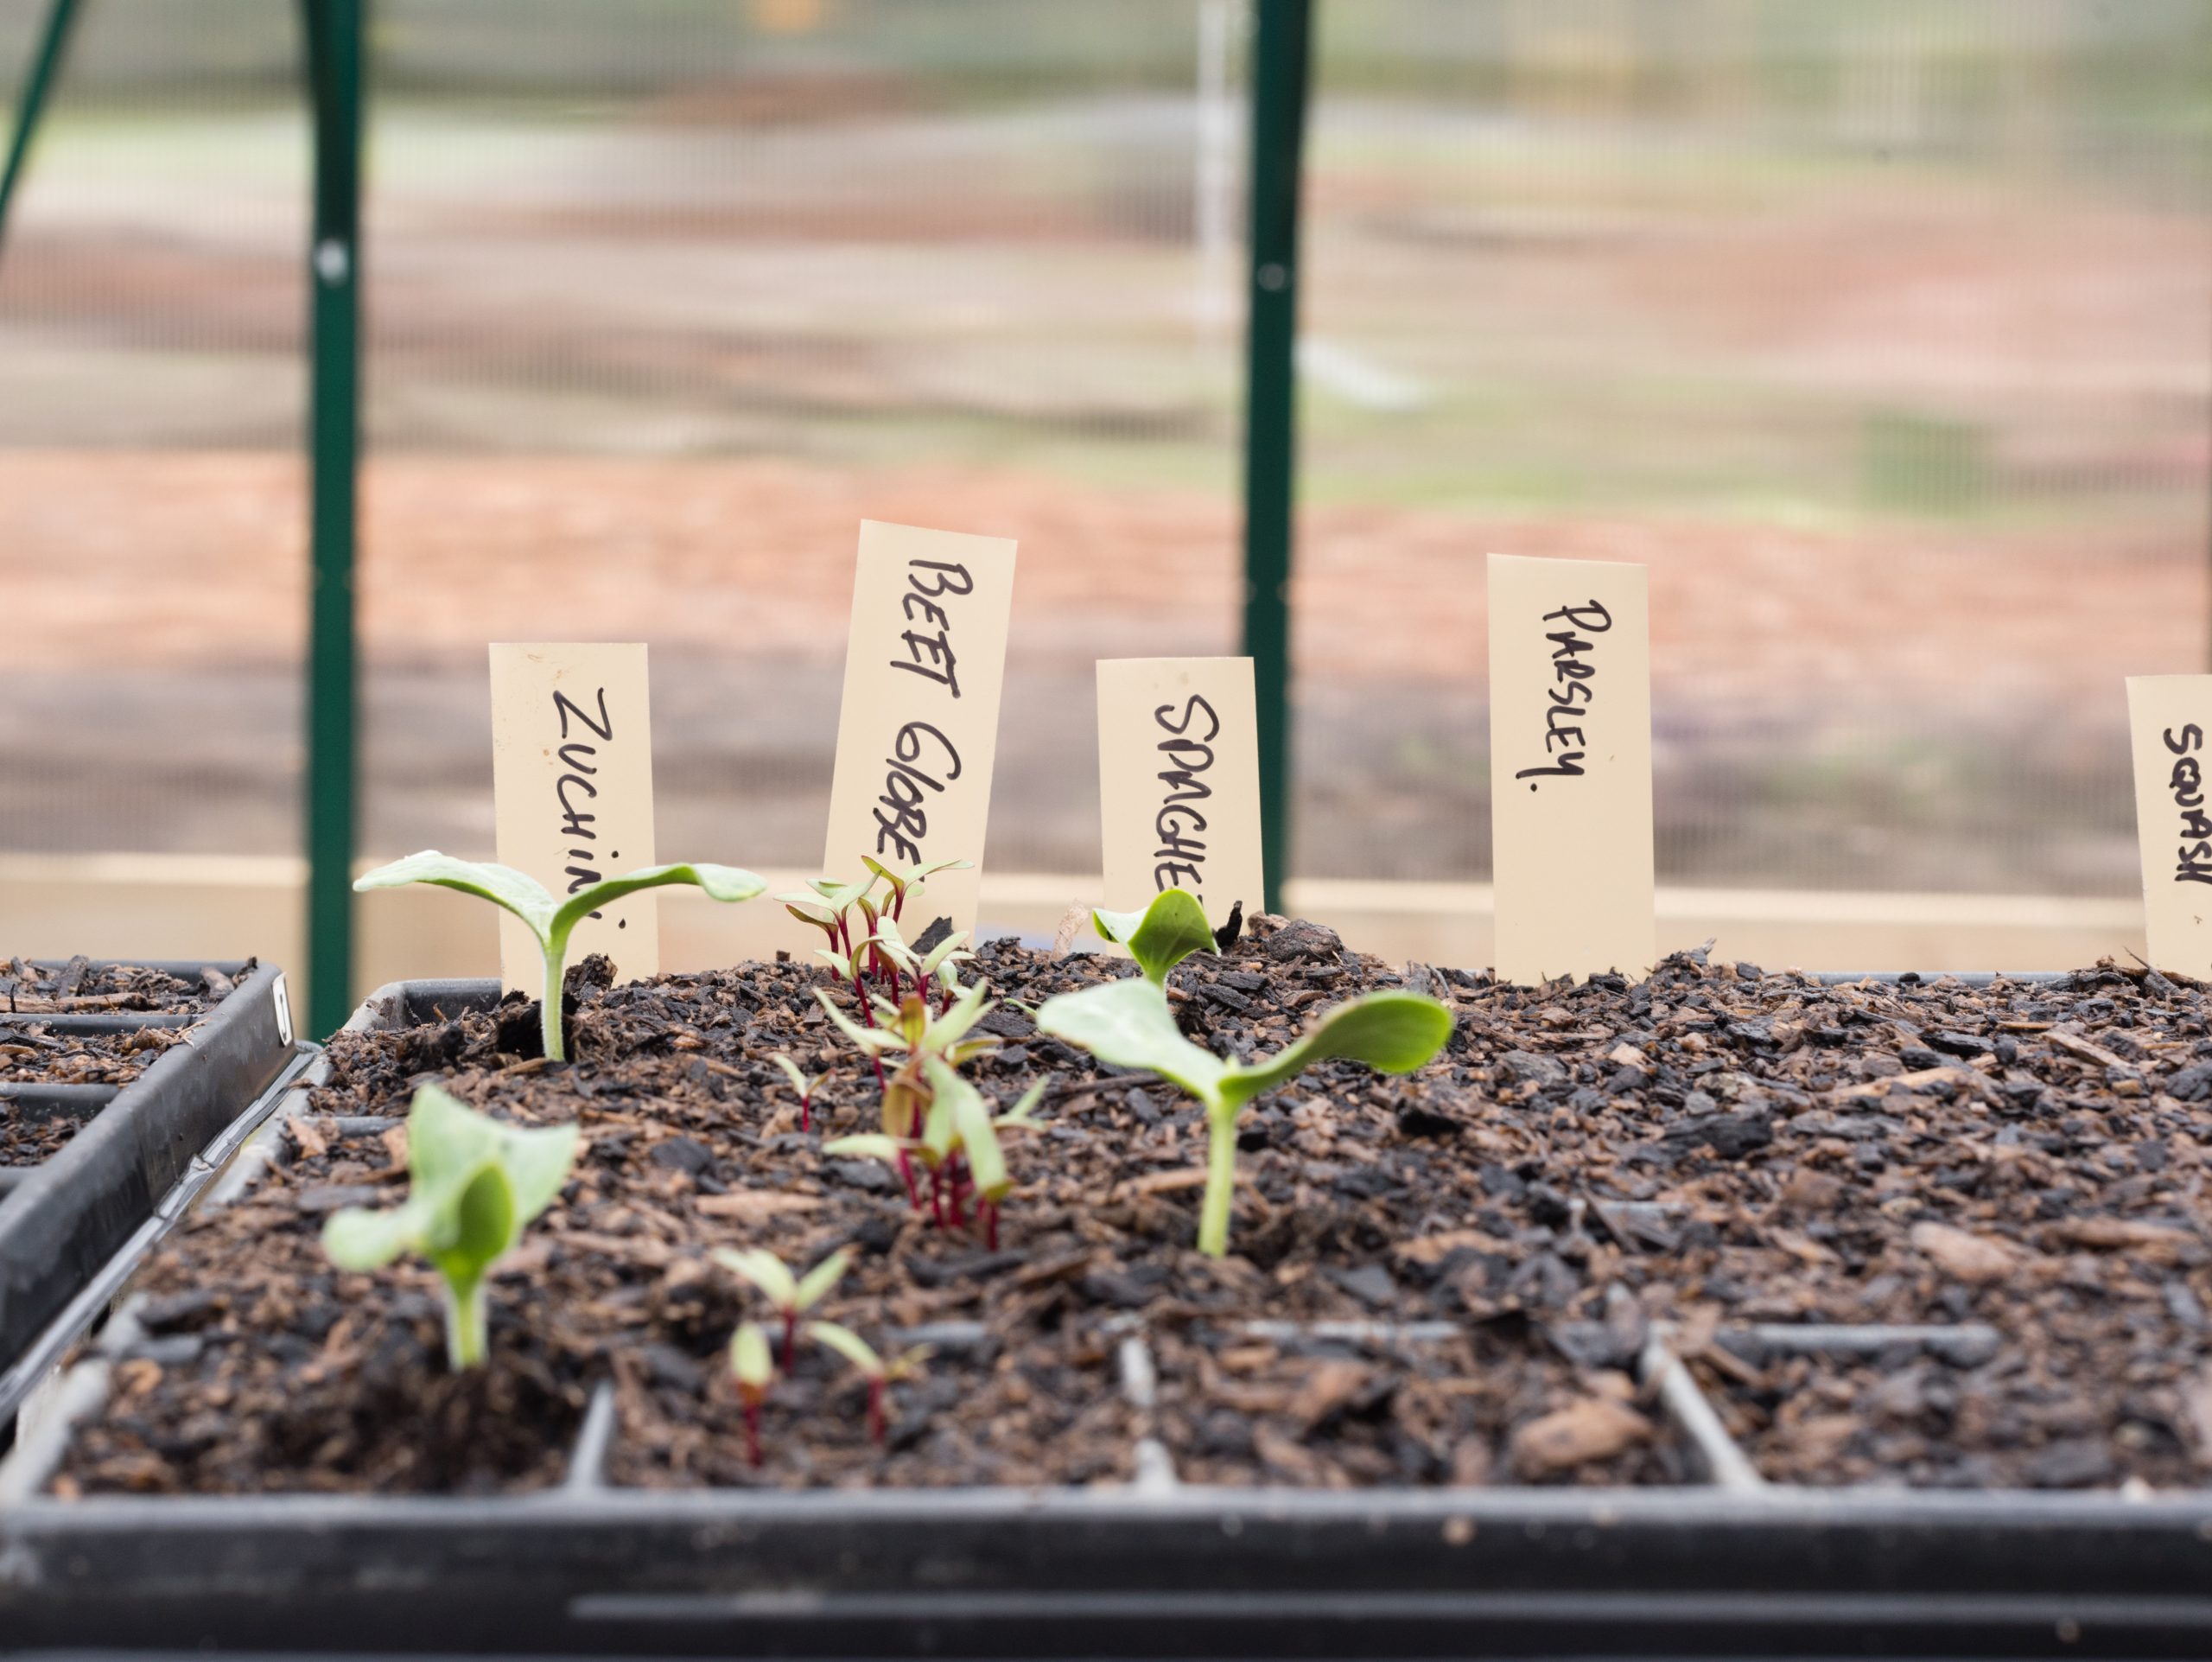
For now, I’ve settled on a system that combines plain plastic labels and a Google spreadsheet. I use a thin sharpie to write down the vegetable and variety (e.g., Old German Tomato).
Then, in a digital spreadsheet, I mark the date the seedlings were started and any other notable information, including anything meaningful from the seed packet (e.g., date to maturity, whether the variety is determinate or indeterminate, etc.). If I start two sets of ‘Old German Tomato’ at different times, I simply label the groups ‘A’ or ‘B’ to differentiate them.
Seed Starting: Why is Labeling Important?

Image Source: Amazon
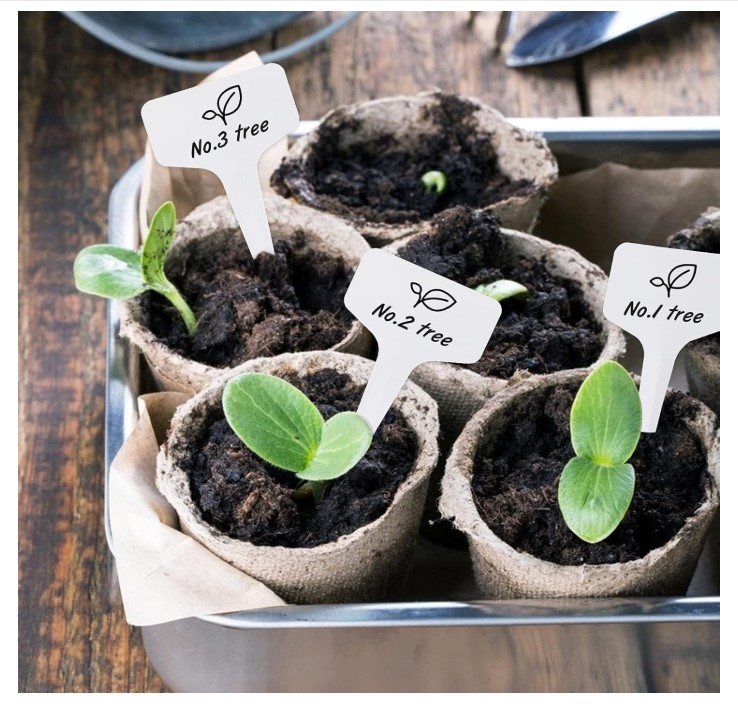
Without labels for your starts, you’ll quickly lose track of what’s growing where. You’ll second-guess yourself, too. Why are these seeds not germinating yet? Has it been a week? There’s no need to guess at this information if you have it available at your fingertips. My system also involves keeping notes, which allows me to look back at my seed starting dates and practices and see where I might improve or make changes.
Other Labeling Options
My system won’t work for everyone, and I think it’s important for gardeners to develop their own. I tried a lot of different things before I found what worked for me.
- Masking tape – Write on bits of masking tape and affix the pieces to trays or pots. Masking tape is cheap but doesn’t adhere to all types of materials. Ink, if wet, will bleed and leave information unreadable.
- Label maker – This is a pricier alternative, but if you already have one lying around the house, why not use it to label seedlings?
- Paper – When I first started, my operation was very unsophisticated, but even then, I knew the importance of keeping track. I tore up pieces of paper and arranged them near my windowsill growing op. It wasn’t an ideal system, but it worked in a pinch.
- Color / Shape coding – Use different colored or different types of containers to organize your seedlings.
Don’t forget to re-use
If you use plastic or wooden markers, don’t throw them away. They’re incredibly easy to reuse. Write on the other side next year or affix a piece of tape to cover up last year’s markings. Or use the same label if you’re re-planting the same seedling varieties.
And don’t forget that your seedling labels are perfectly usable for outdoor organization purposes, too!

Steph Coelho is a freelance writer gardening in zone 5b. She is a certified Square Foot Gardener and has taught various garden-related workshops. When she’s not digging in the dirt or writing, she’s cooking up fresh produce, running, or listening to her favorite podcasts.
Leave a Reply