
It’s almost time for me to start my very first seedlings of the season. I’ve been busy gathering supplies, cleaning out my grow room, and sanitizing trays that I plan to re-use. I’ve been organizing my seed packets, and I’m thoroughly excited to try a few new varieties this year. I’m also shifting my…
Seed Starting on a Budget Series: The Importance of Biding Your Time
My first serious foray into indoor seed starting began with a bang. My husband helped me set up a makeshift grow shelf, and I purchased soil mixes, trays, and pots. I was so ready to get started that I assumed it would be better to get things going sooner rather than later. I quickly…
Seed Starting on a Budget Series: Germination
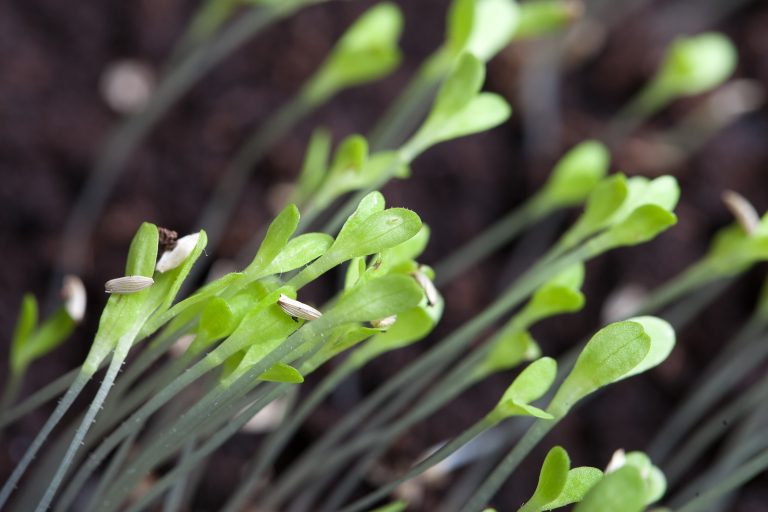
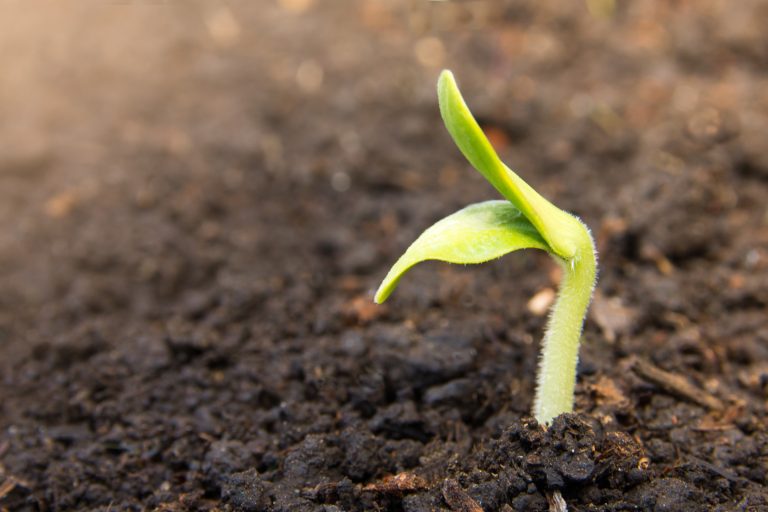
Germination is the process by which a plant sprouts from its seed. Because it mostly happens underground, it’s such a mysterious and almost magical occurrence. One day, you’re popping seeds into a moist soil mix, and the next, you’ve got bright green seedlings popping up. It’s a simple yet incredible feat of Mother Nature…
Seed Starting on a Budget Series: Choosing What to Grow

Browsing a seed catalog or shopping at a local plant nursery can be overwhelming. Especially for a new gardener! I still have a tough time making selections. With so many choices, it’s hard not to go overboard. When I’m purchasing seeds, I try to consider my space and needs so I can maximize returns. I…
Winter Food Budgeting for the Frugal Gardener
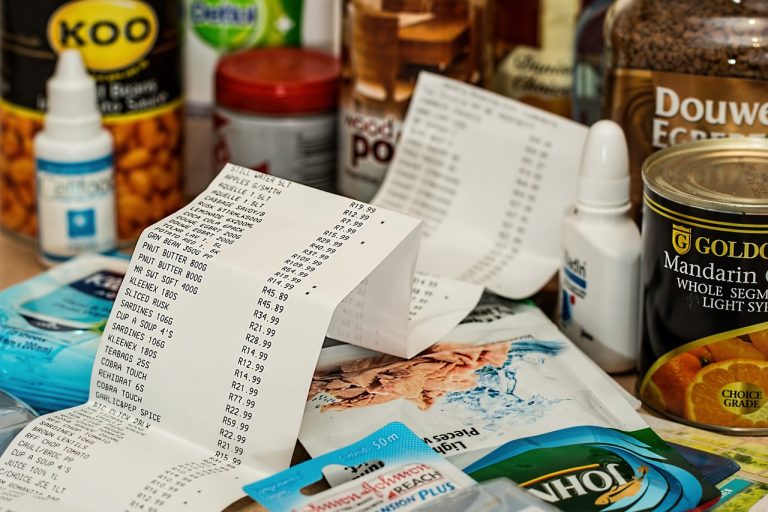
In the past, I always noticed a jump in our food budget over the winter months. You’d think that the summer, with its frequent BBQs and outdoor game nights, would put a more significant dent in the budget, but I’ve noticed the opposite. In the summer, we get a lot of food right from the…
The Number One Tenet of Frugal Gardening: Plant What You Love
Apologies for the delay in posting this week. I managed to get mild food poisoning after a lovely brunch, and my stomach was in knots for nearly two days. The gardening season is definitely on its way, though! I love seeing photos of gardens slowly turning green and spotting hidden veggie beds in front or…
Frugal Family Activity: Snow Cake

The forecast is calling for heavy precipitation in the next few days, right in time for the new year. Most of us are still in vacation mode, and parents with children are probably wondering how they’ll entertain their children while school is still out. Unfortunately, the cold means there’s no garden to tend to,…
What’s a Frugal Gardener to do in the Snow?
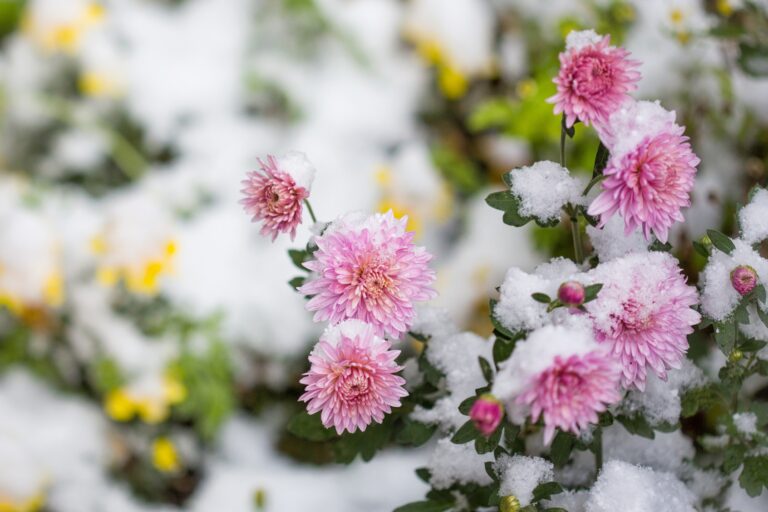
Where I live, the snow has arrived and is here to stay. It’s been a month or so now that we’ve begun to shovel our walkway and donned our boots when heading outdoors. A month where I was happy to take a break from thinking about gardening tasks: I think a break is necessary…
Don’t Let Your Halloween Pumpkin Go To Waste

Are you ready for Halloween? Surely you’ve already procured your pumpkin. Have you carved a scary Jack-o-Lantern yet? I hate carving, so my husband is the one who does it. He’s extraordinarily artistic and always manages to etch out something incredible. We normally buy a few pumpkins for our front porch. Some we carve,…
Buying Seedlings: Getting Your Money’s Worth

I am exhausted to the bone. Normally, at this time of year, I get excited about seed starting. I take stock of my seed supplies, order seeds I’m missing, and start planning out my garden. This year, I’ve yet to do any of that. I’m too overwhelmed and tired, so I’ve decided to forego…