
I’m a huge fan of ebooks. I’m so into them that I actually have TWO e-readers! One for my library books and another for advanced reader copies (ARCs). Many people out there are willing to share their gardening knowledge. These free gardening ebooks are an excellent choice for frugal gardeners, people new to gardening,…
What To Do With Your Harvest
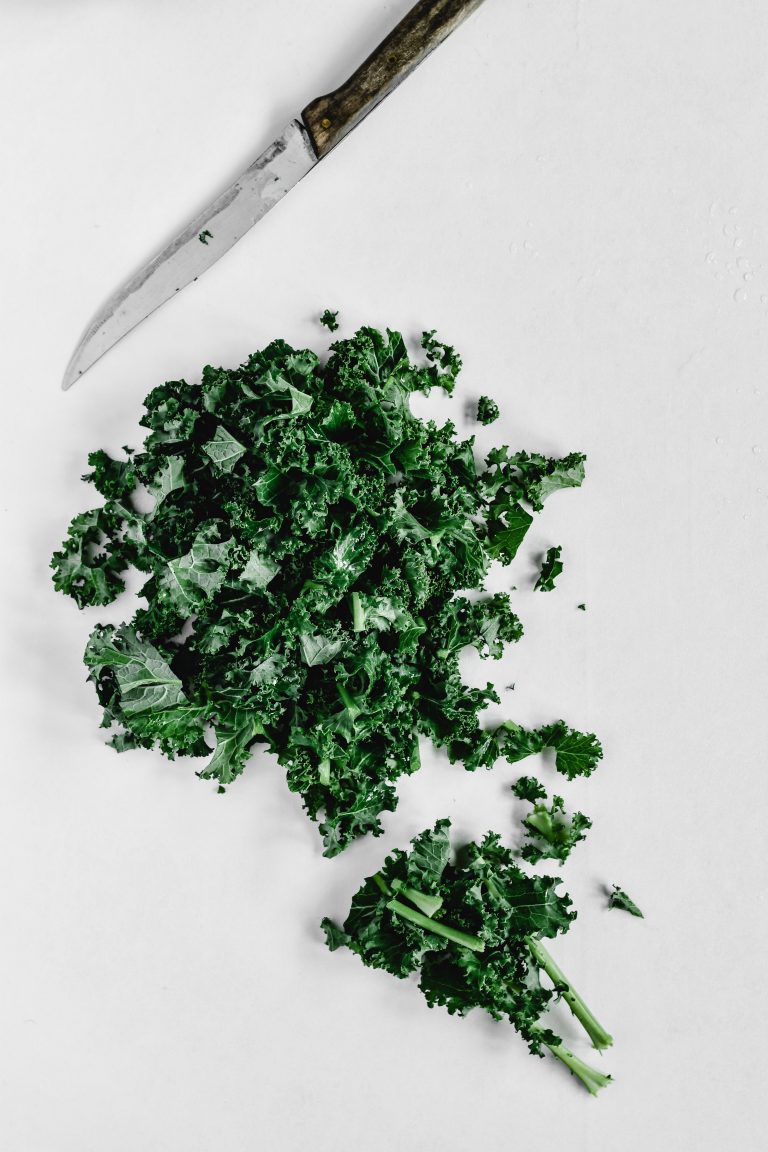
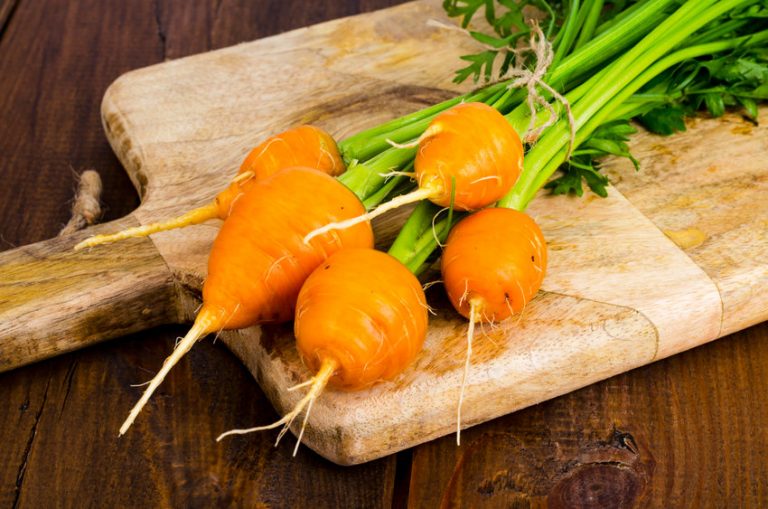
Winter weather is right around the corner. But if you’re anything like me, your garden is still bursting with produce. At the tail end of the season, gardeners can sometimes feel overwhelmed by the amount of produce they have on their hands. Here’s what to do with your harvest. What to do with your…
Making Your Pumpkin Last: 5 Tips
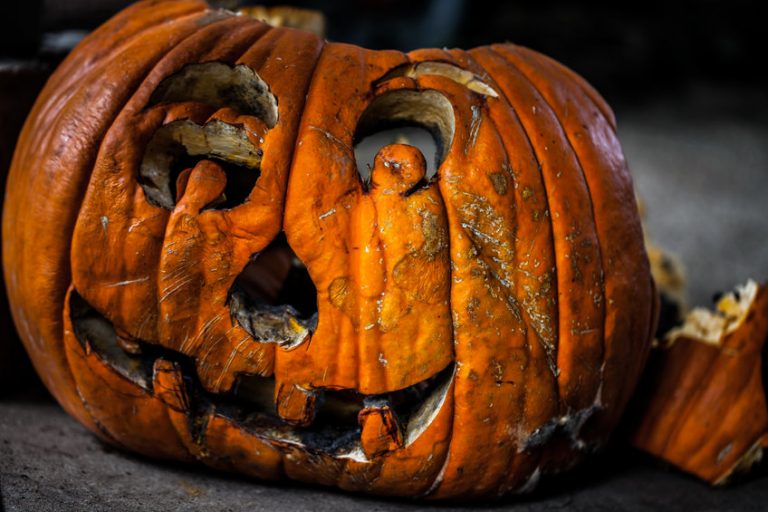
It’s fall ya’ll! My favorite season! Unfortunately, it’s been a lot warmer than years past thus far. And while that may be good news for those wanting to extend the gardening season, it’s bad news for fall decor. Whether you put out pumpkins to celebrate fall or Halloween, they’re a fun way to accessorize…
5 Reasons Why You Should Plant Wildflower Seeds In The Fall
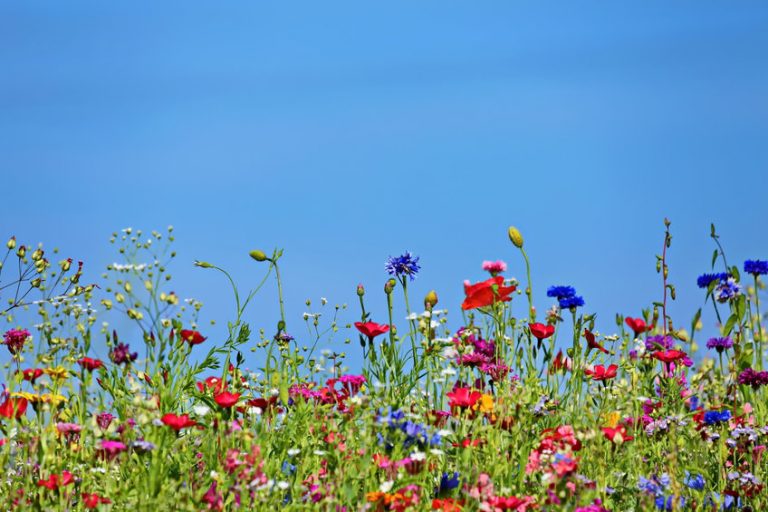
There are so many reasons why you should plant wildflower seeds in the fall. Can you believe I used to think planting flowers was a waste of space? I wanted veggies to take up every ounce of square footage I had when I first started gardening. Now, my garden contains more flowers than ever…
The Essence Of The Garden
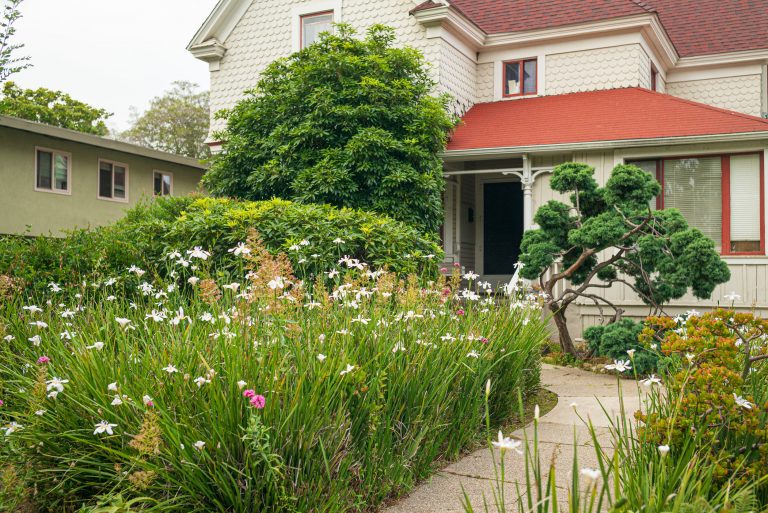
This week I want to take a step back and talk a bit about the essence of the garden. You might be thinking: Huh? What are you talking about? As frugal gardeners—and I think this is true of most gardeners—we look at the garden in a practical, utilitarian manner. How much food can I get…
5 Reasons To Use Fabric Over Plastic Grow Bags
I love grow bags. They’re a great choice for gardeners with limited space, and you can bring them with you if you have to move. But should you use fabric over plastic grow bags? Which type of grow bag is the best option? Plastic will work in a pinch, but the fabric is my…
Winding Down For The Season
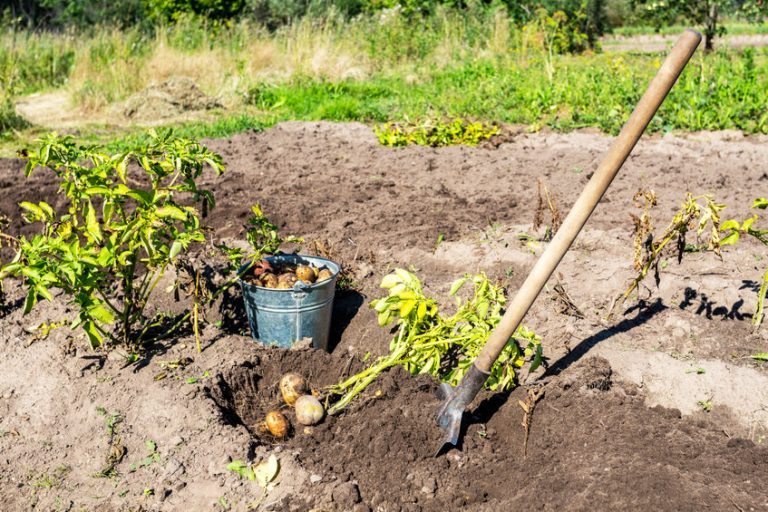
It’s time to start thinking about winding down for the season. Especially if you live in a cold climate like me. You’re probably thinking: “Wait. Isn’t it too early?” True! It’s too early to be shutting down the garden just yet. You’re probably still harvesting. And maybe you’ve even planted some cool-season crops that you…
Protect The Garden From Excessive Rainfall: Frugal Tips
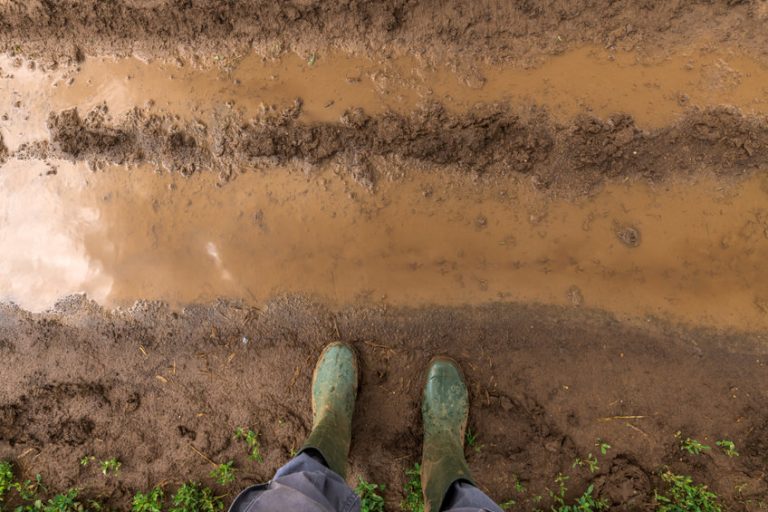
While it’s not necessarily a problem in all locations, many people have to worry about protecting their garden from excessive rainfall. Plants love water! Too little, and they’ll wither away. But too much water can also cause problems. Plants that are stuck drowning in waterlogged soil can succumb to root rot. These days, unpredictable weather…
5 Compact Plants For Small Gardens
You’re probably interested in frugal gardening tips because you’re on a budget. But I’ll bet that many frugal gardeners also have to carefully budget gardening space. Most people don’t have a lot of room to work with. And even if you have a large property, it’s likely that not all areas are conducive to growing…
5 Ideas for Using Up All That Basil
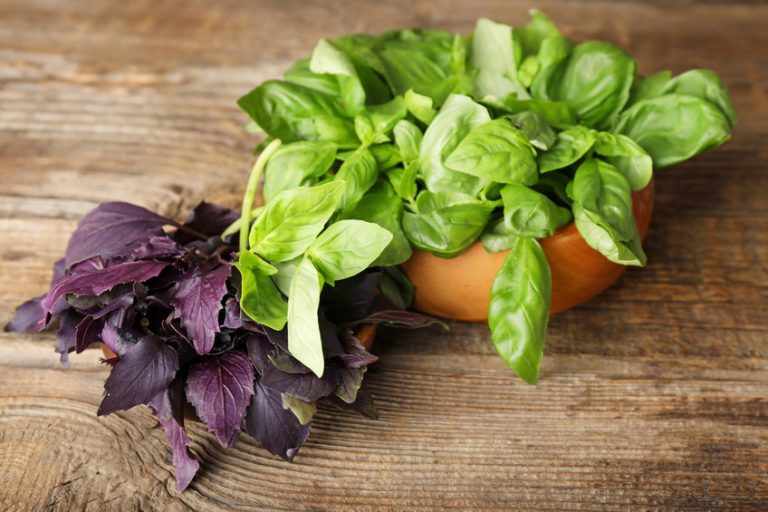
Using up all that basil growing in your herb garden initially sounds like it’ll be an easy task. But now that we’re deep into the summer season, you probably realize there’s a lot more of this pungent leafy herb than you ever thought possible. If left alone to grow, many herbs will eventually start…