Using Shredded Paper As Garden Mulch

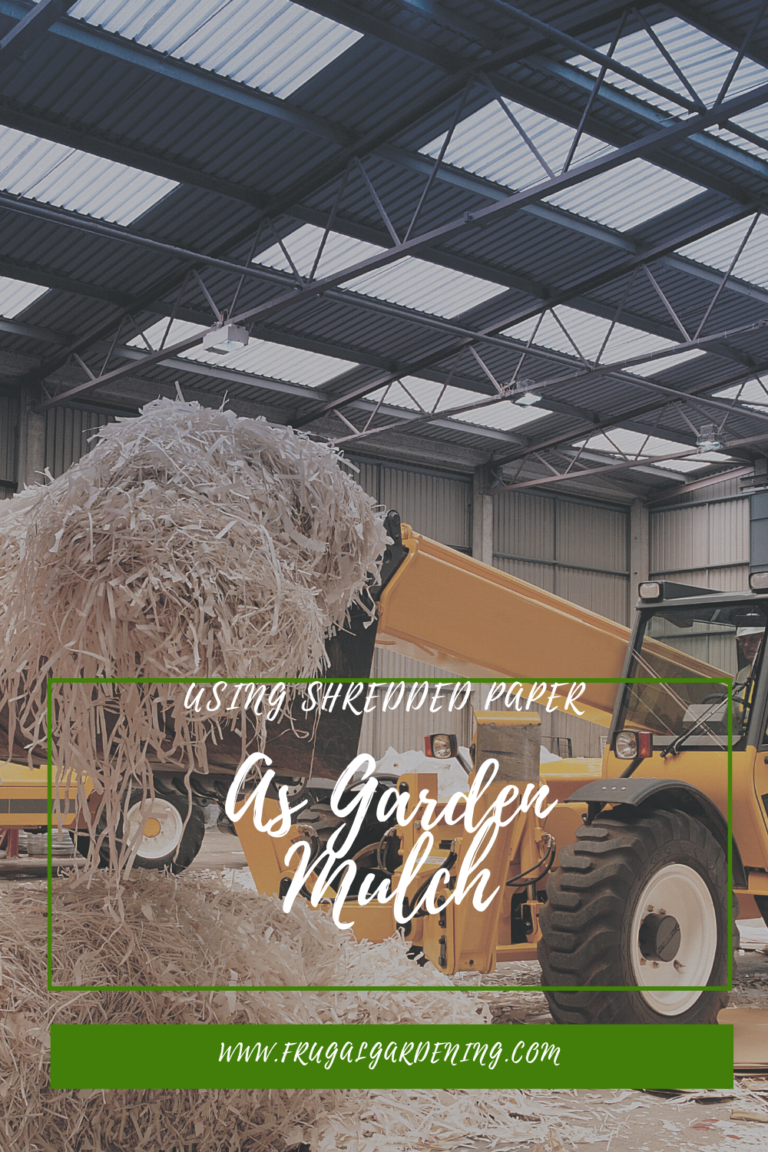
Using Shredded Paper As Garden Mulch

Should you use shredded paper as garden mulch? Normally, I spend my time telling you that the advice you’ve heard countless times is bogus. But using shredded paper in your garden is actually a great idea.

What is mulch?

Mulch is a substance added to the garden that helps soil retain moisture and stay cool. It also keeps weeds away and can prevent frost damage in the winter. Organic mulches break down and can eventually improve the condition and nutrient composition of the soil. Non-organic mulches, like plastic mulch, can’t break down but can often be reused year after year.

Other things you can use for mulch include:

  • wood chips
  • leaves
  • straw
  • coco coir
  • compost
  • plastic

And yes, you can use shredded paper as mulch! One huge benefit of paper mulch is that it’s FREE and super easy to make. If you regularly use a paper shredder, emptying the canister and using the remnants in your garden is a good way to recycle them since most recycling plants don’t accept shredded paper.

How to use shredded paper as mulch

The main task you need to complete before using paper as mulch is shredding. You can use a paper shredder to rip the paper into pieces or do it by hand.

If you need to make a lot of paper mulch and don’t have a shredder, try getting the family involved in shredding paper.

Be careful when selecting the paper you’ll be shredding. Anything thick and glossy—like pages in a color magazine—contains heavy metals that can leach out into the soil. But newsprint and regular printer paper are generally safe to use as mulch.

As with any kind of mulch, cutting it into small pieces is key. Plus, if you tried to stick sheets of paper over the soil, they’d quickly end up blown elsewhere.

After applying shredded paper to your garden, dampen it with water to keep it from flying all over the place.

Did you know that you can also add shredded paper to your compost bin? If you have plenty of mulch and not enough room in your recycling bin, shredded paper can go into the compost and takes about 2 to 6 weeks to break down. It’s considered a “brown” ingredient, so if you drop a lot of shredded paper into your bin, make sure to balance it out with “green” ingredients like grass clippings.


10 Household Items That Can Be Composted (and 5 That Can’t)


10 Household Items That Can Be Composted (and 5 That Can’t)

Composting household items is the most efficient way to create nutrient gold for your garden. If you can use up what you have on hand, you can save money and reduce the amount of waste you create.

So what can you toss into the compost bin? Here are ten household items you can compost.

Composting Household Items

There’s one big rule when composting household items: Make sure you cut them into tiny pieces!

Chucking big pieces of anything into your compost bin is an easy way to fail. Composting takes time. The bigger the items inside your bin, the longer it’ll take for them to break down.

  • Leaf and grass clippings. When your yard needs a good sprucing up, collect the dead plant matter and toss it into your compost bin.
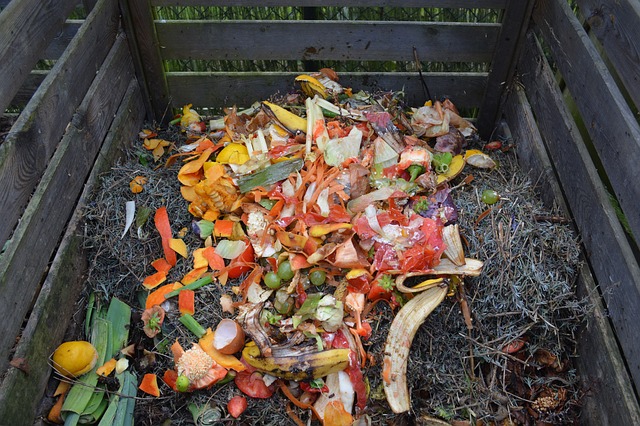
  • Fruit and vegetable peels. You can also throw in the cores of fruits like apples and peaches. Got rotting fruit at the back of your produce drawer? You can toss that into the compost, too.
  • Parchment paper. This is also fine to put into the compost bin. Just make sure it doesn’t have a waxy coating.
  • Houseplant detritus. Frequent pruning helps keep houseplants looking neat and tidy. Don’t throw away all those dead leaves, though. Pop them into your compost bin. As long as the plant matter isn’t diseased, you can compost dead plant matter right at home. If you’re dealing with diseased plants, throw those leaves and roots into the commercial composting bin—if your city provides one.

Composting Other Household Items

  • Teabags. Not all tea bags are compostable. Check the label to make sure the bag will degrade in your compost bin. If in doubt, tear them open and compost the innards.
  • Coffee grounds. Regardless of the kind of coffee you love to drink, you’re bound to create a lot of coffee ground waste. It can be annoying to head to the compost bin every time you brew coffee, though. Instead, grab a glass container and fill it with used grounds. When it’s full, toss them into the compost.
  • Paper plates. As long as they don’t have a waxy coating, paper plates can go into the compost.
  • Bamboo skewers and chopsticks. Again, as long as they aren’t coated in some type of film, these are also fair game for the compost. I also like using these as supports for my tomato, pepper, and eggplant seedlings.
  • Cardboard. Don’t expect to chuck in giant pieces of cardboard and successfully compost it. Cut it into small pieces before tossing it into your bin.
  • Paper bags. The same goes for paper bags. Make sure you’re adding small pieces to your bin.

Household Items You Can’t Compost

Composting household items is a great way to reduce your waste production. However, you can’t compost everything. Here are some things you should avoid tossing into your compost bin:

  • Eggshells. People will recommend composting eggshells until they’re blue in the face, but the truth is that they decompose extremely slowly.
  • Meat and bones. Save these for the commercial compost bin. Your at-home bin doesn’t produce enough heat to kill off potentially dangerous pathogens.
  • Anything with a waxy or glossy coating. A plastic coating means the item won’t compost, and it may even contain harmful toxins.
  • Big branches and large plants. It sounds like a good idea, but…it isn’t. Anything big is going to take way too much time to decompose.
  • Cooked food. You run the risk of inviting pests into or around your compost bin by adding cooked food to the mix.

Read More

Yes, you can garden for free

Ten ways to get free plants for your garden

How to get free plants


4 Cost-Effective Organic Garden Fertilizers


4 Cost-Effective Organic Garden Fertilizers

Regardless of what you’re growing, your plants need nutrients. Without fertilizer, your plants will fail to thrive and grow big and strong. In the case of edibles, a lack of nutrients can limit your crop and lead to poor production. Unfortunately, many fertilizers on the market are expensive. Thankfully there are cost-effective organic fertilizers you can use to boost your garden’s productivity.

A word of caution

Before I jump into a list of cost-effective organic fertilizer suggestions, I want to talk a bit about fertilizing in general. Piling on fertilizer will NOT automatically make your garden more lush and productive. Fertilizing without testing your soil first can lead to a host of problems down the road. With fertilizer, more is not always better.

Always test your soil first to find out whether your garden is lacking nutrients. Read up about plant nutrient needs to ensure you’re applying the right fertilizer.

While organic fertilizer is a lot less harmful to the environment than synthetic fertilizer, too much of it can still pose problems, so be cautious! If you think your plants are hungry for nutrients, double check first. They may be stressed or ailing for a different reason.

Organic fertilizers are an excellent alternative to synthetic ones because they help build soil quality over time and improve the soil’s ability to retain nutrients and water. They’re a lot less concentrated, which helps prevent overfertilization—though, it’s still possible with certain commercial options.

Cost-Effective Organic Fertilizers

Fertilizers can be expensive. Organic options are even more so! So what are the options available for a frugal gardener? Here are a few cost-effective organic fertilizers to choose from:

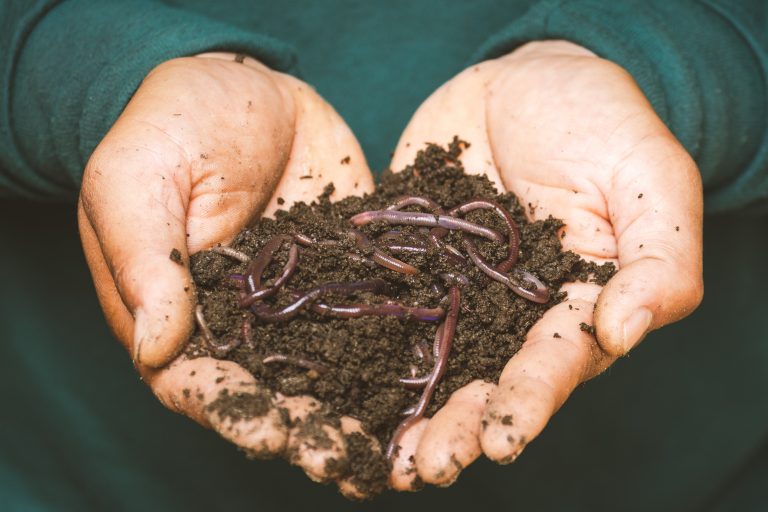
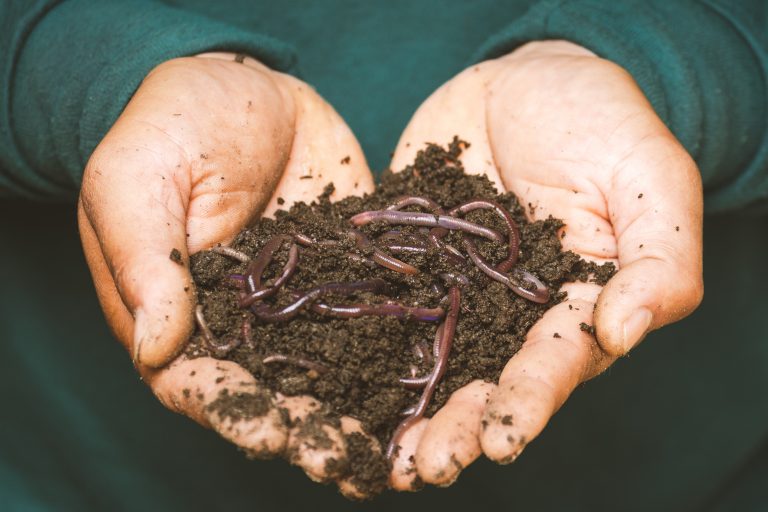
Worm castings. Set up a worm farm or attract worms using a bucket system and enjoy the fruits of their labor. Castings is a nice way of saying poop, but this excrement is mighty powerful! Worm poop is high in nitrogen and full of beneficial microbes and bacteria.

Coco coir. Coconut husks are an inexpensive, earth-friendly alternative to peat moss. While coir doesn’t contain nutrients, it helps condition the soil and improves water and nutrient retention.  It’s also a great mulch option.

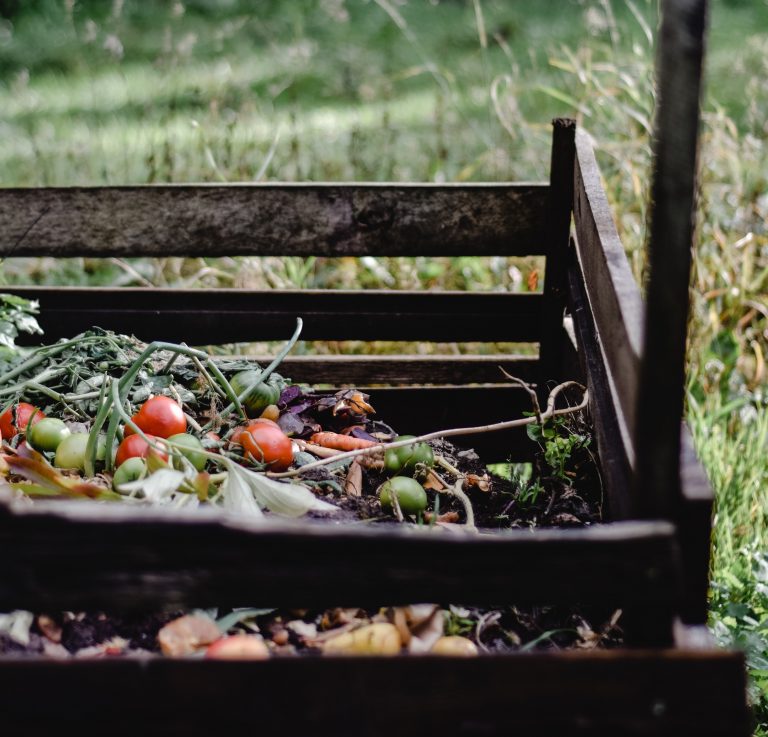
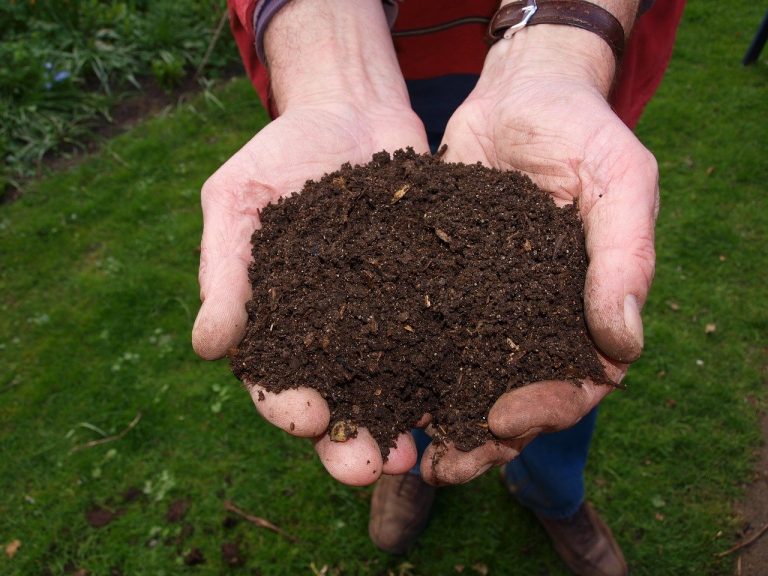
Homemade compost. It’s easy to make your own compost at home! You’ll need a balanced mix of kitchen scraps and other materials like dead leaves and grass clippings to get some rotting action going. Over time, the materials break down into a powerhouse of nutrients for your garden.

Seaweed. Sea kelp fertilizer is pricey, but if you live near a shoreline, you can collect your own smelly seaweed, let it rot for a bit, and make a seaweed fertilizer tea. It’s not ideal for people who are sensitive to pungent smells, but it’s a great totally free source of nutrients!


DIY Compost Using a 5 Gallon Bucket


DIY Compost Using a 5 Gallon Bucket

Compost is an essential medium for any gardener. It enriches the soil, provides nutrients to plants, and helps improve soil composition. It’s also easy to make compost using simple items you probably have lying around your home. Here’s how to make a 5-gallon bucket compost bin to get yourself some free compost.

Tools

I covered a similar topic earlier this year when I blogged about creating a low-cost worm compost bin. If you’re not a fan of worms and want to avoid dealing directly with creepy crawlies, here’s an alternative method for creating your own compost.

Often, people use storebought bins to compost produce scraps and yard refuse. You can also build a bin from scratch. If you’re not very handy and don’t have room for a full-size compost bin, you’re in luck! A bucket compost system works in a pinch and is great for people who garden on their balconies or porch.

What do you need?

  • A 5-gallon bucket. That’s pretty much it. If you don’t have one, you can probably grab one at your local hardware store for cheap. But ask around, someone you know might have one they don’t need.
  • A drill. This is to drill holes in the bucket. If you don’t have power tools, use a hammer and nail.

Assembling Your DIY Compost Bin

Take your 5-gallon compost bucket and drill holes in the bottom and the lid. You need to let the compost aerate to prevent mold growth.

Use something at the bottom of your bin to prevent the drainage holes from getting lodged with waste. You can use sticks, rocks, whatever works.

The next step? Filling up the bucket!

You can fill your 5-gallon DIY compost bucket with fruit and veggie scraps, grass clippings, and other compost-friendly materials. Not sure what you can put in? Here’s a handy guide.

It’s best to keep your bin outside to prevent odors from stinking up your home. Roll the bin around occasionally to ensure the materials mix together. If you choose to line the bottom of your bin with rocks, it may be tougher to mix the contents, though.

Always make sure the lid is tightly affixed to the bucket to keep pests from breaking in and feasting on your rotting materials.

How Long Will it Take?

It can take a while for matter in your compost bucket to decompose fully. The rate of decomposition depends on the weather, where you live, and what you stuff inside. Avoid filling the bin up too much. If there’s not enough air, it’ll take longer for stuff to break down.

Help your 5-gallon bucket compost bin contents along by putting your bin in a spot with lots of sunlight.

Need a visual guide to get your 5-gallon compost bucket ready? Check out this YouTube tutorial:


Are Compost Bins Worth the Money?

is a compost bin worth the money

Compost is an excellent amendment for your garden, and making your own is reasonably straightforward and cheap. Is it worth investing in a bin, though? Are compost bins worth the money?

Let’s take a look at the cost of a traditional compost bin and the benefits of buying a pre-built container. 

Cost of a compost bin

To find out whether compost bins are worth the money, we must understand the cost of the average model.

Storebought bins range in price but on average cost about $100. The larger and more complex the bin, the higher the price tag. Tumbler-style bins tend to cost a bit more than freestanding plastic options. 

Indoor compost systems designed to break down food mechanically are cost-prohibitive, and the technology still has a long way to go. 

There are, however, plenty of simple, inexpensive bin designs available on the market. 

Benefits of a store-bought compost bin 

Why bother purchasing a bin? Here are a few pros:

  • Ready to go. Store-bought compost bins are ready to use right out of the box, often with little assembly required. They’re great for gardeners with minimal DIY experience. 
  • Great for beginners. If you’re totally new to composting, buying a bin is an excellent way to get started. Many bins also come with handy instructions.
  • Pays for itself. If you use it correctly, your bin will pay for itself over time. You won’t need to buy bags of compost when the time comes to amend your soil. 

Buying a compost bin isn’t worth it, however, if you expect to move in the near future since most bins are not easily portable.

DIY compost bin ideas

Frugal gardeners who prefer not to spend too much cash at once can create DIY compost bins from found, recycled, or inexpensive materials. You don’t need much to make your very own compost container. Here are a few ideas for building your own bin from scratch:

Worm compost bin

I wrote a post a little while ago about how to create an easy DIY worm compost bin.

Cinderblock compost bin

Have leftover cinder blocks from long past outdoor projects? Use them to build a sturdy compost bin. 

Wire compost bin

This innovative, easy to build compost bin idea requires minimal tools and materials and keeps all your green and brown waste in one tidy spot.

Milkcrate compost bin

Check out this creative idea for repurposing milk crates into a super simple and effective compost bin. 

Leftover pallet compost bin

Don’t let leftover pallets go to waste. Use them to create a DIY compost bin. Instead of tossing those old pallets to the side of the road, recycle them into a garden project. 

DIY Tumbler Compost Bin


How to Get Free Worms for Your Garden

Free Worms

Composting is an economical way to recycle household waste like kitchen scraps and yard refuse (dead leaves, grass clippings, etc.). It requires minimal effort, and in return, you get free fertilizer for your garden! 

Using your homemade compost in place of commercial fertilizers is not only cheap, but it’s also better for your garden. Compost delivers nutrients to the soil, conditions it, and increases the overall health of your garden environment. Healthy soil makes for healthy plants! 

Traditional composting is a worthwhile endeavor, but if you’re looking for an extremely efficient and effective strategy for turning your kitchen and garden waste into black gold, why not try your hand at vermicomposting?

With the help of hungry worms, you can convert organic material into a nutrient-filled medium for your garden. 

How To Get Free Garden Worms

If you’re starting your compost pile, worms won’t immediately be present. It’s possible to purchase red wigglers to add to your bin, but if you’re on a tight budget or simply want to save some money, try the following to attract free worms to your compost area:

  • Feed them. Continually add kitchen scraps to your compost pile or bin. As they munch and crunch on the kitchen waste, they leave behind castings (worm poop), which is excellent for your garden.
  • Sprinkle cornmeal. Whether you want to attract worms to your garden or compost, use cornmeal to bring forth the worms. 
  • Add ground-up eggshells. This is a bit of a controversial suggestion, but some swear by it. Shells help worms digest their food. The drawback is that eggshells don’t break down like other types of kitchen waste. Always grind them up, don’t add them in chunks. 

If you’re trying to attract worms to add to your elevated compost bin and want to transfer caught worms, it’s possible to fashion a type of worm trap using a bucket.

Drill some holes into the bottom of a bucket and pop it into a shallow hole you’ve dug in the ground. Fill the bucket with food for hungry worms (fruit and vegetable scraps are a good choice). Add a bit of soil and cover with some type of lid. The lid keeps other critters from getting into the trap. Continue to add food scraps, and over time, you’ll find yourself with a sizeable worm population that can go straight into your compost pile.

What worms don’t like

You can add all the worms you want to your garden or compost, but they won’t stick around very long in an inhospitable environment. Here’s what to avoid when attempting to attract worms to your garden and compost bin:

  • Keep the chemical fertilizers and pesticides to a minimum or banish them altogether. 
  • Try to minimize how often you till the soil to prevent disturbing these little creatures.
  • Use organic mulches in place of synthetic options.
  • Avoid overwatering. Whether you’re moistening your compost pile or watering your thirsty plants, be careful not to flood out resident worms. Underwatering is also a no-no.

An Important Note

The worm you catch this way may not all be red wigglers, however, but it’s doubtful that you’ll introduce any harmful bugs into your compost this way. 

Some things that attract worms also attract pests (rats, flies, etc.). If adding worm bait to your compost or DIY trap, be sure to properly secure the lid to prevent other critters from finding their way inside. 

Note that in most cases, worms will find their way into your garden and compost bin if the conditions are right. If you see worms hanging around, it’s a good sign! 

Want a visual guide to building a DIY worm farm? Watch this video that demonstrates how to create your own worm trap and catch worms for free without having to spend a dime.