I love to plant crops in containers, especially finicky plants like eggplant and peppers. I use a variety of containers in my garden, including fabric pots. If it gets too cold, it’s simple enough to haul them inside. Containers are also great for those living in rental properties or those with limited space. It’s…
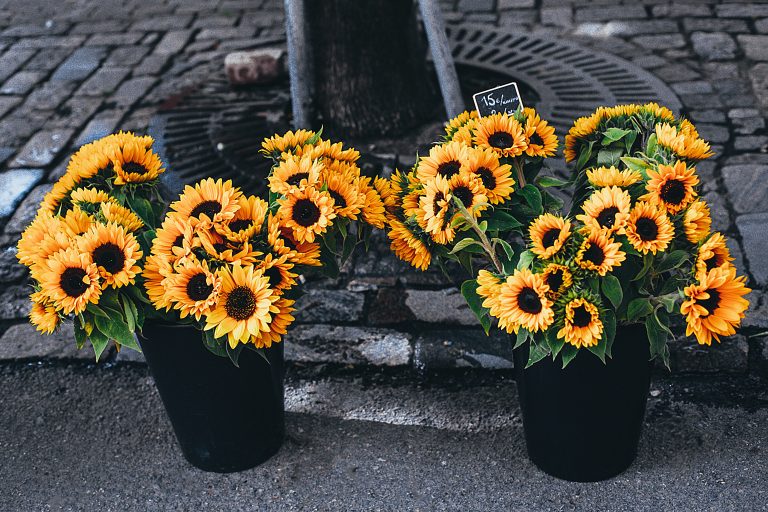
Do Pre-Packaged Seeds Grow Faster Than Fresh Seeds?
It’s that time of year when the seed catalogs start arriving in the mailbox. Getting new packets of seeds from a seed supplier is a real treat. Knowing that those carefully harvested seeds will eventually grow into food or flowers is so exciting. It’s just as satisfying to sort through personally harvested seeds from…
Harvesting Rainwater for the Frugal Gardener
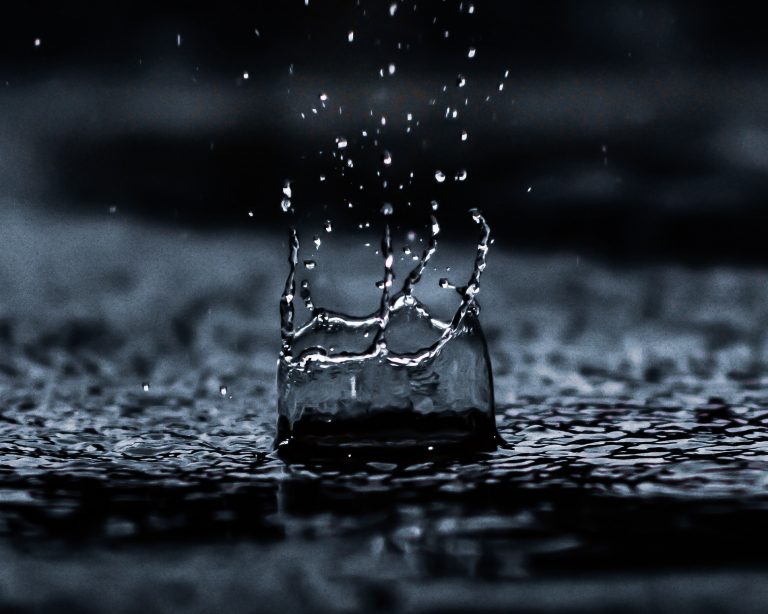
Gardening requires quite a bit of water. For many gardeners that means an increase in their water bill during the hot summer months. Statistics show that lawn and garden watering make up at least 40% of our total household water use. Frugal gardeners, however, can take advantage of rainwater by bringing back an age-old,…
7 Garden Gnomes Perfect for Gifting This Holiday Season
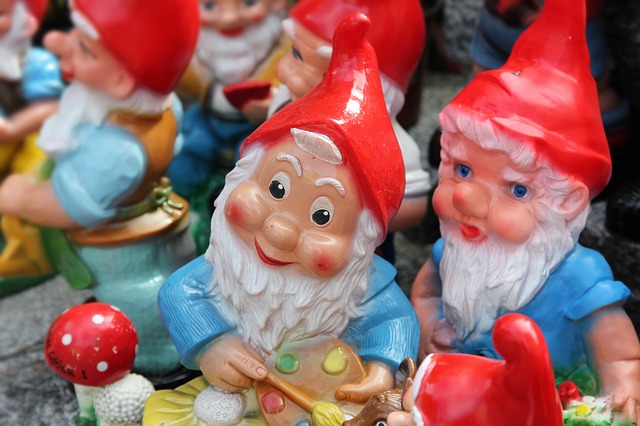
I’ve always loved garden gnomes — even after watching the horrifying Goosebumps episode titled ‘Revenge of the Lawn Gnomes” as a kid. The Travelocity gnome is the cutest company mascot ever. And if you’ve never watched Gnomeo and Juliet, I highly recommend you do so immediately. Garden gnomes are the ideal garden decoration, in my…
How Much Does It Cost to Remove a Tree?
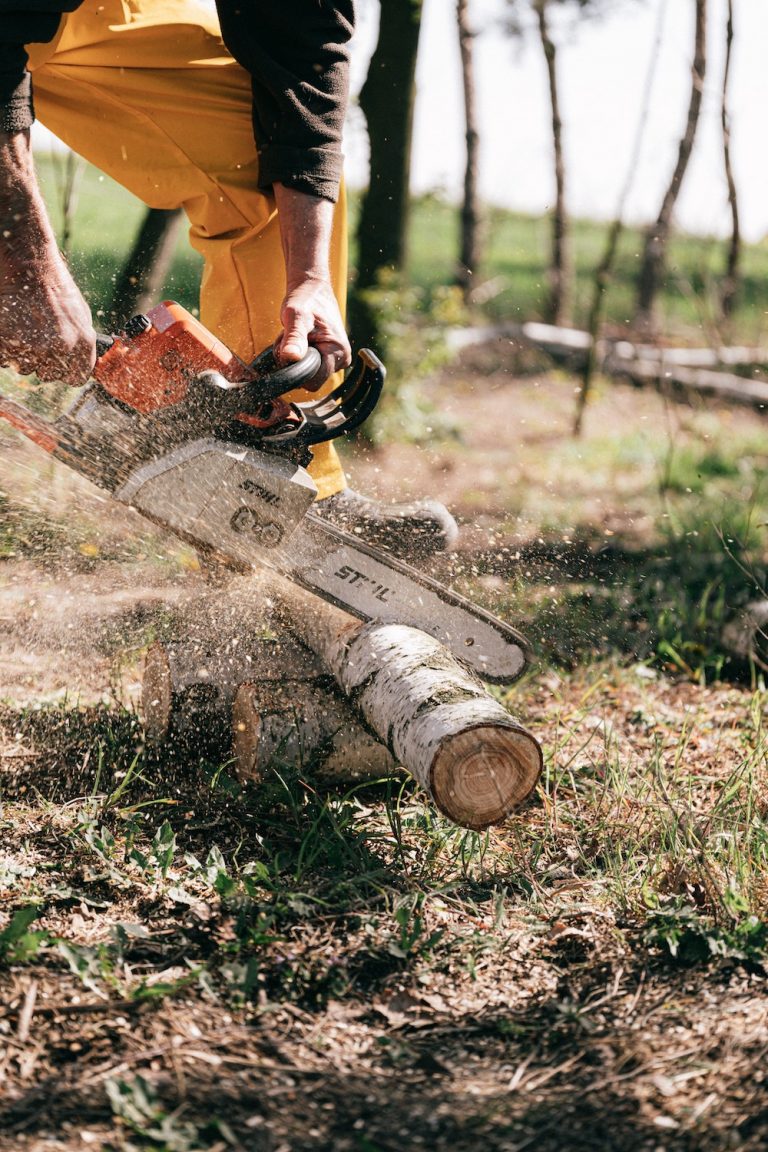
Trees provide shade, shelter, and beauty. They also support an abundance of wildlife. But having trees on your property can also be a lot of work. Raking leaves, pruning branches, shaping growth, and dealing with disease are all things you’ll need to deal with if you decide to rent or buy a home surrounding…
How to Reuse Grow Bags

Grow bags are an excellent container option for the frugal gardener. They’re extremely versatile and work for a variety of plants. Did you know that you can reuse them from year to year, too? Here’s how to reuse grow bags and save money down the line. What is a grow bag? A grow bag…
Troubleshoot the Seed Starting Process
While every other region seems to be experiencing a thaw, it’s still mostly frozen here. My starts are happily enjoying their spots under the indoor lights and this weekend I’ll be starting another batch of plants like kale and Chinese broccoli. I happened upon a sale and purchased two additional plastic shelving units to hang…
Ladybugs Versus Asian Lady Beetles
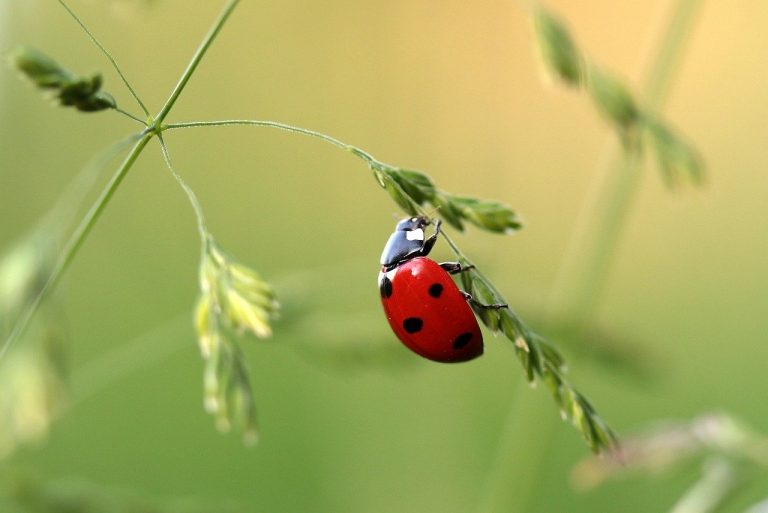
Gardeners—especially those new to the hobby—may find it tough to distinguish between bad bugs and beneficial insects. It can take some time to get a hang of which bugs to leave alone and which to squish dead. Unfortunately, some good garden bugs have evil lookalikes. Case in point: ladybugs versus Asian lady beetles. How…
5 Winter Squash Varieties for the Frugal Gardener Short on Space
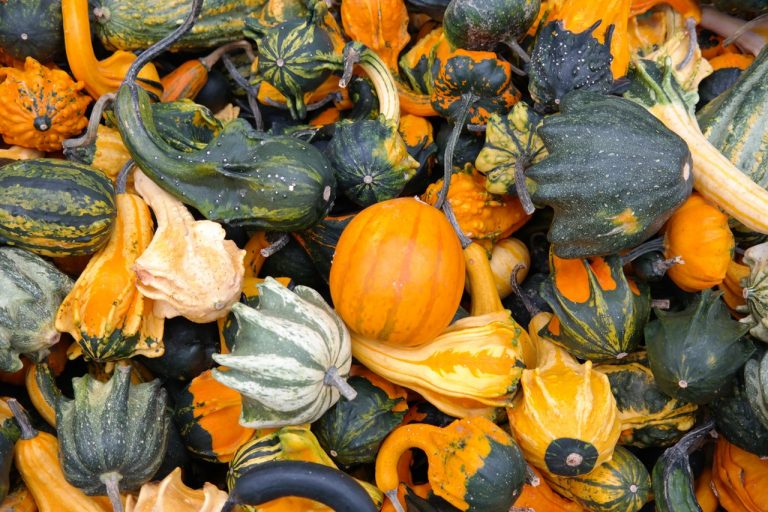
Wondering which types of winter squash are best for small gardens? Read on to find out about compact winter squash varieties that provide the most bang for your buck. They’re perfect for the frugal gardener! Summer squash gets all the glory. It grows quickly and provides a high yield. My all-time favorite variety patty-pan…
Free Funeral Home Plants

Before you discount the idea of free funeral plants, bear with me on this one. Getting free plants from a funeral home is possible. However, you may have to step out of your comfort zone for this trick. Even those of you who consider yourselves outgoing might feel a bit odd about using a…