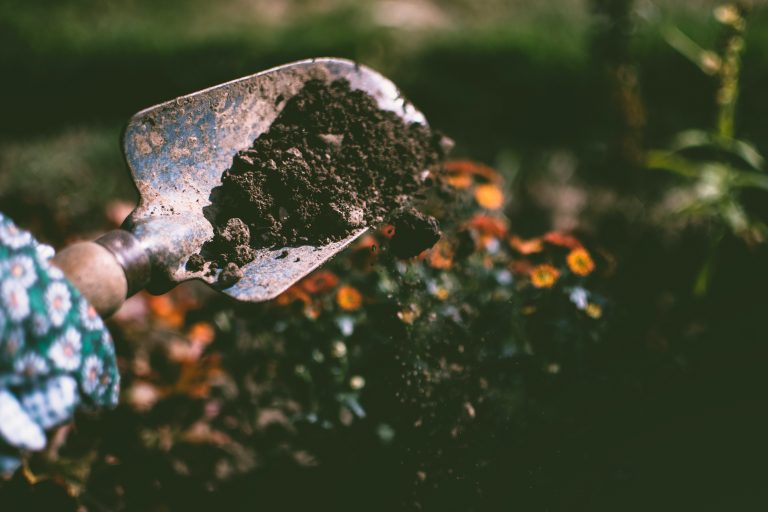
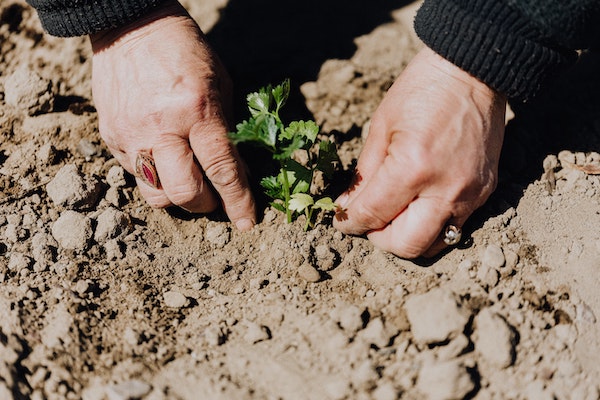
It’s the end of the growing season, and you’ve tossed your spent container tomato plants in the compost. Can you reuse the soil next year? Here’s a soil recycling checklist to go through before repotting plants in old soil or using last year’s soil leftovers in the spring. Pitfalls of Recycling Soil Reusing soil…
How to Dye Flowers With Food Coloring
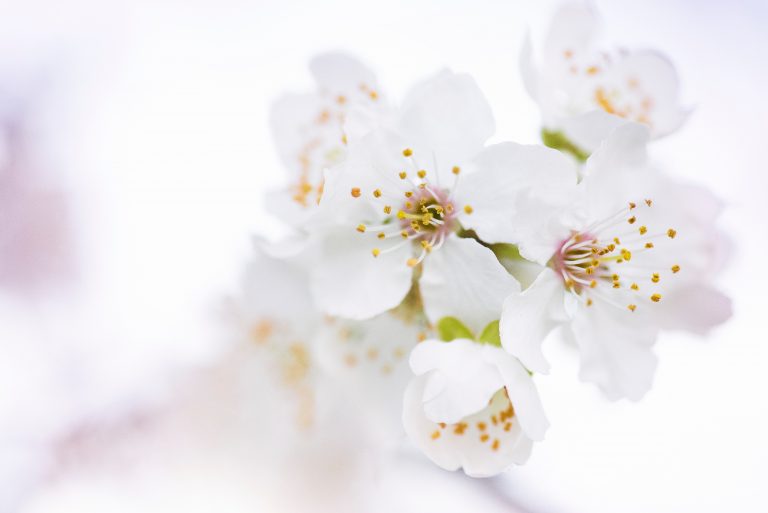
With the pandemic still limiting social outings, parents may be dreading the upcoming spring break. This fun little project is a great way to expend some creative energy during the March break or all through the summer. Dye flowers with food coloring and make a rainbow to display in a favorite vase. Use storebought flowers…
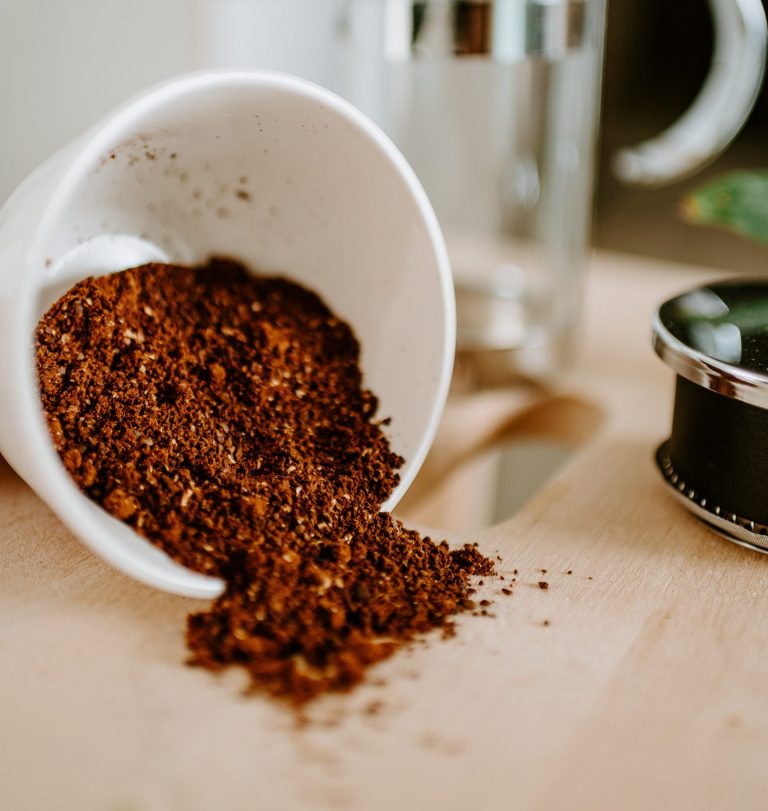
5 Houseplants That Won’t Waste Your Money
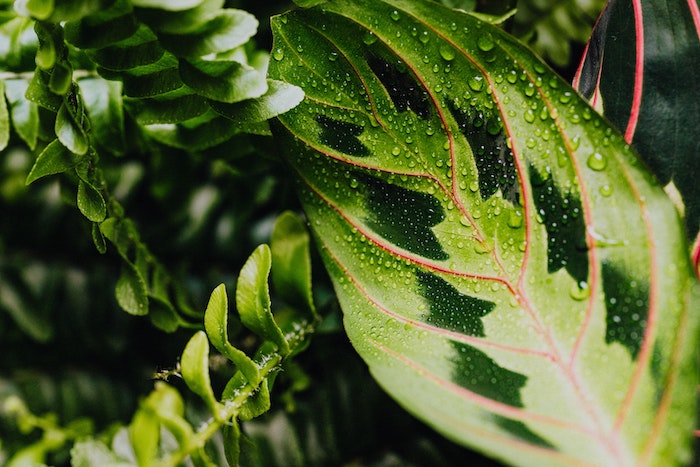
Ever since the pandemic began, I slowly started buying houseplants. I’d scour my favorite online nurseries and pounce when they had a sale or coupon code up for grabs. Of course, I already had some plants before the COVID situation, but adding more made my home feel cozier, livelier. When buying plants, I always…
4 Advantages of Pruning Plant Roots
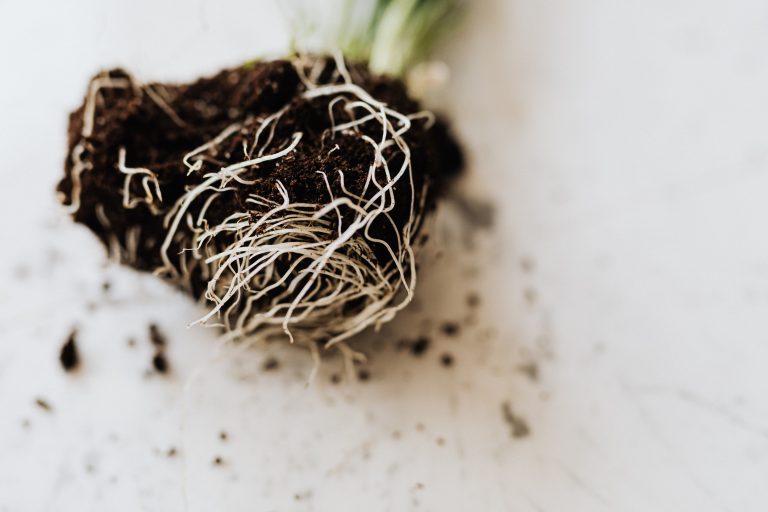
You’ve heard of pruning branches, but what about pruning plant roots? Roots aren’t something we think about very often. Mainly because they’re buried under the earth. Out of sight. Out of mind. However, paying attention to your plant’s roots can be an essential part of raising healthy houseplants. Here’s why you might consider pruning…
5 Reasons to Start a Garden This Spring
Normally, I don’t need to think of reasons to start a garden. I’m intrinsically motivated to start anew each spring. In the dead of winter, I usually get incredibly excited about the prospect of gardening in March. As soon as the seed catalogs arrive, I start to plan. I dream about the new varieties…
5 Common Gardening Myths You Should Forget About
The gardening world is rife with anecdotal information. Since I started gardening over 10 years ago, I’ve run into my fair share of common gardening myths. People love to make big claims about their gardening techniques. It turns out, though, that while the “secret sauce” might have some truth to it, it’s usually a…
Gardening Goals for the New Year

Oh, how time flies! It’s already 2021 and I can’t even remember what I did gardening-wise in 2020. It’s all a blur. So let’s talk gardening goals for this year. Do you have any gardening plans for this year? Any gardening goals you’d love to achieve? Whether you’re thinking of starting a new garden or…
How to Use Baking Soda for Weed Control
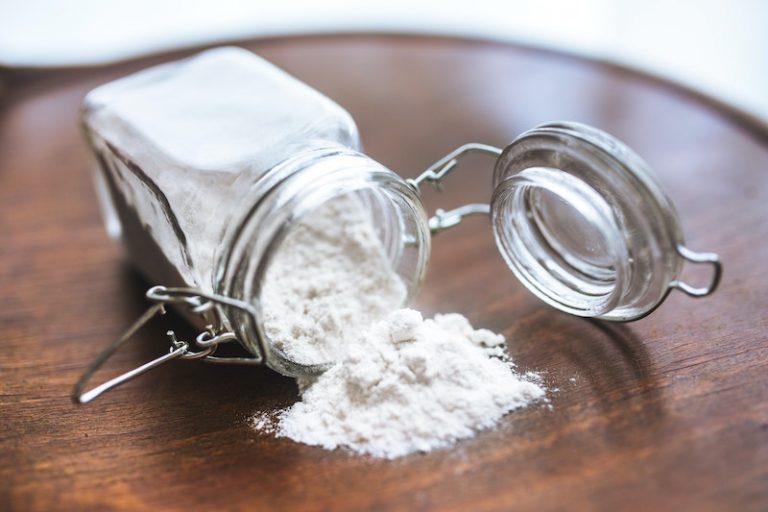
I’ve dealt with some nasty weeds in my day. I’ve also tried a lot of methods to get rid of said weeds. A lot of those so-called “tried-and-true” methods are actually bogus. Like so many gardening pieces of wisdom, a lot of weed control tricks aren’t really useful. What about baking soda for weed control?…
How I Feel About the Hunting of Garden Pests
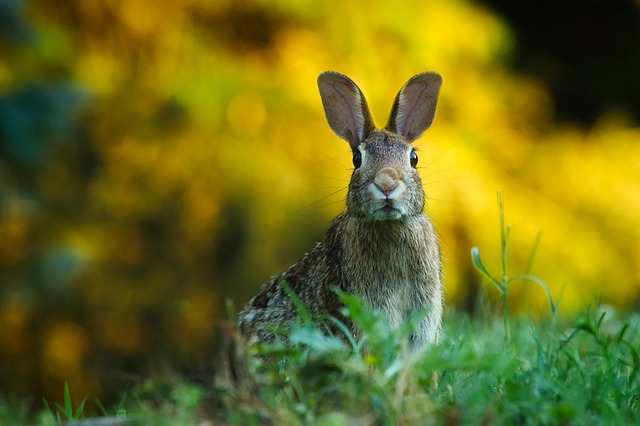
I’ve never had to deal with deer fussing about in my garden, but I have had plenty of squirrels, rabbits, raccoons, gophers, and cats use my raised beds as their very own buffet, walking path, and toilet. I’m speaking from my own limited experience here. But I’ve never felt comfortable with the idea of hunting…
5 Factors That Affect Plant Growth
Many factors affect plant growth. Plants have a few basic needs. Having these needs unmet will cause them to perish. There are also factors outside of a gardener’s control that can impact how well a plant grows. While some variables are out of your control, there are things that you can influence. What affects plant growth?…