
Should you use shredded paper as garden mulch? It might sound like a quirky, even questionable idea at first—but don’t toss it out just yet. In a world where so much gardening advice is either outdated or downright misleading, I’m usually the first to call out myths and misguided tips. But this time, I’m here…
gardening methods
How to Redesign Your Bulb Garden After This Year’s Mistakes
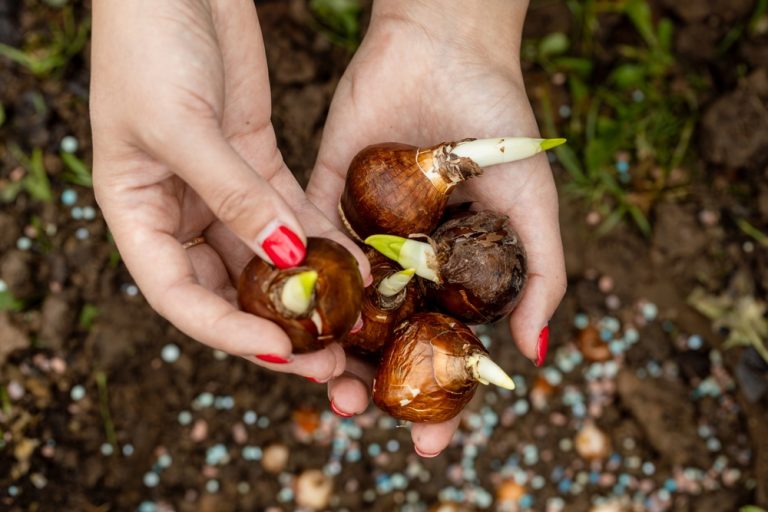
So, this year’s bulb garden didn’t exactly turn out like the Pinterest board, did it? Maybe the tulips bloomed two weeks too early, the daffodils looked like they’d seen better days, or your crocuses came up in weird, random patches that made the yard look like a botanical accident. You probably had high hopes in…
Killing Weeds with Diesel? Here’s What You Need to Know First

Should you use diesel to kill weeds? Short answer: Nope. Weeds can be annoying. They compete with other plants for nutrients and can turn a pretty, organized garden into a patchy mess. Still, I’ll continue to stand up for weeds. Some of the plants we consider weeds are actually beneficial. They offer up food to hungry…
6 Gardening Shortcuts That Only Work in Autumn
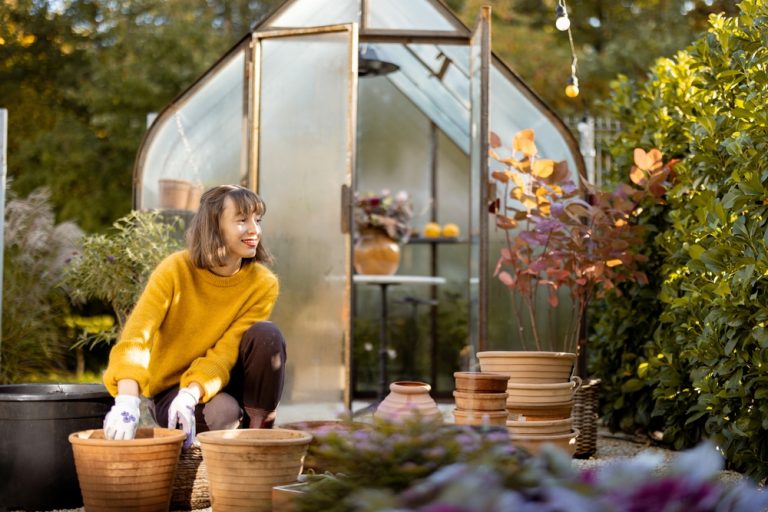
There’s something magical about autumn—the crisp air, the fiery leaves, the cozy sweaters—and if you’re a gardener, it’s your secret season of opportunity. While everyone else is packing up their tools and calling it quits, you can actually get ahead with a few clever shortcuts that only work during these cooler months. Autumn isn’t just…
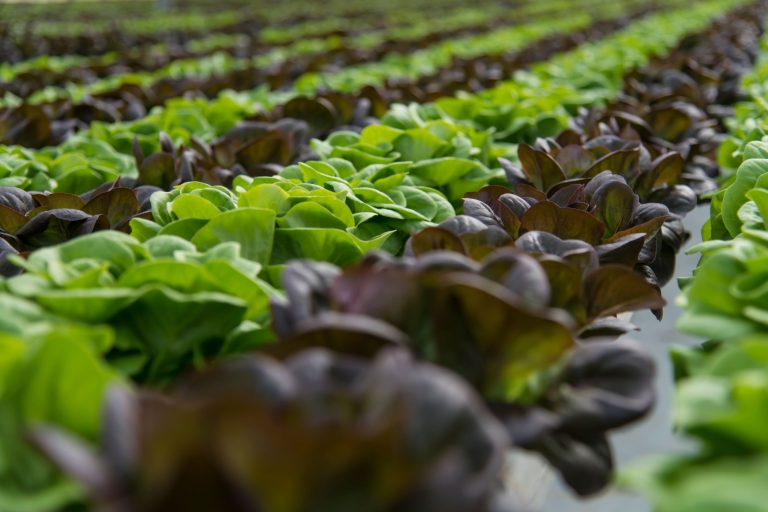
7 Cover Crops Every Garden Needs This Season
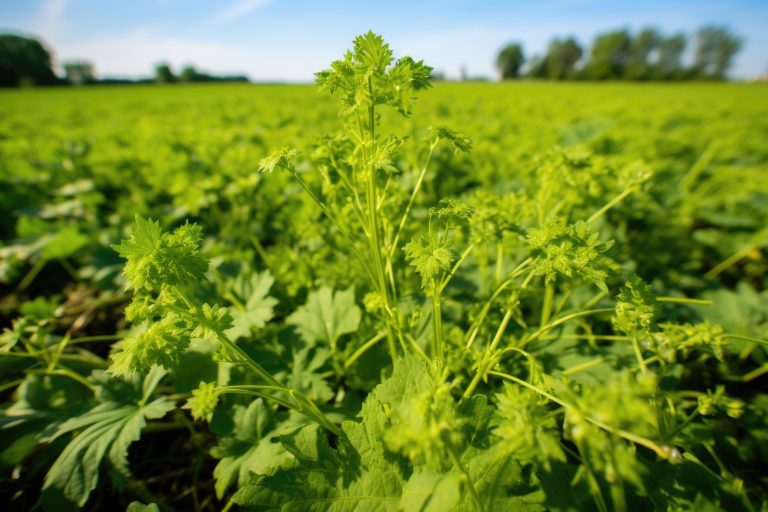
Have you heard of cover crops? While farmers usually use these during the off-season to protect soil, gardeners usually overlook this tool. Healthy soil is the backbone of every thriving garden and cover crops are the secret weapon too many gardeners ignore. These hardworking plants protect against erosion, feed the soil, suppress weeds, and boost…
The Container Gardening Trick That Saves Space and Boosts Yield
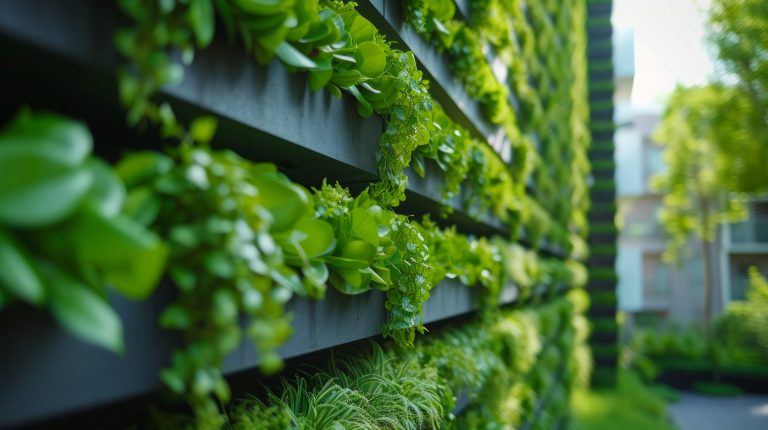
Imagine walking onto your balcony, patio, or tiny backyard and being greeted by a jungle of thriving tomatoes, peppers, strawberries, and herbs—all growing in neat little towers that look like something out of a futuristic farm. No sprawling garden beds, no weeding on your knees, no wasted space. Just lush plants stacked vertically, producing more…
The Root Pruning Hack That Supercharges Growth

You’ve watered, fertilized, and given your plants plenty of sunshine—yet something still feels off. Growth is slow, roots seem cramped, and your once-thriving greenery looks like it’s hit a wall. The secret, believe it or not, isn’t in the leaves or the soil mix—it’s hiding underground in the roots. Enter root pruning, the little-known hack…
8 Lawn Treatments That May Be Killing the Pollinators You Need
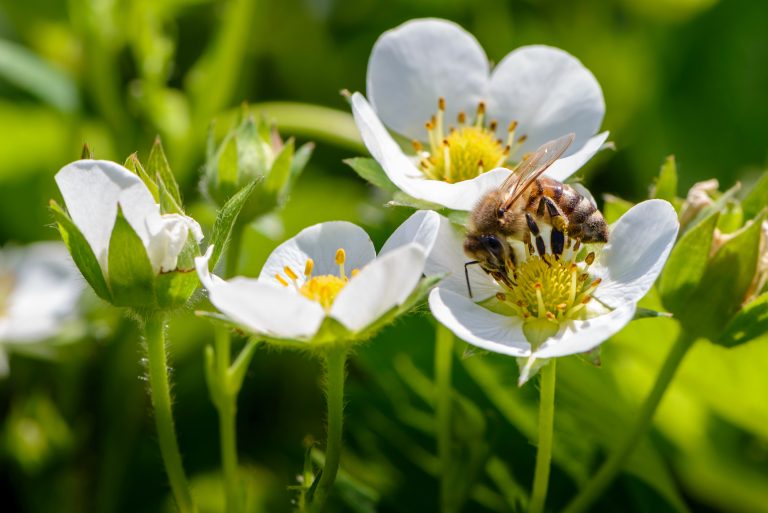
Did you know that how you treat your lawn can affect your garden? The chemicals used to achieve a healthy lawn often come with hidden costs. You may be chasing away critical pollinators without realizing it. Bees, butterflies, and other pollinators play a critical role in ecosystems, gardens, and food supplies. This simple mistake could…
6 Climbing Plants That Are Quietly Damaging Your Siding
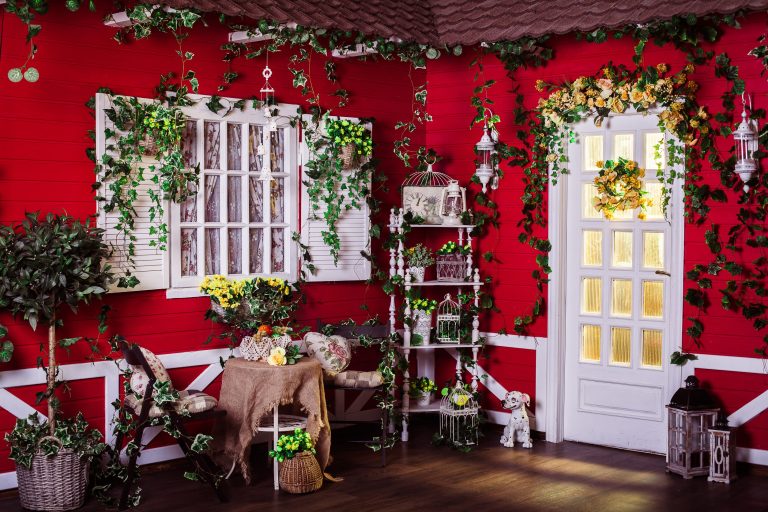
Climbing plants are a beautiful addition to any home exterior. They add greenery and a touch of romance to your façade. But what many homeowners don’t realize is that these same plants can quietly eat away at your siding, mortar, and paint. Over time, the damage can lead to expensive repairs and even structural concerns. …
Garden Planning: Crop Rotation
I’ve said it before. It’s so important for a frugal gardener to plan. While gardeners without a strict budget can afford to be a little lax when it comes to planning, those who are looking to save money, in the long run, need to be meticulous and start thinking about their garden layout months,…