I am a crafter. Mostly, I crochet, although I also knit and weave and collage and enjoy some other crafty activities. As a result of my craft, I have a lot of yarn in my home. Most of it I will use to crochet, of course. However, over the years, I’ve found that yarn can…
frugality
7 Free Gardening Ebooks You Can Download Right Now

I’m a huge fan of ebooks. I’m so into them that I actually have TWO e-readers! One for my library books and another for advanced reader copies (ARCs). Many people out there are willing to share their gardening knowledge. These free gardening ebooks are an excellent choice for frugal gardeners, people new to gardening,…
Protect The Garden From Excessive Rainfall: Frugal Tips
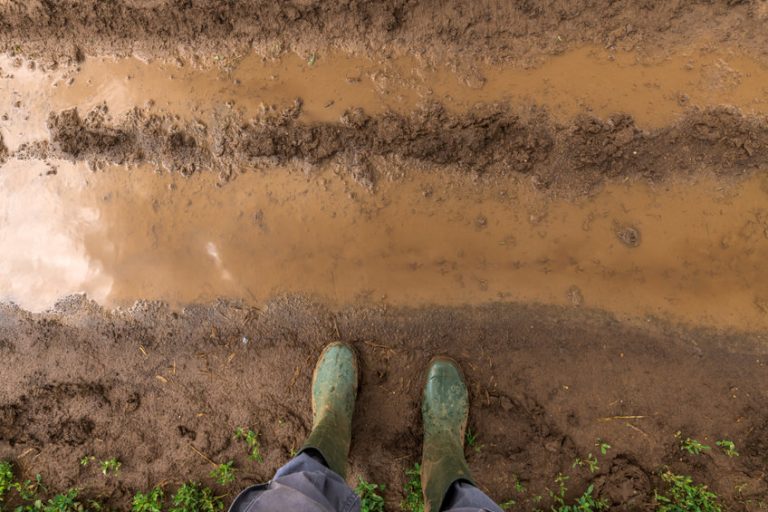
While it’s not necessarily a problem in all locations, many people have to worry about protecting their garden from excessive rainfall. Plants love water! Too little, and they’ll wither away. But too much water can also cause problems. Plants that are stuck drowning in waterlogged soil can succumb to root rot. These days, unpredictable weather…
7 Places Where You Can Get Free Mulch
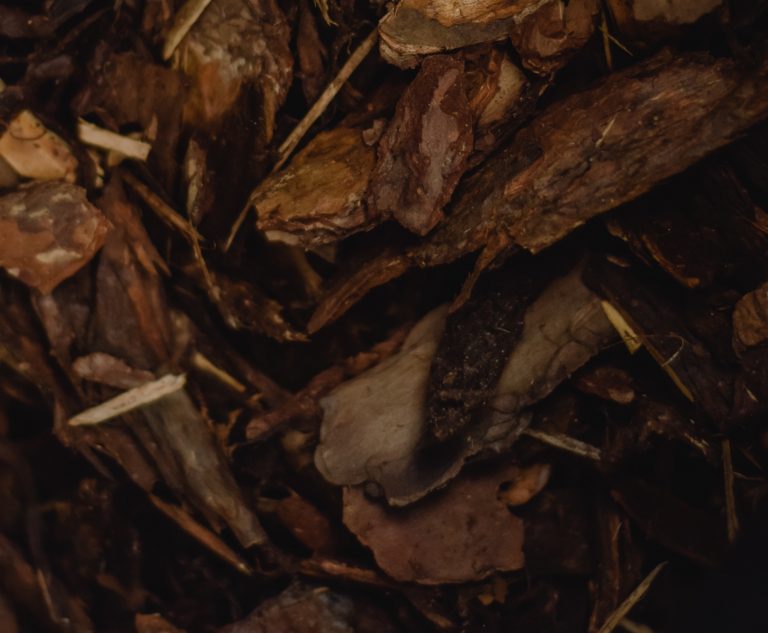
Mulch is one of the most useful tools for gardeners. It’s especially helpful at a time when the weather is unpredictable. We’ve begun to see the drastic effects of climate change in earnest, namely hotter summers. And while many garden plants love warm weather, there’s a point where the heat becomes unbearable—even for heat-loving…
Cheap Must-Have Tools For Frugal Gardeners
Gardening can get expensive if you let it. Personally, I’m not very big on DIY stuff for the garden. My chronic illness makes it difficult to spend too much time tinkering and toiling. Instead, I have to rely on cheap garden tools to make things work. It can take some time before you discover…
2 Different Ways To Start An Avocado Seed
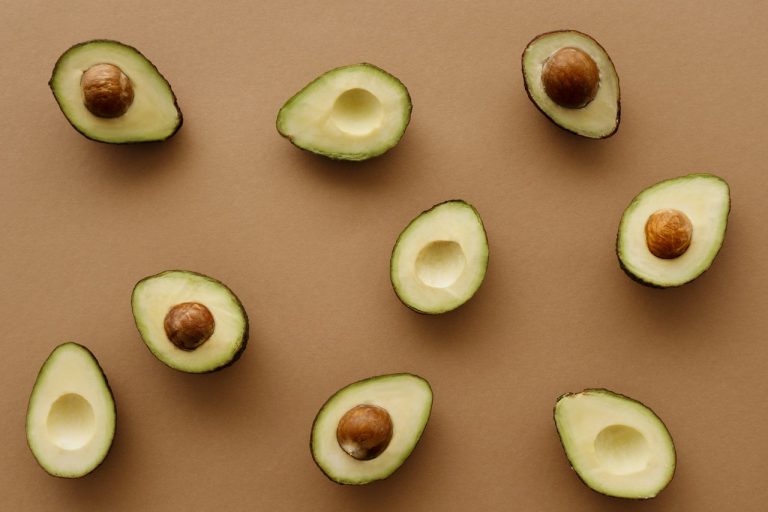
People love to put avocados on everything. I’m as much an avocado fanatic as the next person, but they don’t come cheap. Here’s how to start an avocado seed at home. Growing avocados at home I’ll be upfront with you. Growing an avocado tree takes time and patience. And it’s not a task suited…
5 Things To Consider When Recycling Soil
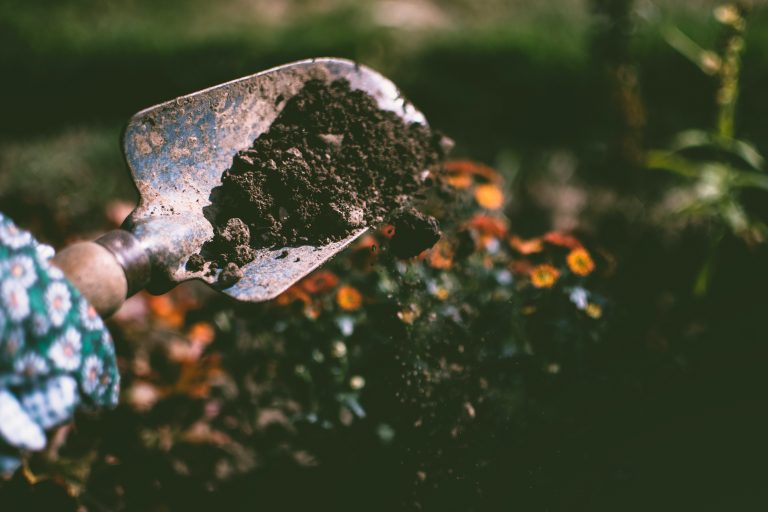
It’s the end of the growing season, and you’ve tossed your spent container tomato plants in the compost. Can you reuse the soil next year? Here’s a soil recycling checklist to go through before repotting plants in old soil or using last year’s soil leftovers in the spring. Pitfalls of Recycling Soil Reusing soil…
5 Houseplants That Won’t Waste Your Money
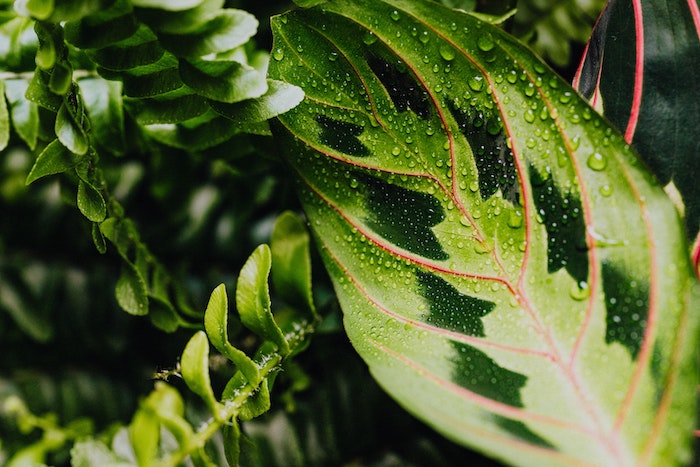
Ever since the pandemic began, I slowly started buying houseplants. I’d scour my favorite online nurseries and pounce when they had a sale or coupon code up for grabs. Of course, I already had some plants before the COVID situation, but adding more made my home feel cozier, livelier. When buying plants, I always…
Container Gardening: Fabric Pots vs. Plastic Pots
I love to plant crops in containers, especially finicky plants like eggplant and peppers. I use a variety of containers in my garden, including fabric pots. If it gets too cold, it’s simple enough to haul them inside. Containers are also great for those living in rental properties or those with limited space. It’s…
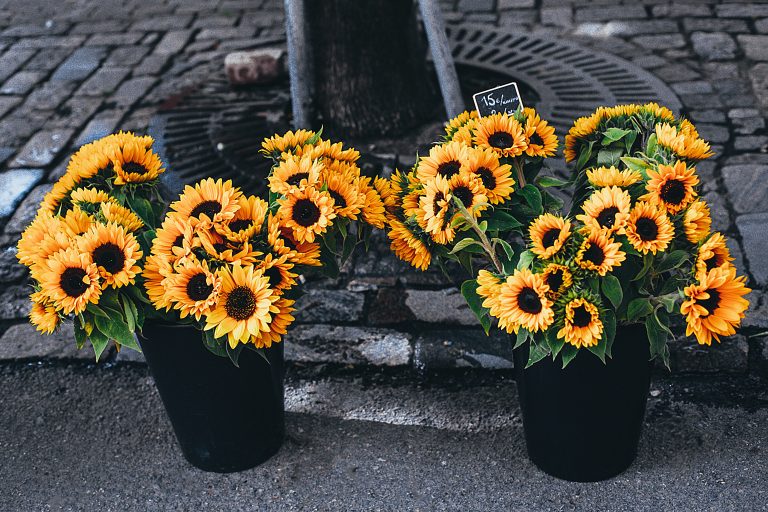
Harvesting Rainwater for the Frugal Gardener
Gardening requires quite a bit of water. For many gardeners that means an increase in their water bill during the hot summer months. Statistics show that lawn and garden watering make up at least 40% of our total household water use. Frugal gardeners, however, can take advantage of rainwater by bringing back an age-old,…