Apologies for the delay in posting this week. I managed to get mild food poisoning after a lovely brunch, and my stomach was in knots for nearly two days. The gardening season is definitely on its way, though! I love seeing photos of gardens slowly turning green and spotting hidden veggie beds in front or…
frugality
Cheap and Economical Humidity Dome Alternatives
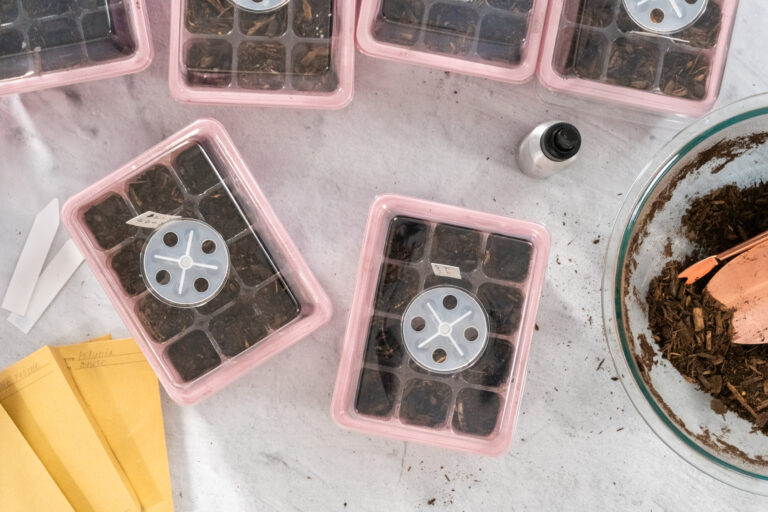
If you grow your plants from seeds then you probably know what a humidity dome is. (If not, don’t worry, we’ll go over it briefly below.) Just like with all of your other gardening supplies, you can buy humidity domes from a variety of different sources. However, you can also DIY them. Here are some…
12 Foods You Should Stop Buying Now to Save Money at Any Grocery Store
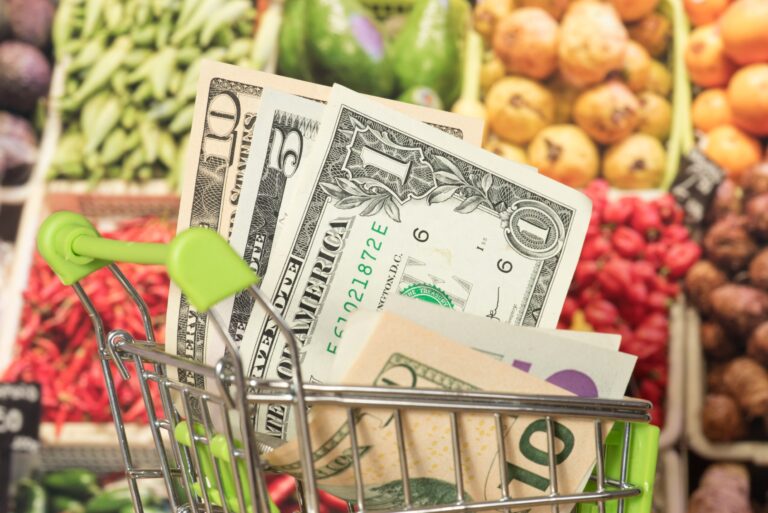
In today’s economy, saving money at the grocery store is more crucial than ever. With prices fluctuating and budgets tightening, smart shopping has become an essential skill. One effective way to cut costs is by avoiding certain high-priced items that can sneakily increase your grocery bill. Here are 12 foods you might skip on your…
The Harsh Truths: 15 Hard Lessons Learned from Being Perpetually Broke
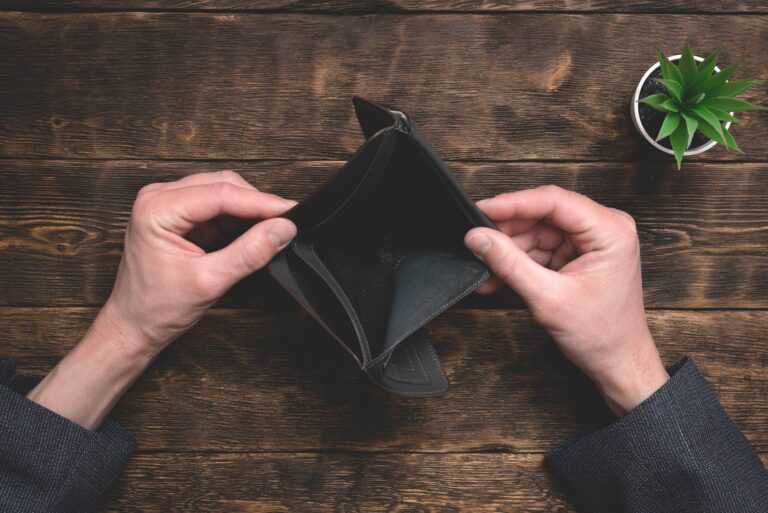
In today’s fluctuating economy, many find themselves in a never-ending cycle of financial instability. Being perpetually broke isn’t just a personal crisis; it’s a harsh reality that teaches invaluable life lessons. Here are 15 hard truths learned from the trenches of constant financial struggle, each shedding light on the deeper implications of what it means…
11 Home Remedies You Should Never Try When You Get Sick

In an era where quick fixes and natural remedies are more popular than ever, the allure of home treatments for common illnesses is understandable. However, not all home remedies are safe or effective, and some can be downright dangerous. While the internet is a treasure trove of health hacks and wellness tips, it’s crucial to…
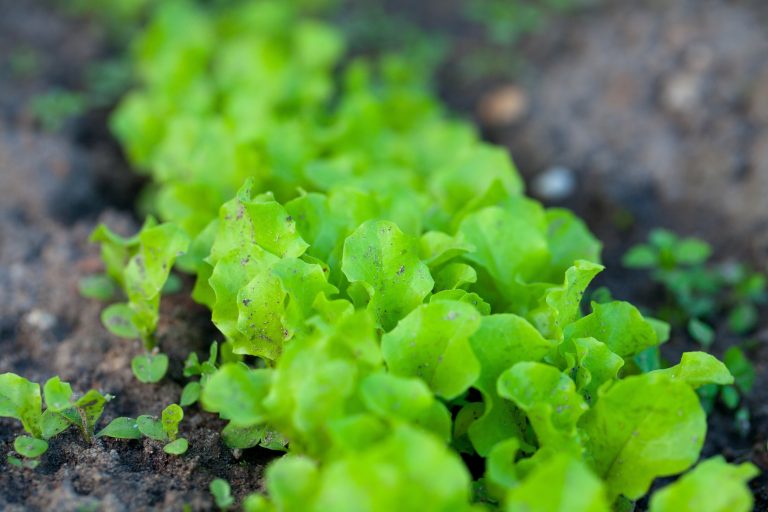
Buying Seedlings: Getting Your Money’s Worth

I am exhausted to the bone. Normally, at this time of year, I get excited about seed starting. I take stock of my seed supplies, order seeds I’m missing, and start planning out my garden. This year, I’ve yet to do any of that. I’m too overwhelmed and tired, so I’ve decided to forego…
5 Tips for Starting a Garden and Landscaping Company

With more people seeing the benefits of having a garden at home, the demand for professional services for gardening and landscaping grows. This is why you’ll be making a good call by starting a garden and landscaping company. If you’d like to know how you can do this with a good chance of success, read…
5 Ways to Get Your Garden Ready for Fall on a Budget
August is officially here, which means autumn is right around the corner. While the idea of getting your garden ready for the cooler season might seem overwhelming, you don’t need to worry! Here’s how you can revamp your garden for fall without breaking your budget. 1. Compare Prices of Tools Online If you’ve been using…
5+ Cheap Ways To Make Soil More Acidic
Every garden’s soil has a pH level. You can work with different pH levels using different plants. However, you have to know where you’re starting. And in some instances, you might want to change the pH level. For example, if your soil is too alkaline for the plants you want to grow, then you need…
Does My Brown Thumb Make Gardening a Waste of Money?
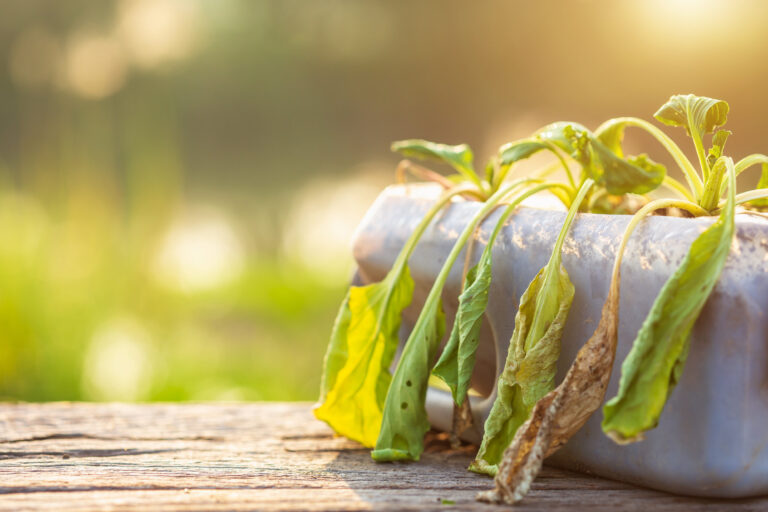
I have a confession to make: I have a bit of a brown thumb. In other words, I’m not that great at gardening. I have let more plants die than I’d like to admit. And yet, I keep trying to grow them and learning from my mistakes. Does this mean that gardening is a waste…