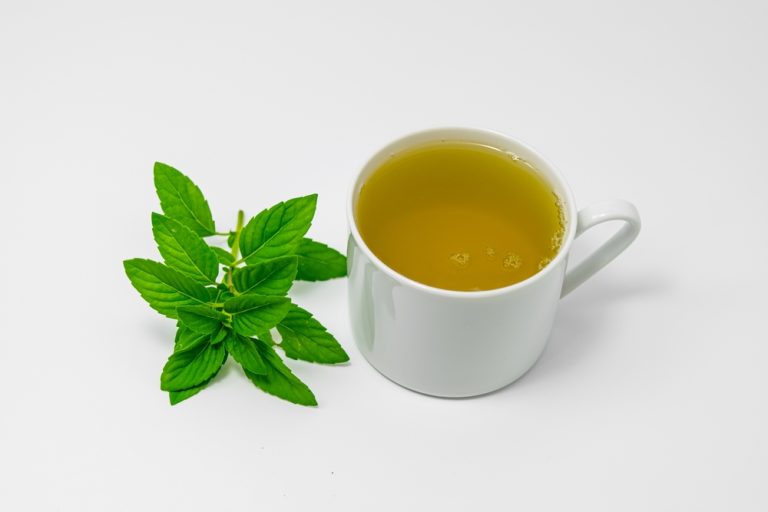
The supplement aisle makes it feel like you need a bottle for everything, but a lot of “wellness staples” are just concentrated versions of herbs and foods you can grow at home. If you’ve got a sunny window, a small bed, or even a few pots, you can harvest leaves, flowers, and roots that people…
frugality
Why DIY Bath Salts From Garden Herbs May Be Causing Skin Reactions
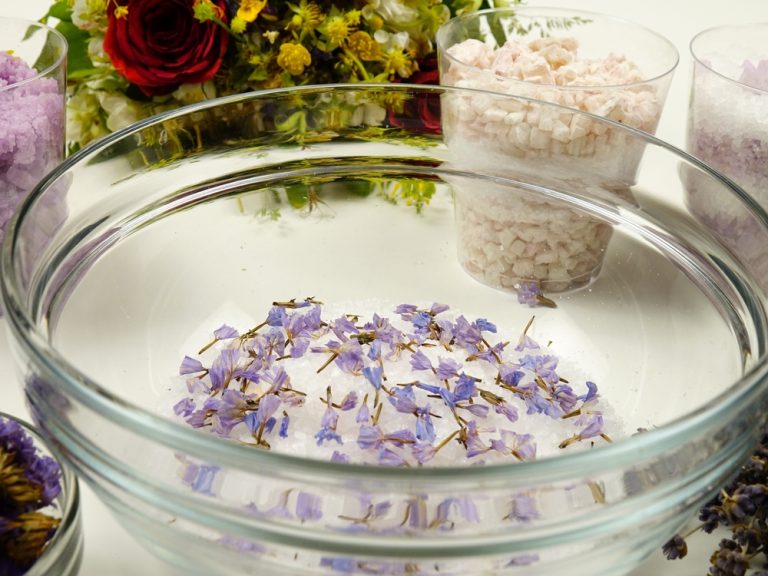
Homemade bath blends feel like the ultimate “use what you grow” win, right up until your skin starts itching, stinging, or turning blotchy. A lot of people assume a reaction means the herbs were “too strong,” but the real reasons are usually more specific than that. The way plants are dried, crushed, and combined with…
Is Growing Herbs at Home Still a Money Saver?
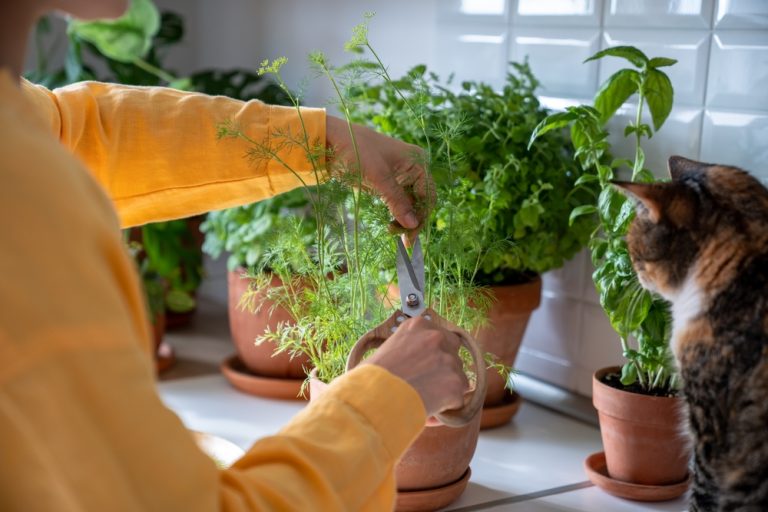
A clamshell of basil that turns slimy in three days can make anyone dream about a little kitchen herb garden. Herbs feel like the perfect “cheap win” because they’re expensive per ounce at the store, and a single plant can look like it’ll supply you forever. But between seed packets, potting mix, containers, grow lights,…
Gardeners Are Switching to Fewer Varieties to Cut Costs
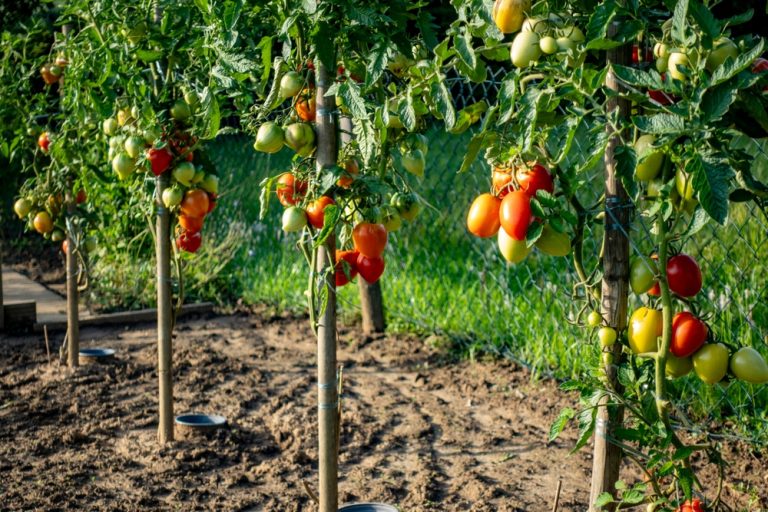
If your seed cart looks like a wish list and your garden beds look like a science experiment, you’re not alone. A lot of gardeners love trying every new tomato, pepper, and flower that shows up on social media, but those little packets add up fast. The surprise is that “more variety” doesn’t always mean…
Is Starting a Small Garden Cheaper Than You Think?
Most people assume gardening gets expensive fast, because they picture raised beds, bags of soil, and a cart full of tools. But a lot of that cost comes from buying everything at once instead of building a setup that grows with you. When you start small, you can learn what actually works in your space…
The Smart Gardener’s Guide: 4 Low-Cost Organic Fertilizers
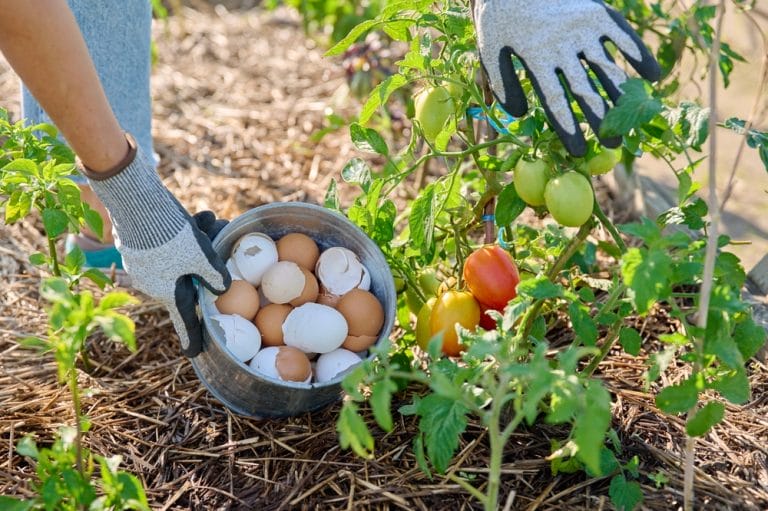
Regardless of what you’re growing, your plants need nutrients. Without fertilizer, your plants will fail to thrive and grow big and strong. In the case of edibles, a lack of nutrients can limit your crop and lead to poor production. Unfortunately, many fertilizers on the market are expensive. Thankfully, there are cheap organic fertilizers you…
How to Start a Frugal Grocery Garden for Less Than $20
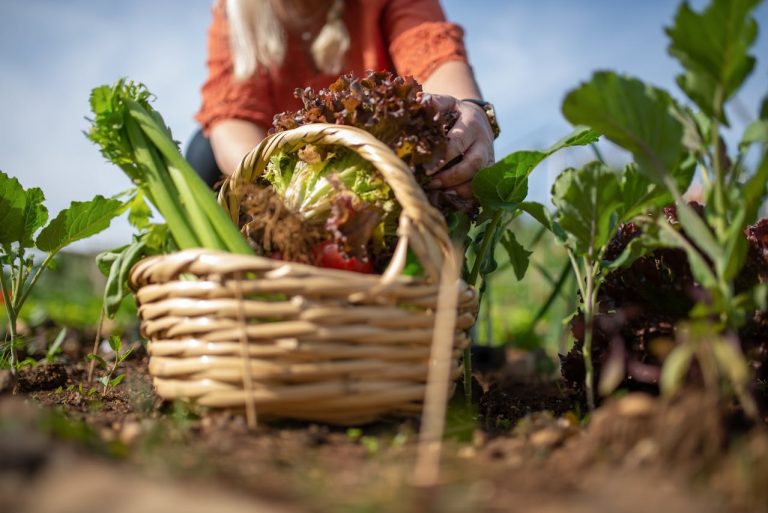
With grocery prices climbing and fresh produce often short-lived, starting your own budget-friendly grocery garden can be a smart way to save money and enjoy fresh food year-round. And the best part? You don’t need a big yard or a big budget. In fact, you can start a simple and productive garden for under $20….
9 Clever Ways to Start Gardening for Free

So, you want to start a garden but don’t have any money to spend? It is possible to garden for free, but it takes a little creativity. If you’re new to gardening, it’s best to learn as much as you can from blogs, podcasts, and books about gardening. Then, you can plan out your garden…
How to Create an Endless Food Supply from Your Kitchen Waste
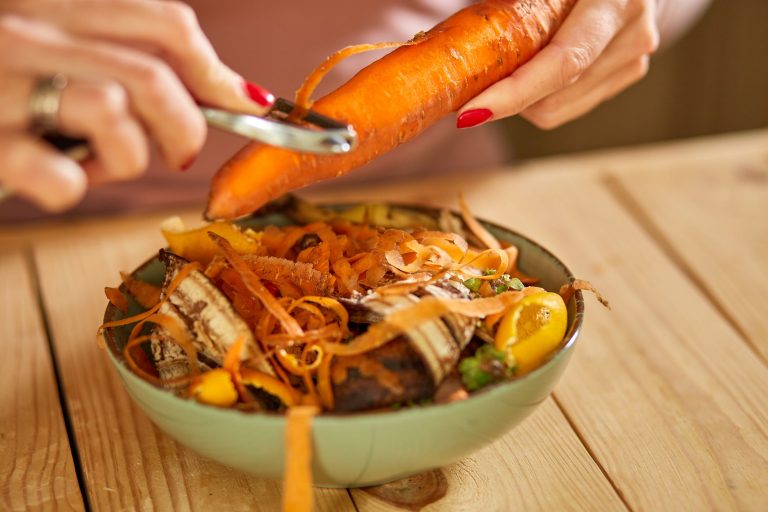
Did you know that growing food from kitchen scraps is incredibly easy and practically effortless? With just a little water, sunlight, and patience, you can regrow everything right in your own kitchen! Here’s how to get started. 1. Regrow Green Onions for an Endless Harvest Green onions are one of the easiest vegetables to regrow…
Winter Food Budgeting for the Frugal Gardener
In the past, I always noticed a jump in our food budget over the winter months. You’d think that the summer, with its frequent BBQs and outdoor game nights, would put a more significant dent in the budget, but I’ve noticed the opposite. In the summer, we get a lot of food right from the…