Seeds cost more every year. Garden centers stack those bright packets near the checkout line like candy, and each spring the cart fills up again. But a thriving garden already holds next year’s supply, tucked inside ripe tomatoes, drying bean pods, and fading flower heads. Saving seeds does more than cut costs. It strengthens plants, sharpens gardening skills, and creates a living link between one growing season and the next.
The best part? Seed saving requires simple tools, a little patience, and solid information. No lab coat. No complicated gear. Just attention, timing, and care.
Start With the Right Plants or Set Yourself Up for Success
Seed saving begins long before harvest day. The first step involves choosing the right plants to grow. Open-pollinated and heirloom varieties produce seeds that grow true to type, which means the new plants resemble the parent. Hybrid varieties, often labeled as F1 on seed packets, do not reliably produce the same traits in the next generation. A hybrid tomato might taste amazing this year but grow into something unpredictable if its seeds get planted next spring.
Gardeners who want dependable results should select open-pollinated varieties from the start. Heirloom beans, lettuce, peppers, and many herbs offer great beginner options. Crops like peas and tomatoes self-pollinate easily, which reduces the chance of accidental crossbreeding. On the other hand, plants in the squash or cucumber family cross-pollinate readily, so they require careful spacing or hand pollination if seed purity matters.
Planning plays a powerful role here. Keeping notes on plant varieties, bloom times, and spacing prevents confusion later. A simple garden journal or even labeled stakes in the soil keeps everything clear. Good records turn guesswork into confidence when seed-saving season arrives.
Timing Is Everything and Patience Pays Off
Seeds need to mature fully on the plant before anyone collects them. That often means leaving a few fruits or pods behind long after peak eating time. A cucumber meant for seed saving grows oversized and yellow. A lettuce plant bolts, shoots up a tall flower stalk, and looks past its prime. A bean pod dries and rattles instead of snapping fresh and green.
That transformation signals readiness. For dry-seeded crops like beans, peas, and many flowers, gardeners can allow pods or seed heads to dry right on the plant. Harvesting should happen on a dry day to prevent mold. Once collected, those pods can continue drying indoors on a tray or screen in a well-ventilated space.
Wet-seeded crops like tomatoes and cucumbers require a slightly different process. Tomato seeds benefit from fermentation, which removes the gel coating that surrounds them and improves germination. After scooping the pulp into a jar, gardeners add a little water and let the mixture sit for a few days. A thin layer of mold forms on top, and the viable seeds sink to the bottom. Rinsing and drying those seeds thoroughly on a plate or screen finishes the job.
Patience during drying makes all the difference. Seeds that retain moisture can rot in storage. A simple test involves bending a large seed like a bean; if it snaps cleanly instead of bending, it has dried enough.
The Simple Tools That Make Seed Saving Easy
Seed saving does not demand expensive equipment, but a few practical tools make the process smoother and more reliable. Clean jars handle fermentation for tomatoes and cucumbers. Fine mesh strainers rinse small seeds without losing them down the drain. Paper plates or coffee filters provide an ideal surface for drying because they absorb excess moisture.
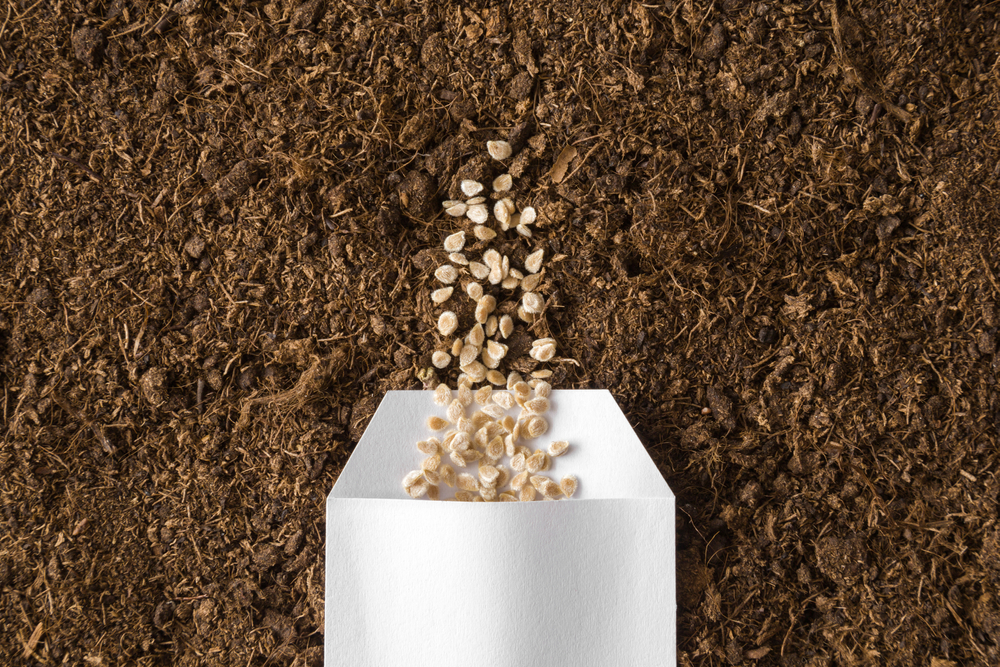
Labels rank among the most important tools in the entire process. Seeds from different varieties often look identical, and memory fades fast after a busy harvest. Writing the plant name and date directly on envelopes or small paper bags prevents frustration next season.
A small sieve or screen helps separate chaff from seeds, especially for flowers and herbs. Gardeners can gently rub dried seed heads between their hands and then sift out debris. Even a basic fan can assist with winnowing by blowing away lighter plant material while heavier seeds fall into a bowl.
These simple tools turn seed saving into an efficient routine instead of a messy experiment. Each one supports accuracy, cleanliness, and better long-term storage.
Storage Secrets That Protect Next Year’s Harvest
Proper storage determines whether seeds sprout vigorously or fail quietly. Seeds last longest in cool, dark, and dry conditions. A paper envelope tucked inside an airtight container with a silica gel packet or a spoonful of dry rice absorbs stray moisture. Many gardeners use a refrigerator for long-term storage, but they must ensure that seeds stay completely dry before sealing them in.
Different crops offer different lifespans. Onion and parsnip seeds lose viability quickly, often within one year. Tomato, pepper, and bean seeds can last three to five years when stored well. Lettuce and brassicas such as kale and cabbage fall somewhere in between.
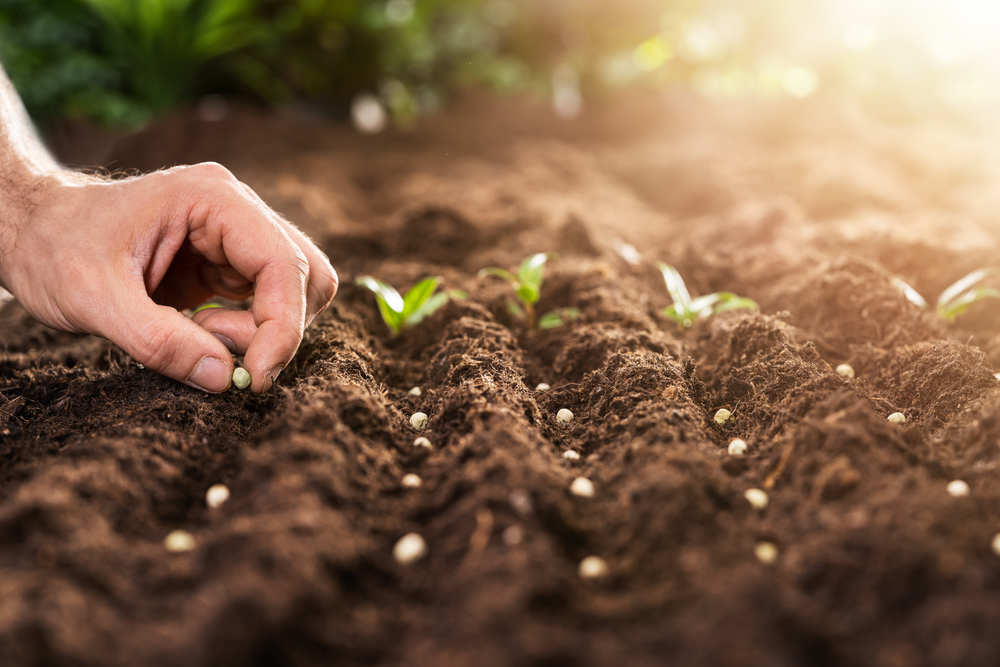
Organization saves time in spring. Sorting envelopes by crop type or planting season makes garden planning smoother. Clear labeling prevents accidental mix-ups and ensures that older seeds get used first. Every saved seed represents potential. Protecting that potential requires intention, not guesswork.
Stronger Gardens Through Selection and Observation
Saving seeds does more than stretch a budget. It shapes the future of the garden. When gardeners choose seeds from the healthiest, most productive plants, they practice natural selection on a small scale. Over time, plants adapt to local soil, climate, and care practices.
If a particular tomato plant resists disease while others struggle, saving seeds from that plant increases the chance of similar resilience next year. If one lettuce variety tolerates heat without bolting too quickly, those seeds deserve priority. This careful observation builds a garden tailored to its environment.
Selection requires honesty. Seeds from weak or diseased plants should not make the cut. Quality matters more than quantity. Focusing on the best performers improves results season after season.
That process transforms gardening into a deeper partnership with the land. It replaces dependency with knowledge and skill.
Avoid Common Mistakes Before They Cost a Season
Seed saving rewards attention but punishes shortcuts. Collecting seeds too early ranks among the most common mistakes. Immature seeds rarely germinate well. Mixing varieties accidentally can also cause surprises, especially with crops prone to cross-pollination like squash or corn.
Moisture creates another major problem. Even slightly damp seeds can develop mold in storage. Thorough drying prevents heartbreak months later. Gardeners should also resist saving seeds from patented or proprietary varieties when restrictions apply. Respecting plant breeders and seed laws keeps everything above board.
Learning from small failures strengthens future efforts. Starting with easy crops such as beans, peas, lettuce, and tomatoes builds confidence before tackling more complicated plants.
The Real Harvest Happens After the Harvest
Seed saving does not end when the last tomato gets picked or the final sunflower droops. It continues in labeled envelopes, organized containers, and careful notes that guide next year’s planting plan. The true reward lies in control, resilience, and the quiet thrill of planting seeds that came from the same soil the year before.
Which plants in your garden deserve a second generation next year? We want to hear your thoughts in our comments section below.
You May Also Like…
9 Seeds You Can Plant Immediately — No Matter the Weather
5 Tips For Successfully Reviving 100 Year Old Tomato Seeds
8 Seeds That Germinate Reliably Without Special Equipment
12 Seeds You Should Start Early If You Want Big Spring Harvests
Gardeners Are Switching to Heirloom Seeds to Save Money
Brandon Marcus is a staff writer for FrugalGardening.com at District Media, Inc., where he delivers practical gardening advice with a relatable, no-nonsense style. An avid amateur gardener, he holds a BA degree and with over ten years of professional writing experience, he is also an award-winning published author whose first book, Questions For Deep Thinkers, was released by Adams Media. His work has appeared in major publications including Fandom.com, CHUD.com, TheColdWire.com, and Fansided.com.
Leave a Reply