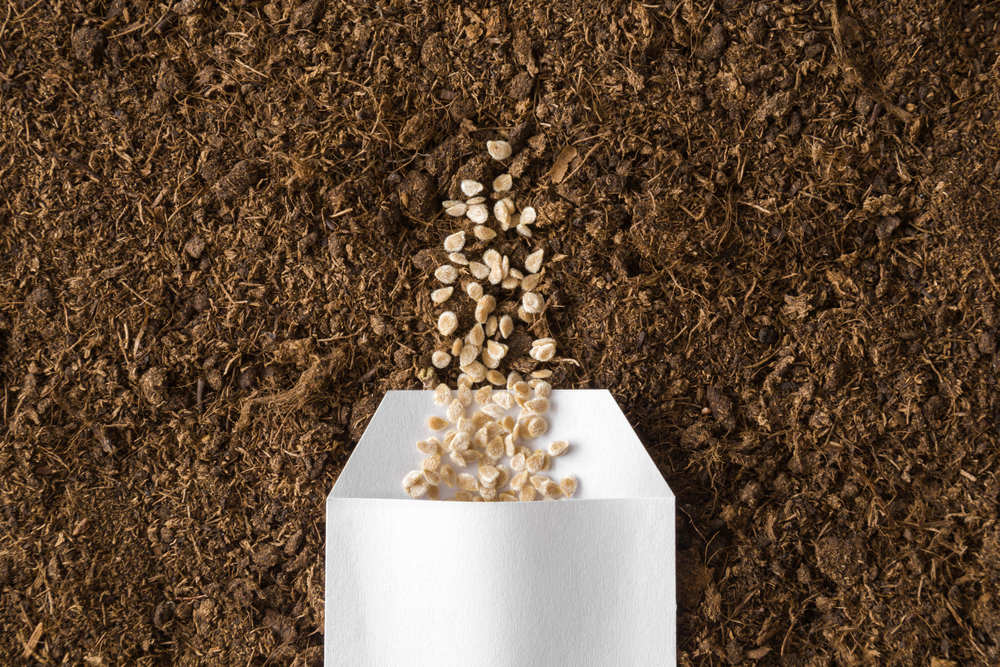
Holding a packet of tomato seeds that predates your grandparents feels like time travel in the palm of your hand — a chance to revive a flavor, a color, or a variety that hasn’t seen sunlight in a century. But as romantic as the idea is, the reality can be a little nerve‑wracking.
Seeds don’t last forever, and tomato seeds that are 100 years old are well past their expected viability window. Still, “well past” doesn’t mean “impossible.” With the right techniques, gardeners have successfully germinated seeds that are decades — and occasionally more than a century — old.
1. Start With a Gentle Wake‑Up: Rehydrate the Seeds Slowly and Carefully
Old seeds often fail not because they’re “dead,” but because they’re too dry to respond to moisture the way fresh seeds do. Over decades, seeds lose internal moisture and their protective coatings become brittle. That’s why the first step is a slow, controlled rehydration. Instead of soaking them immediately — which can shock fragile seeds — start by placing them in a sealed container with a damp (not wet) paper towel nearby. The seeds shouldn’t touch the towel; they just need the humidity.
This gentle humidity chamber helps the seeds absorb moisture gradually, reducing the risk of cracking or rupturing. After 24 to 48 hours, you can move on to a short soak in room‑temperature water. Some gardeners add a drop of liquid kelp or a mild compost‑tea solution, but plain water is perfectly fine. The goal is simply to help the seed coat soften enough for germination to begin.
2. Use the Fermentation Trick: Mimic Nature’s Way of Breaking Down Barriers
Tomato seeds in nature pass through the fruit’s natural fermentation process, which breaks down the gelatinous coating that inhibits germination. When seeds are extremely old, that coating may still be partially intact or hardened. A controlled fermentation can help.
Place the seeds in a small jar with just enough water to cover them and let them sit for 24 hours. You’re not trying to create a full fermentation like you would with fresh seeds — that would be too harsh. Instead, you’re giving the seeds a mild biological nudge. After the soak, rinse them gently and let them dry on a paper towel for a few hours before planting.
3. Create a Warm, Stable Environment: Old Seeds Need Consistency
Fresh tomato seeds are pretty forgiving, but century‑old seeds are divas. They want warmth, they want stability, and they want zero surprises. The ideal germination temperature for tomatoes is around 75–85°F (24–29°C). Anything colder slows germination, and anything hotter risks damaging the embryo.
Use a seed‑starting heat mat if you have one, or place the seed tray somewhere consistently warm. Avoid windowsills where temperatures fluctuate dramatically. Old seeds also benefit from being planted shallowly because they may not have the energy to push through a thick layer of soil.
4. Try Multiple Germination Methods: Give Yourself More Than One Chance
When dealing with seeds that are older than most modern appliances, you don’t want to rely on a single method. Different seeds respond to different conditions, and you won’t know which ones still have life left until you try.
Place seeds between damp paper towels in a sealed bag. Plant them in a homemade seed-starting mix and keep them warm. Use the patented “float test.” All of these are options that gardeners can pursue.
Running multiple methods increases your odds of success and gives you valuable information about which conditions the seeds respond to best. If even one seed sprouts, you’ve revived a piece of history.
5. Be Patient — Really Patient — Because Old Seeds Don’t Follow the Rules
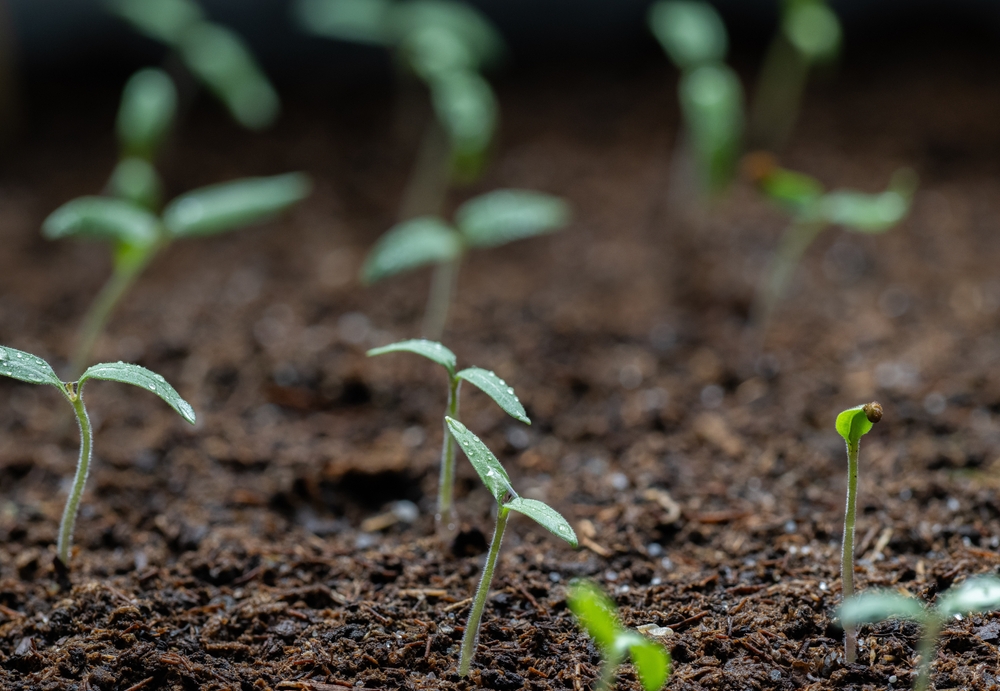
Fresh tomato seeds often germinate in 5–10 days. Old seeds? They might take weeks. Sometimes months. And occasionally, they surprise you long after you’ve given up. The embryo inside an old seed may be sluggish, damaged, or partially dormant, and it needs more time to respond.
Don’t toss your seed trays too early. Keep them warm, lightly moist, and undisturbed for at least six to eight weeks. Some gardeners even keep old‑seed trays going for an entire season just in case. If you see mold, remove it gently and improve airflow, but don’t assume the seeds are done.
Growing a Tomato That Hasn’t Been Seen in 100 Years
Reviving century‑old tomato seeds isn’t just a gardening project — it’s a connection to the past. It’s a chance to grow something your ancestors may have eaten, traded, or saved for future generations. Even if only one seed germinates, the reward is enormous. You’re not just growing a tomato; you’re preserving history.
Do you have tomato seed stories to tell? Have you ever tried reviving old seeds, or are you tempted to hunt down a forgotten heirloom variety now? Let’s hear about it in the comments.
You May Also Like…
The Pest That’s Wiping Out Backyard Tomatoes in Georgia — And How to Stop It Cheaply
The One Plant You Shouldn’t Put Next to Tomatoes, According to Gardeners
The Organic Fertilizer Problem Gardeners Are Reporting in 2026 — And How to Fix It Cheaply
New HOA Rules in the Carolinas Are Banning These Common Garden Features
8 Seeds That Germinate Reliably Without Special Equipment
Brandon Marcus is a staff writer for FrugalGardening.com at District Media, Inc., where he delivers practical gardening advice with a relatable, no-nonsense style. An avid amateur gardener, he holds a BA degree and with over ten years of professional writing experience, he is also an award-winning published author whose first book, Questions For Deep Thinkers, was released by Adams Media. His work has appeared in major publications including Fandom.com, CHUD.com, TheColdWire.com, and Fansided.com.
Leave a Reply