The garden isn’t always the peaceful paradise you imagine. Sometimes, your favorite plants suddenly wilt when placed side by side, while others thrive together like old friends. The truth is, plants have their own secret dramas happening beneath the soil, in the air, and even through invisible chemical signals. Some plants simply refuse to coexist,…
garden tips
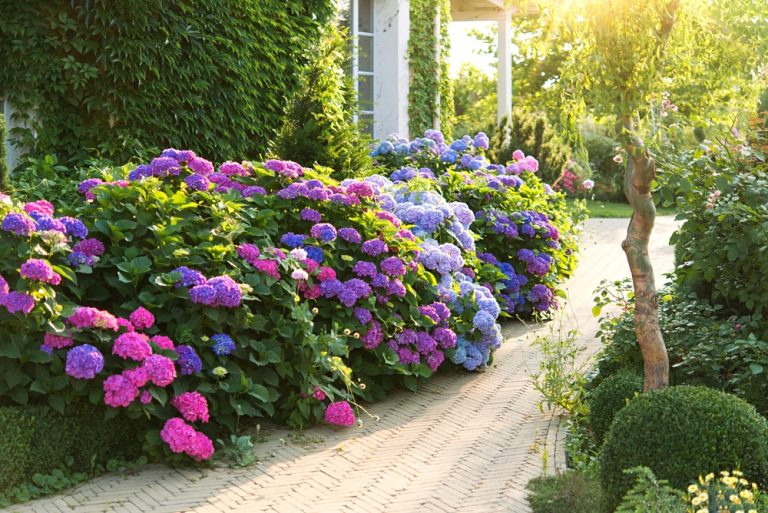
9 Shrubs That Stay Shockingly Colorful Even in the Coldest Months
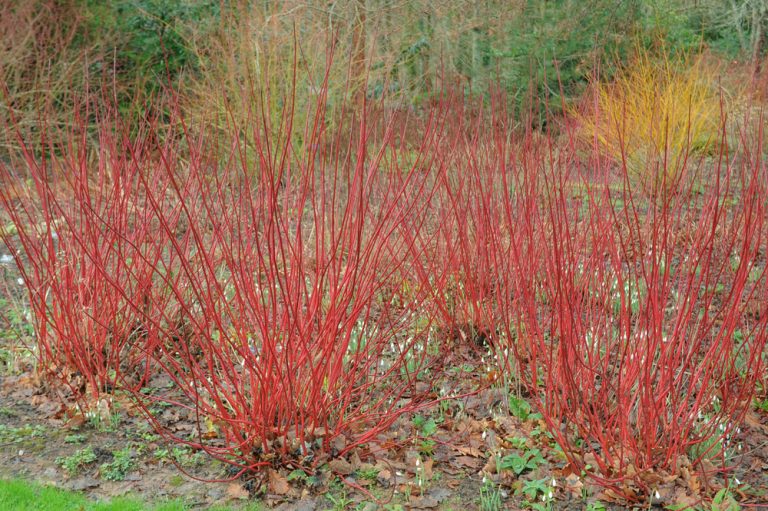
Winter can feel like nature’s way of hitting the snooze button. Frosty mornings, bare trees, and endless shades of gray often dominate the landscape, making gardens feel dreary and uninspired. But some shrubs have the audacity to defy the cold, bursting with color when everything else is retreating. Imagine stepping into a yard where vibrant…
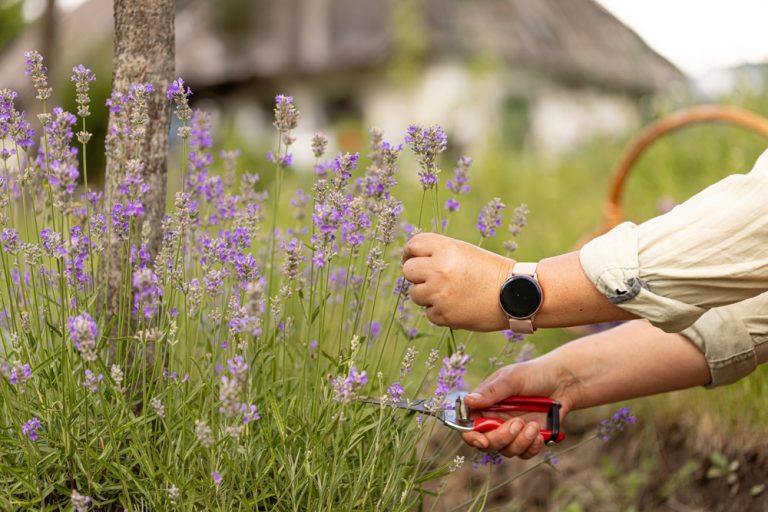
What Garden Experts Say Most Beginners Get Wrong in January
Winter doesn’t mean your garden takes a vacation. In fact, January is a secret powerhouse month for gardeners who know the tricks, and beginners often stumble before they even know what’s possible. While frost and gray skies might seem like signals to slow down, smart gardeners are already setting the stage for a lush spring….
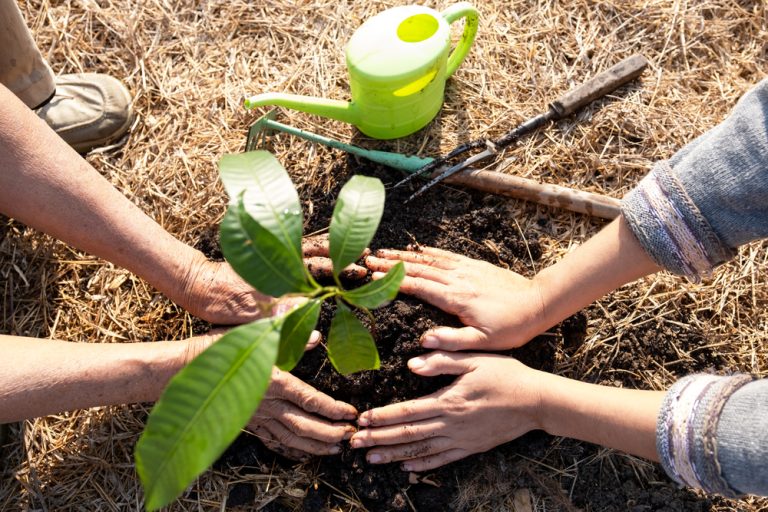
12 New Year Resolutions Every Garden Lover Should Consider
The start of a new year is the perfect time to dream big, dig deep, and grow not just plants, but skills, habits, and creativity in your garden. Whether you’re a weekend plant warrior or a full-time green-thumb enthusiast, these resolutions will transform your outdoor space and your gardening game. Imagine a year where your…
6 Houseplants That Thrive in Neglect and Still Impress Guests
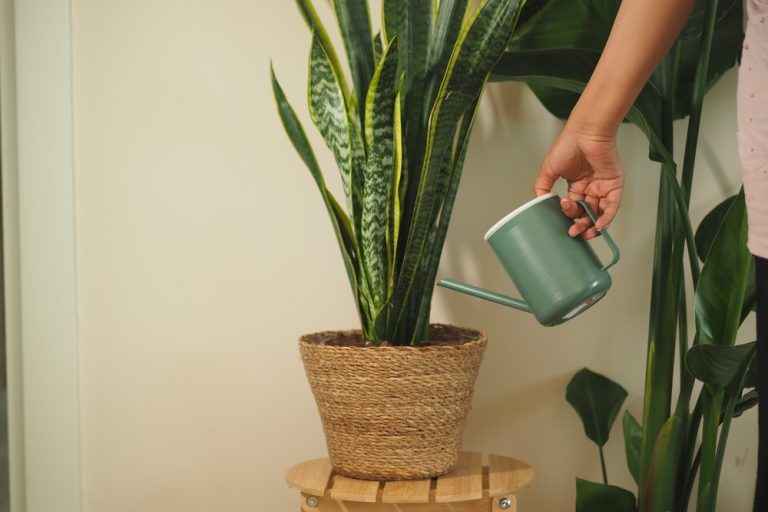
If your idea of “gardening” is remembering to water a plant before it dies, fear not! Some houseplants don’t just survive—they flaunt their beauty even when your green thumb takes a vacation. From dramatic foliage to quirky shapes, these plants quietly steal the spotlight while demanding almost nothing from you. Guests will assume you’re a…
10 Groundcovers That Look Beautiful but Hide Invasive Behavior

Gardens are a playground of color, texture, and life—but some of the most stunning plants can be little tricksters. Groundcovers are often adored for their lush carpets of green, bright blooms, or the way they elegantly spill over edges. Yet beneath that beauty, some of these low-growing wonders harbor a secret: they spread aggressively, take…
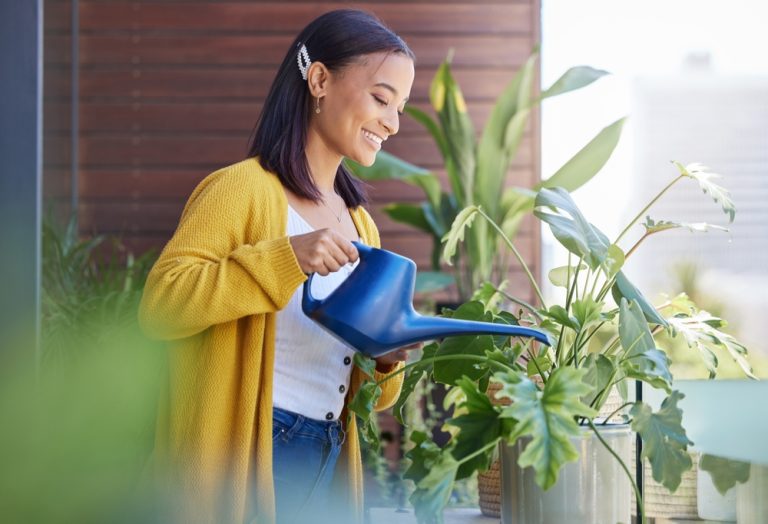
This Garden Trick Could Cut Your Water Bill in Half

Summer heat is blazing, your plants are wilting, and your water bill just made you do a double-take. But what if a simple garden trick could cut that bill in half while keeping your flowers, vegetables, and lawn thriving? Yes, you read that right—half! This isn’t some fad or gimmick. With a few clever tweaks,…
7 Rare Plants Collectors Say Will Soar in Popularity This Year
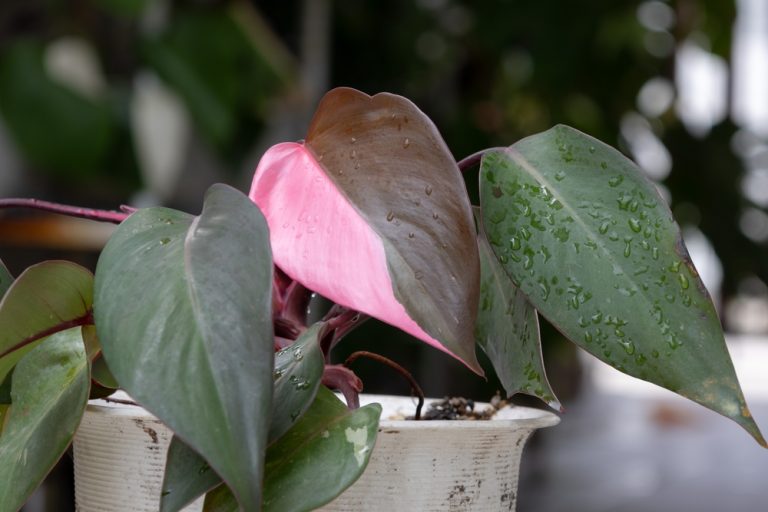
Gardening has never been this thrilling. From the quiet elegance of a tiny leaf to the drama of a bold, patterned bloom, plant collectors are on the hunt for specimens that spark joy, curiosity, and a hint of envy among fellow enthusiasts. This year, rare and unusual plants are taking center stage, captivating hobbyists and…
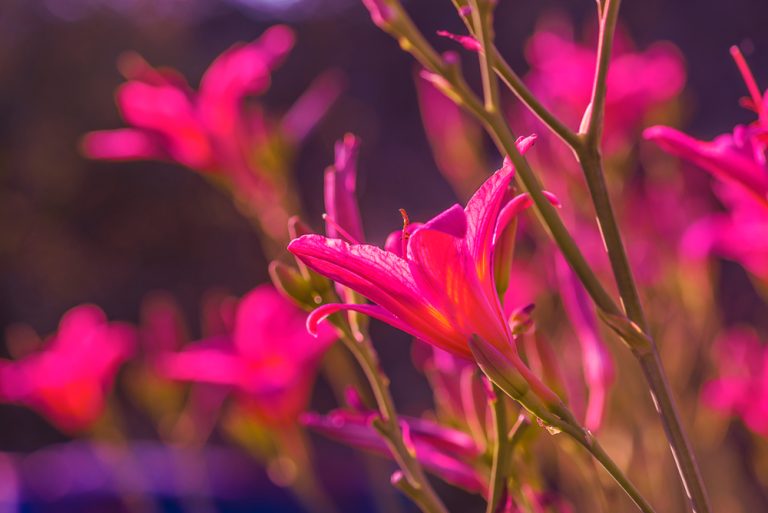
Which Plants Thrive in Shade and Ice but Hate Sun?
Gardening isn’t always about basking in glorious sunlight. Some plants practically revel in the quiet whispers of shade and the crisp bite of winter frost, turning areas that seem “impossible” for gardening into lush, enchanting retreats. These are the rebels of the plant kingdom—cool, resilient, and oddly finicky when the sun gets too bright. If…
11 Hardy Plants That Bounce Back Faster Than You Think After Winter
Winter can be brutal on a garden. Frost, ice, and chilling winds strip life from delicate plants and leave even the hardiest gardeners wondering if anything will survive. But nature has a stubborn streak—some plants not only endure winter’s wrath, they rebound with vigor the moment spring arrives. These botanical warriors are resilient, low-maintenance, and…