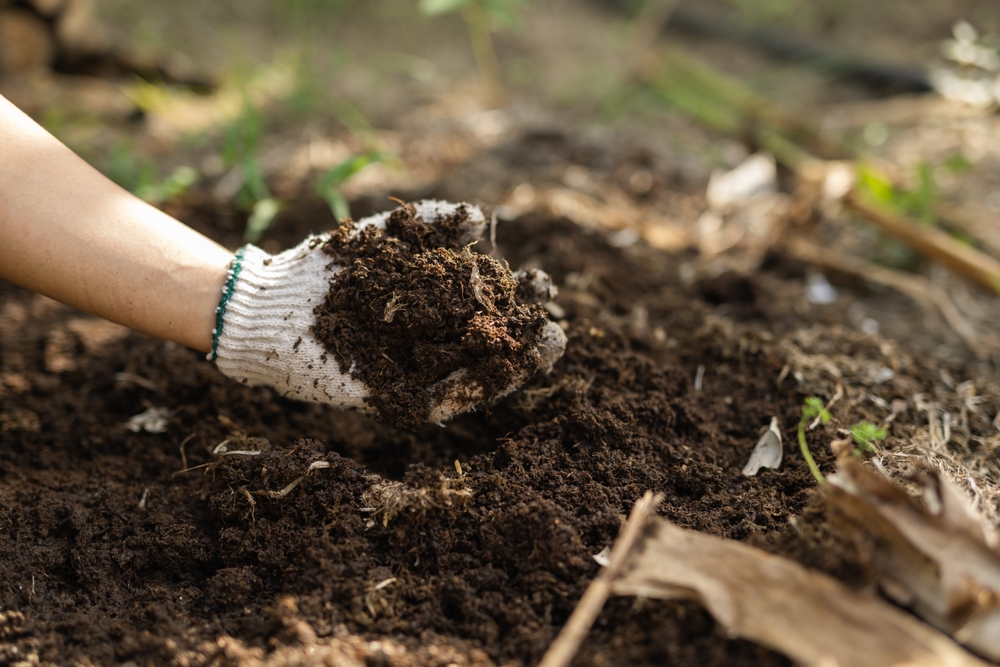
Spring bulbs bring a little seasonal magic to the garden, but getting them into the ground involves more than digging a hole and dropping them in. If compost sits nearby, it can look like an obvious helper, especially when the soil looks tired, compacted, or generally unimpressed with its gardening assignment. The good news is that compost can improve the soil around spring bulbs, but more is not automatically better.
The trick involves preparing the planting area without turning it into a buffet of overly rich soil. Spring bulbs such as tulips, daffodils, crocuses, and alliums generally prefer well-drained soil, and that detail matters far more than creating a supercharged planting mix. A little thoughtful soil preparation can give bulbs a much better start, while a heavy dose of compost can create problems that show up later.
Compost Can Help, But Soil Comes First
Compost can make a useful addition to a bulb bed because it adds organic matter and can improve soil structure. In heavy clay, organic matter can help create more pore space and improve the way water moves through the soil, although compost cannot magically transform dense clay overnight. In sandy soil, organic matter can help the soil hold moisture and nutrients more effectively. That makes compost particularly useful when the existing soil needs some help with structure rather than simply more fertilizer.
The key involves mixing compost into the planting area instead of filling each bulb hole with a concentrated pocket of it. A handful of finished compost worked into the surrounding soil makes more sense than creating a luxurious little compost bathtub for every tulip. Bulbs need oxygen around their roots, and soggy conditions can encourage bulb rot. Well-rotted compost also differs from fresh manure or unfinished compost, which can contain compounds that damage roots and may introduce weed seeds or other unwanted surprises.
Avoid Turning the Bulb Bed Into a Compost Buffet
Spring bulbs do not need an extravagant feast at planting time. Many bulbs store energy inside their fleshy underground structures, which gives them the resources they need to produce roots, leaves, and flowers when conditions become favorable. Excessively rich soil does not guarantee better blooms, and adding large amounts of nitrogen-rich material can encourage lush foliage without necessarily producing the flower display gardeners want. In other words, more green does not always mean more gorgeous.
A better approach involves looking at the soil before reaching for the compost pile. If the bed already contains reasonably fertile, well-drained garden soil, there may be little reason to add much at all. If the soil feels compacted or lacks organic matter, incorporate a modest amount of mature compost into the broader planting area. That improves the environment around the bulbs without creating a concentrated pocket of nutrients and moisture. The goal involves improving the soil, not building a five-star restaurant underground.
Drainage Matters More Than You Know
Bulbs can tolerate plenty of ordinary garden conditions, but many dislike sitting in waterlogged soil. That makes drainage one of the most important factors to consider before planting. A beautiful bag of compost cannot compensate for a planting site that routinely holds water after rain. If a bed stays soggy, gardeners may need to address the site itself rather than simply adding more organic material.
Before planting, watch how water behaves in the area after a decent rainfall. If puddles linger, consider whether the site needs better drainage, a raised planting area, or a different location altogether. Avoid planting bulbs in a low spot where water naturally collects unless the specific bulb handles those conditions. Compost can improve soil structure over time, but it should not serve as a quick fix for chronic drainage problems. A bulb may forgive a lot, but spending winter in a swamp is asking quite a bit.
Prepare the Bed Before the Bulbs Go In
Good bulb preparation starts with loosening the soil across the planting area. Remove large stones, break up compacted sections, and work mature compost into the upper layer of soil if the bed needs additional organic matter. There is no need to pulverize the soil into powder, because a loose, crumbly texture works better than an overly worked planting bed. Once the soil looks workable, follow the planting depth and spacing recommendations for the specific bulbs.
Plant bulbs with the correct orientation, usually with the pointed end facing upward and the root plate facing downward. Cover them with soil and water the area after planting if the soil remains dry, but avoid keeping the bed constantly saturated. Gardeners often focus heavily on what goes into the hole, yet the bigger picture matters just as much. The right site, planting depth, drainage, and soil texture all contribute to a successful bulb display.
Give Bulbs What They Actually Need
Compost makes the most sense when it solves a soil problem. It can add organic matter, improve structure, and contribute some nutrients, but it should complement good soil rather than replace it. For established garden beds with decent soil, gardeners may only need a light layer of finished compost worked into the planting area. That simple approach keeps the soil balanced and avoids the temptation to bury bulbs in an oversized mound of amendments.
After planting, patience becomes part of the gardening job. Spring bulbs spend months developing roots and preparing for their eventual appearance above ground, often while the garden looks remarkably uneventful. Resist the urge to dig them up for a progress report. With suitable soil, adequate drainage, correct planting depth, and sensible compost use, bulbs can settle in without much fuss and reward that restraint when spring finally arrives.
The Best Compost Strategy Is Surprisingly Simple
Adding compost before planting spring bulbs can absolutely make sense, particularly when the soil needs more organic matter or better structure. The important part involves moderation and good judgment rather than a rigid recipe for every garden. Use finished compost, incorporate it into the surrounding soil, and pay close attention to drainage before planting.
What soil preparation trick has made the biggest difference in your spring bulb garden?
You May Also Like…
5 Cheap Materials for Screening Finished Compost
Is It Safe to Compost Plants With Powdery Mildew?
What Should You Plant Where Spring Bulbs Have Died?
12 Bulbs You Can Force Indoors for Blooms Before Valentine’s Day
How to Spot Rot in Stored Bulbs Before It Spreads Everywhere

Brandon Marcus is a staff writer for FrugalGardening.com at District Media, Inc., where he delivers practical gardening advice with a relatable, no-nonsense style. An avid amateur gardener, he holds a BA degree and with over ten years of professional writing experience, he is also an award-winning published author whose first book, Questions For Deep Thinkers, was released by Adams Media. His work has appeared in major publications including Fandom.com, CHUD.com, TheColdWire.com, and Fansided.com.
Leave a Reply