If you’ve ever stood in the garden aisle staring at overpriced bags of potting soil, you’re not alone—and you’re definitely not wrong to feel a little ripped off. Good potting mix can cost a small fortune, especially if you’re filling multiple containers or raised beds.
The wild part? Most commercial mixes are made from a few basic ingredients you can source yourself for a fraction of the price. Once you learn how to mix your own DIY potting soil, you’ll wonder why you ever paid retail.
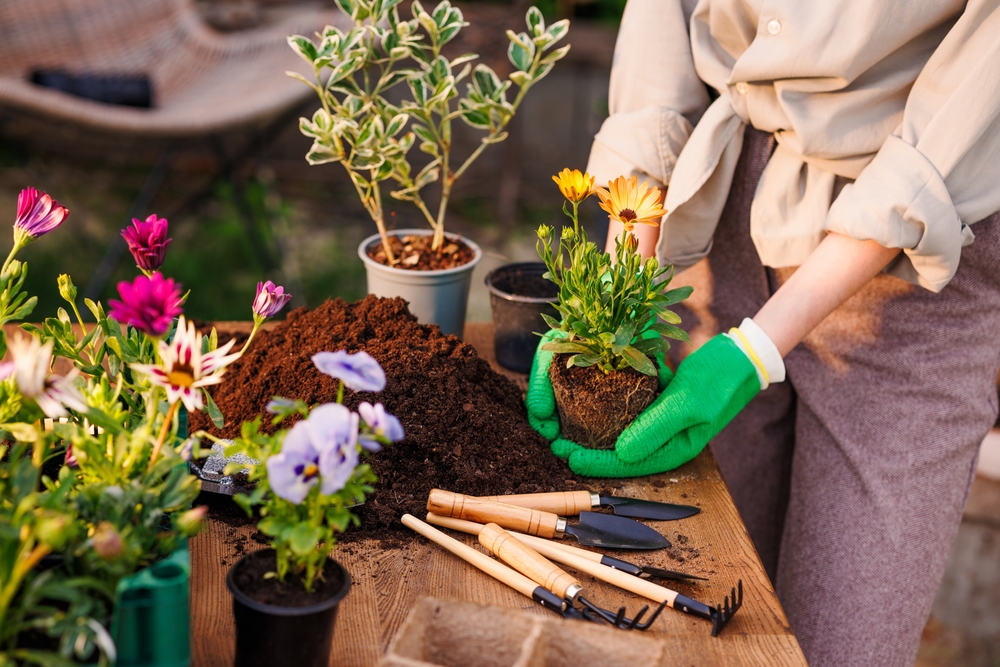
The Simple 3-Ingredient Formula That Actually Works
The beauty of DIY potting soil is that it doesn’t require a long shopping list or fancy tools to get started. The classic mix combines peat moss (or coco coir), compost, and perlite in roughly equal parts, creating a balanced growing medium that supports healthy roots. Peat moss or coco coir helps retain moisture without drowning your plants, which is key for container gardening success.
Compost adds nutrients, acting as a natural fertilizer that feeds plants over time instead of delivering a quick, artificial boost. Perlite, those little white pellets you see in soil, improves drainage and aeration so roots don’t suffocate or rot. When combined, these three ingredients create a lightweight, nutrient-rich DIY potting soil that rivals anything you can buy in a bag.
Why Store-Bought Potting Soil Is So Expensive
Commercial potting soil isn’t just dirt—it’s a branded, processed product with packaging, shipping, and marketing costs baked into the price. When you buy a bag, you’re often paying more for convenience than for quality ingredients. Many mixes also include fillers that don’t necessarily improve plant health, like cheap wood products or sand-heavy blends.
Over time, these lower-quality ingredients can compact, reducing airflow and making it harder for roots to thrive. By making your own DIY potting soil, you skip the markup and control exactly what goes into your mix. That means better performance for your plants and more money staying in your wallet.
How Much Money You Can Actually Save
Let’s talk numbers, because this is where things get really interesting for budget-conscious gardeners. A standard bag of high-quality potting soil can cost anywhere from $10 to $20, depending on the brand and size. If you’re filling multiple pots, that cost adds up quickly, sometimes hitting $50 or more for a single planting session.
Buying the three base ingredients in bulk, however, can cut your cost by more than half, especially if you garden regularly. For example, a large brick of coco coir expands significantly when hydrated, giving you far more volume for your money. Over a growing season, switching to DIY potting soil can easily save you $100 or more, depending on how much you plant.
Real-Life Results: Why Gardeners Swear by It
Ask around in any gardening group, and you’ll hear plenty of success stories about homemade mixes outperforming store-bought options. Many gardeners notice stronger root systems, healthier foliage, and better moisture control when using DIY potting soil. One common example is container tomatoes, which thrive in well-draining soil that still retains enough water to prevent stress during hot days.
Herbs like basil and mint also do particularly well, thanks to the nutrient boost from compost. Because you control the ingredients, you can tweak the mix slightly depending on what you’re growing, making it far more versatile than a one-size-fits-all bag. This level of customization is a big reason experienced gardeners rarely go back to pre-made soil.

Common Mistakes (and How to Avoid Them)
While DIY potting soil is simple, there are a few pitfalls that can trip up beginners if you’re not careful. One common mistake is using garden soil instead of compost, which can introduce pests and create a dense, poorly draining mix. Another issue is skipping the perlite, which might seem optional but is critical for preventing soggy roots and plant disease. It’s also important to mix your ingredients thoroughly, as uneven distribution can lead to inconsistent moisture levels in your containers.
Some gardeners overpack their pots, compressing the soil and reducing airflow, so keep your mix light and fluffy. Avoid these mistakes, and your DIY potting soil will perform beautifully from day one.
The Real Dirt on Saving Money While Growing More
At the end of the day, making your own DIY potting soil isn’t just about saving money—it’s about taking control of your gardening success. You get better quality, healthier plants, and the satisfaction of knowing exactly what’s in your soil. The cost savings are significant, especially if gardening is more than just a once-a-year hobby for you. Plus, once you get the hang of it, mixing your own soil becomes second nature and takes just minutes to do. It’s one of those small changes that delivers outsized results in both your garden and your budget. And honestly, it feels pretty great to outsmart those overpriced bags at the store.
Have you ever tried making your own DIY potting soil, or are you still buying it from the store? Share your experience in the comments!
You May Also Like…
Garden Experts Warn: These 7 Plants Could Be Destroying Your Soil Without You Knowing
How to Make a Simple Soil Moisture Meter at Home
How to Make Compost Tea to Improve Soil Health
How to Test Soil Drainage Before Planting
7 Simple Soil Tests You Can Do at Home Without Special Tools
Leave a Reply