A plant never whispers when it needs water. It wilts, it droops, it gives up—often long before anyone notices. That silent struggle makes watering feel like a guessing game, and guessing rarely ends well. Overwatering drowns roots, underwatering dries them out, and both can turn a healthy plant into a sad, lifeless decoration faster than expected. A simple tool can flip that script entirely and bring clarity to something that usually feels frustrating and unpredictable.
That tool does not need to come from a store or cost a small fortune. A basic soil moisture meter can come together at home with a handful of inexpensive materials and a little curiosity. This project mixes science, practicality, and just enough hands-on creativity to feel rewarding from start to finish. It delivers real results, not just a fun afternoon activity, and it helps keep plants thriving with far less guesswork. The best part comes from how approachable the entire process feels, even without any technical background.
The Secret Life of Soil: Why Moisture Actually Matters
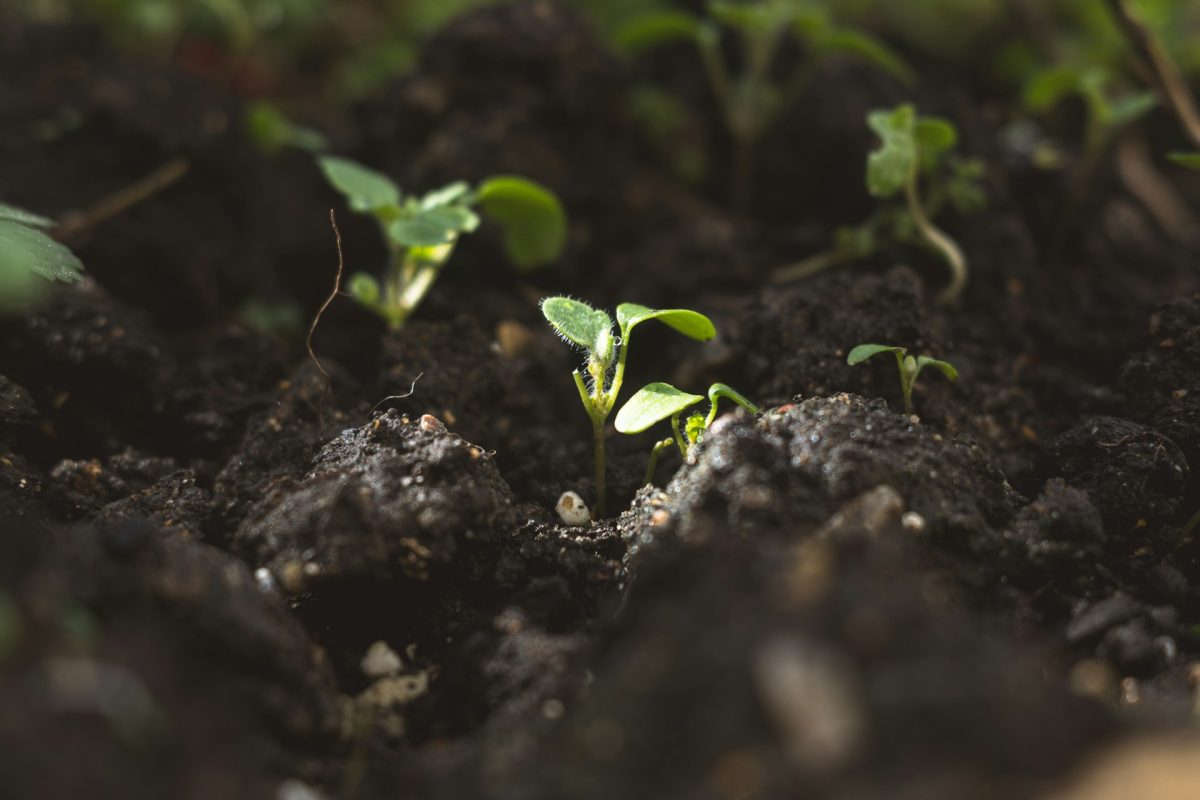
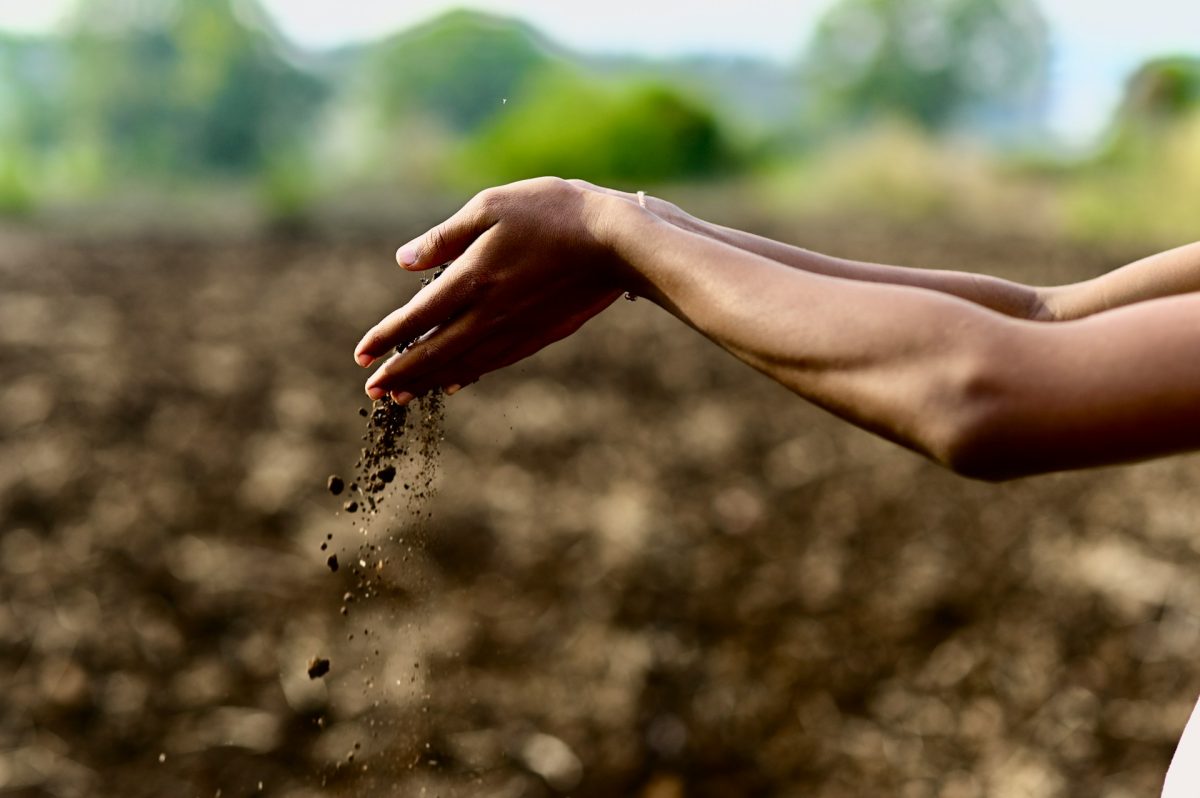
Soil does far more than hold plants upright, and moisture plays a starring role in everything happening below the surface. Water carries nutrients through the soil and into plant roots, which means that moisture levels directly affect how well a plant eats and grows. Too little water forces roots to stretch and struggle, while too much water blocks oxygen and invites rot. Healthy soil strikes a balance, and that balance changes depending on the plant, the season, and even the size of the pot.
Different plants demand very different moisture levels, which makes guesswork even riskier. Succulents thrive in dry conditions, while herbs and leafy greens prefer consistently moist soil that never dries out completely. A one-size-fits-all watering routine often leads to uneven results, with some plants thriving and others quietly declining. A moisture meter steps in as a translator, turning invisible soil conditions into clear, readable information.
Environmental factors also complicate the situation in ways that often go unnoticed. Sunlight speeds up evaporation, indoor heating dries out soil faster than expected, and humidity levels shift throughout the day. Even the type of soil mix changes how water behaves, with sandy soils draining quickly and clay soils holding onto moisture longer. A reliable reading cuts through all of that complexity and delivers a simple answer: water now or wait.
A DIY moisture meter offers more than convenience; it builds awareness of how soil behaves over time. That awareness helps improve watering habits and creates healthier plants without constant trial and error. It turns gardening into something more intentional and far less stressful. Once the basics become clear, plant care starts to feel like a skill rather than a guessing game.
Turning Simple Materials into a Smart Tool
Creating a soil moisture meter at home does not require a workshop full of tools or advanced electronics knowledge. The simplest version uses two metal probes, a power source like a small battery, and a way to measure electrical resistance, such as a basic multimeter. Moist soil conducts electricity better than dry soil, so resistance drops when water content rises. That principle forms the backbone of the entire project and makes the process surprisingly straightforward.
Start with two galvanized nails or metal rods, which will act as probes that go into the soil. Connect wires to each probe and attach them to a multimeter set to measure resistance. Insert the probes into the soil, making sure they sit a few centimeters apart, and check the reading. Lower resistance indicates higher moisture, while higher resistance signals dryness. That simple setup already provides a functional, accurate reading that helps guide watering decisions.
For anyone who wants to level things up, adding a small microcontroller like an Arduino introduces even more possibilities. A basic circuit can convert resistance readings into a visual display using LEDs or a small screen. Green can signal adequate moisture, yellow can suggest moderate dryness, and red can warn that the soil needs water immediately. This upgrade adds a bit of flair while keeping the core idea intact.
Accuracy improves when the probes stay clean and free from corrosion. Metal reacts with moisture over time, which can skew readings if left unchecked. Stainless steel probes last longer and resist corrosion better than standard nails, making them a smart upgrade for anyone planning to use the meter regularly. Regular cleaning also keeps readings consistent and reliable.
Testing the meter across different soil conditions helps build confidence in its readings. Try it in dry soil, freshly watered soil, and somewhere in between to understand how the numbers shift. That hands-on calibration turns raw data into meaningful information. Over time, the readings become second nature, and the meter starts to feel like an essential gardening companion rather than a novelty.
From Gadget to Garden Hero: Using It the Right Way
A soil moisture meter only works as well as the way it gets used, and a few simple habits can make a big difference. Always insert the probes deep enough to reach the root zone rather than just the surface. Surface soil dries out faster, which can create misleading readings that suggest a plant needs water when it actually does not. Going deeper ensures that the measurement reflects what the roots experience.
Check moisture levels at consistent times to build a clearer picture of how soil behaves throughout the day. Early morning often provides the most stable conditions, while midday heat can temporarily lower moisture levels near the surface. Consistency helps avoid confusion and builds a reliable watering routine that supports plant health.
Different plants benefit from slightly different measurement strategies. For example, checking multiple spots in a larger pot ensures that moisture distributes evenly rather than pooling in one area. Smaller pots may only need a single reading, but larger containers often hide uneven moisture levels that can affect root health. A few extra checks take only seconds and can prevent long-term issues.
Pairing the meter with observation creates the best results. Leaves, stems, and overall plant appearance still offer valuable clues about health and hydration. A moisture meter complements those signals rather than replacing them entirely. Together, they create a more complete picture that leads to better decisions.
Smarter Gardening And Solid Soil Starts Here
A homemade soil moisture meter proves that practical solutions do not need to feel complicated or expensive. It brings clarity to one of the most common challenges in plant care and transforms watering into a confident, informed action. Plants respond quickly to that consistency, often showing stronger growth, healthier leaves, and fewer signs of stress.
What kind of twist would take this simple tool to the next level—adding a digital display, connecting it to an app, or maybe building a fully automated watering system? Share any of your thoughts, ideas, or creative upgrades in the comments.
You May Also Like…
The Quick Fix for Sandy Soil That Won’t Wash Away
Plant Shrubs Now to Lock in Moisture Before Winter
Why Moisture Levels Matter More in Autumn
5 Ways to Reduce Weed Growth Without Chemicals
7 Cheap Garden Fence Alternatives That Actually Work
Brandon Marcus is a staff writer for FrugalGardening.com at District Media, Inc., where he delivers practical gardening advice with a relatable, no-nonsense style. An avid amateur gardener, he holds a BA degree and with over ten years of professional writing experience, he is also an award-winning published author whose first book, Questions For Deep Thinkers, was released by Adams Media. His work has appeared in major publications including Fandom.com, CHUD.com, TheColdWire.com, and Fansided.com.
Leave a Reply