
A seedling can look perfectly healthy on top while chaos unfolds below the soil line. That bargain-bin seed tray sitting under grow lights might seem harmless, even practical, yet the wrong container can twist roots into tight spirals, stunt growth before transplant, and quietly sabotage an entire season’s harvest. Plenty of gardeners focus on soil…
seed starting
7 Seed-Starting Mistakes That Cost More Than They Should

Seed starting feels like pure optimism in physical form. Tiny packets promise tomatoes the size of softballs, basil that smells like summer, and flowers that stop neighbors mid-walk. Many gardeners jump in buzzing with excitement, only to watch trays of soil sit there like they missed the memo. These failures do not usually come from…
11 Seed Starting Supplies to Buy in Autumn Sales
While most people are thinking about pumpkin spice and cozy sweaters in the autumn, gardeners are already plotting next year’s projects like a strategic mastermind. And honestly? That’s exactly when the best deals on seed-starting supplies appear—quietly, sneakily, ready to reward the early planner. Stocking up now means you’ll glide into spring like a gardening…
Seed Starting on a Budget Series: Inventory & Supplies

For the next few weeks, I’ll be focusing on the topic of seed starting. I’ll be providing you with budget-friendly tips, hints, and strategies to get you started this gardening season without breaking the bank. This week, let’s talk about inventory and seed starting supplies. Inventory Every year, I have a mini panic about…
Seed Starting on a Budget Series: DIY Containers

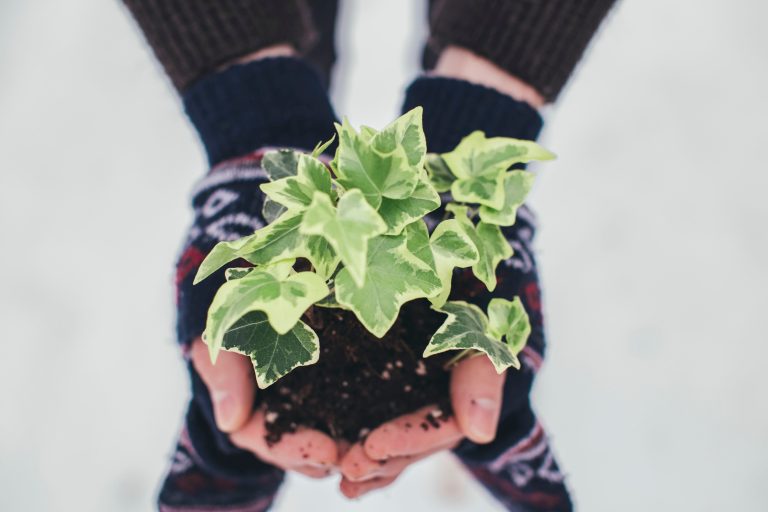
No rule says that seed starting requires fancy flats or trays. For the frugal gardener, spending money on pots and containers is a definite no-no. The smallest portion of your gardening budget should be allotted to containers. Why? Because they’re so easy to find for free or cheap! Including plenty of DIY options to…
Seed Starting on a Budget Series: Get Your Timing Right
When January rolls around, the seed catalogs start to arrive in the mailbox. Then, as soon as February hits, I get a constant flood of seed starting photos popping up on my Instagram feed. It gets me excited for the gardening year ahead, but I’ve also learned to slow my roll. Just because someone…
Seed Starting on a Budget Series: Indoors vs. Outdoors

I recently polled my social media followers to find out what kinds of questions they had about seed starting, and a common source of confusion is figuring out which seeds need to be started indoors. You don’t need to dig out all your seeds and start everything indoors before the last frost date. Why Not…
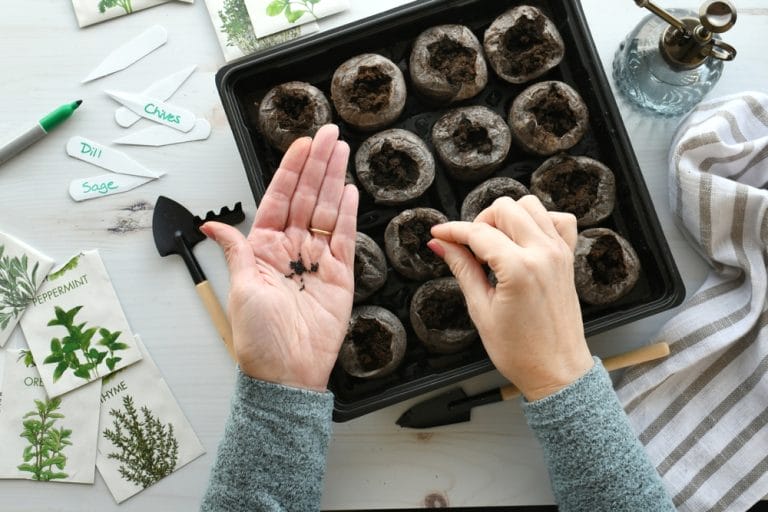
Seed Starting on a Budget Series: The Importance of Labeling

It’s almost time for me to start my very first seedlings of the season. I’ve been busy gathering supplies, cleaning out my grow room, and sanitizing trays that I plan to re-use. I’ve been organizing my seed packets, and I’m thoroughly excited to try a few new varieties this year. I’m also shifting my…
Seed Starting on a Budget Series: The Importance of Biding Your Time
My first serious foray into indoor seed starting began with a bang. My husband helped me set up a makeshift grow shelf, and I purchased soil mixes, trays, and pots. I was so ready to get started that I assumed it would be better to get things going sooner rather than later. I quickly…
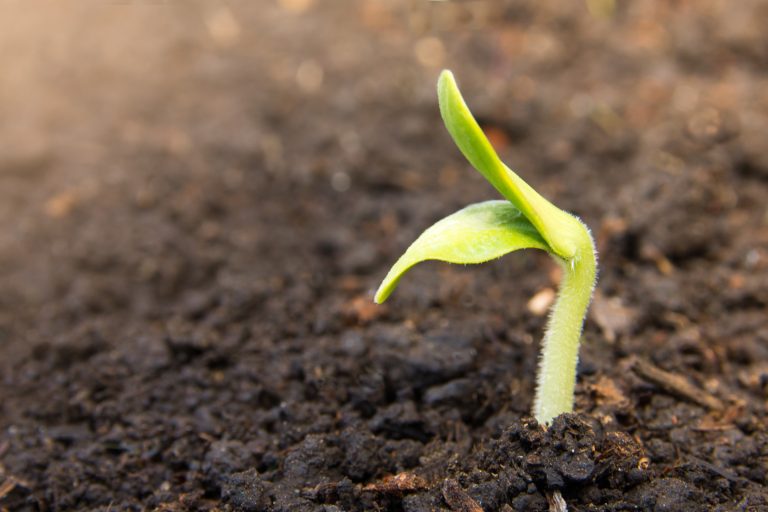
Seed Starting on a Budget Series: Germination
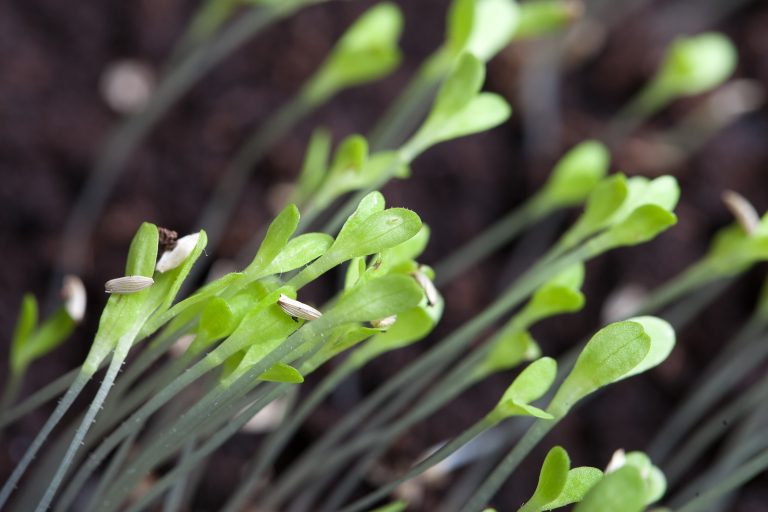
Germination is the process by which a plant sprouts from its seed. Because it mostly happens underground, it’s such a mysterious and almost magical occurrence. One day, you’re popping seeds into a moist soil mix, and the next, you’ve got bright green seedlings popping up. It’s a simple yet incredible feat of Mother Nature…