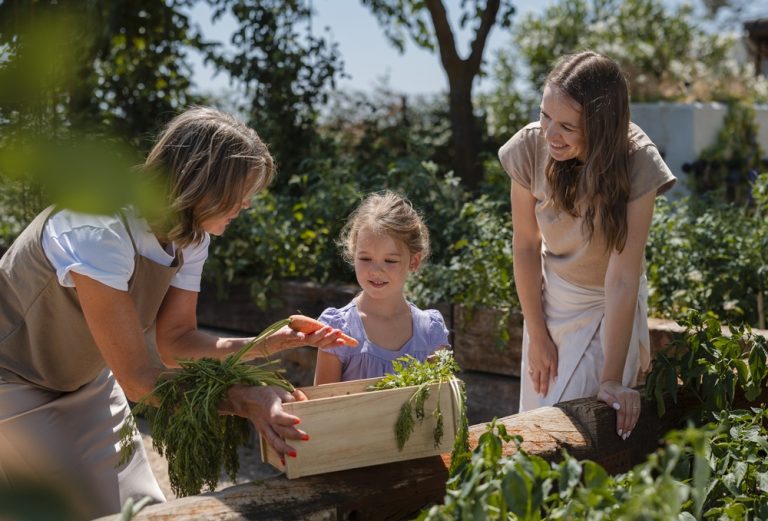
Grocery aisles keep getting more expensive, and many households feel the pressure every time they check out. A quiet shift is gaining momentum in response, and it is reshaping how people think about food at home. Instead of relying only on store-bought produce, more people are turning yards, balconies, patios, and even windowsills into steady…
garden tips
8 Low-Maintenance Plants That Still Look Impressive
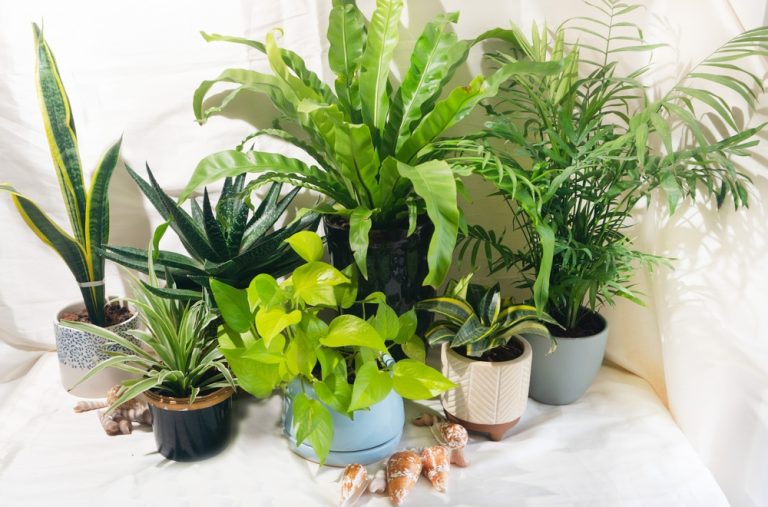
Some plants demand constant attention, while others quietly show off without asking for much in return. The best part of low-maintenance greenery is how it can instantly elevate a space without turning plant care into a second job. A well-chosen plant can make a porch look styled, a living room feel calmer, or a kitchen…
8 Vegetables That Produce More Than Most People Expect
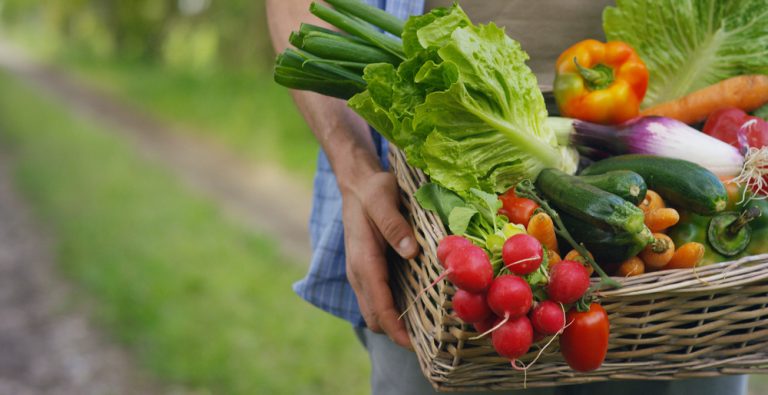
Gardens have a sneaky way of surprising even experienced growers. One small planting can suddenly turn into a nonstop harvest that fills baskets faster than expected. Some vegetables quietly keep producing long after others have faded, almost like they are competing to see who can outdo the rest. The real magic happens when the right…
The Backyard Lifestyle Trend That’s Replacing Expensive Vacations
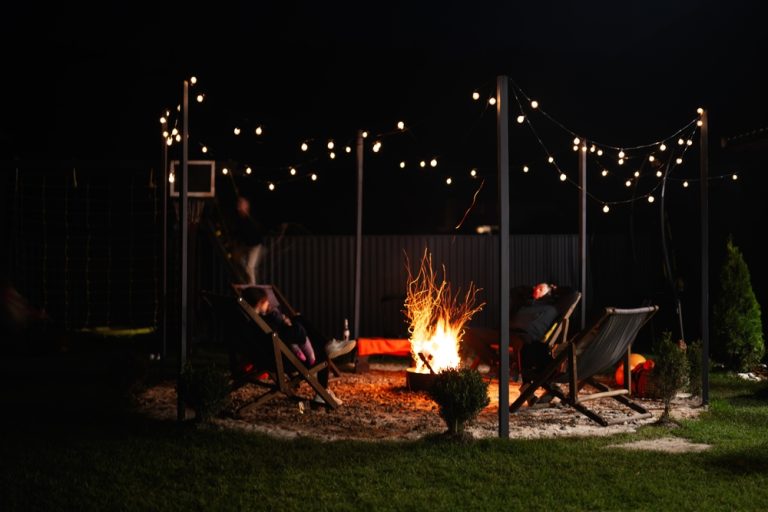
Forget airport lines, packed suitcases, and overpriced hotel snacks. A growing number of homeowners are turning their attention to something much closer to home: the backyard. This shift is not about giving up on relaxation but about rethinking where it actually happens. A simple outdoor space can now feel like a private getaway without the…
7 Things That Secretly Stress Tomato Plants
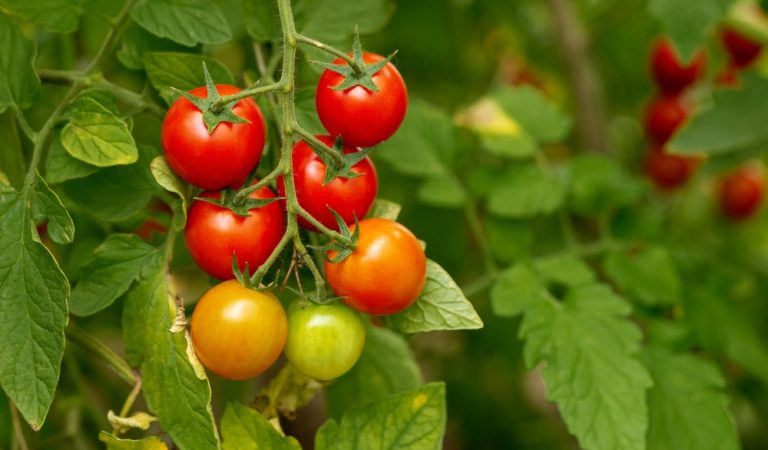
Tomato plants have a reputation for being garden favorites, but they can be surprisingly dramatic behind the scenes. One day they look lush and green, and the next they start dropping leaves or refusing to set fruit. The tricky part is that the real problems often hide in plain sight, blending into normal garden routines….
Why Native Wildflower Gardens Are Suddenly Everywhere

Native wildflower gardens are popping up in front yards, side strips, and even once-plain suburban lawns at a surprising pace. Bright bursts of coneflowers, black-eyed Susans, and milkweed are replacing neatly clipped turf in places that used to look identical from house to house. This shift is not just about aesthetics because it connects deeply…
Why More People Are Turning Tiny Yards Into Productive Gardens
Tiny yards used to sit quietly in the background, trimmed and unused beyond a bit of grass and maybe a lonely chair. Now they are transforming into lively, productive spaces filled with herbs, vegetables, and even fruiting plants. This shift is not just about gardening trends but about rethinking what outdoor space can actually do….
The Gardening Warning Experts Are Issuing About Extreme Summer Heat
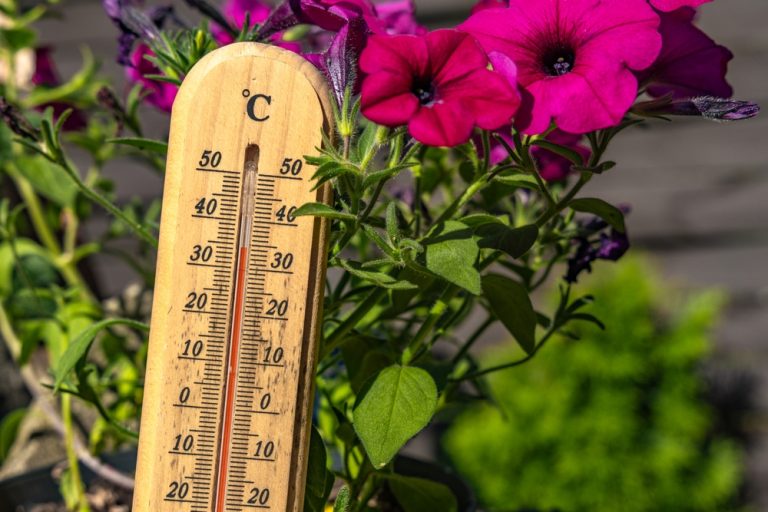
A stretch of hot summer weather can turn a beautiful garden into a stressful sight almost overnight. Plants that looked healthy and vibrant one day can suddenly wilt, scorch, and struggle when temperatures climb higher than normal. Many gardeners focus on watering more, but experts say that extreme heat creates several hidden problems that go…
8 Backyard Ideas That Add Charm Without Spending Much Money
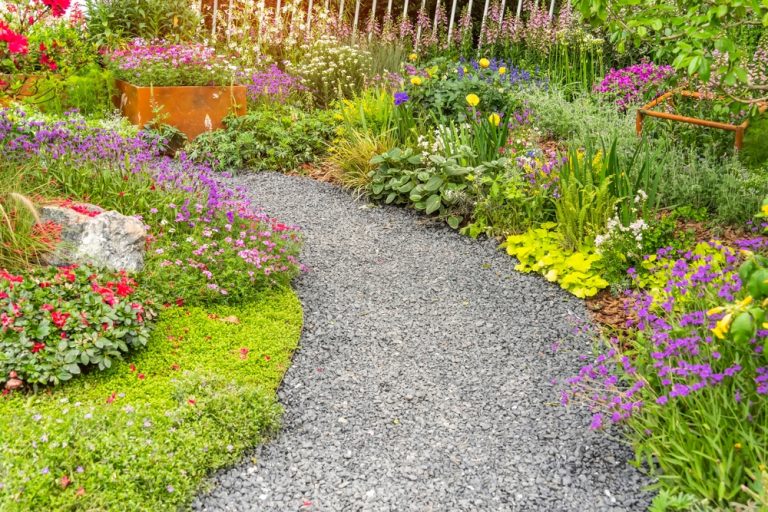
A backyard does not need a luxury budget to feel welcoming, beautiful, and full of character. Some of the most memorable outdoor spaces feature simple touches that reflect creativity rather than expensive purchases. A few thoughtful changes can turn a plain yard into a place where neighbors stop to chat, family members linger longer, and…
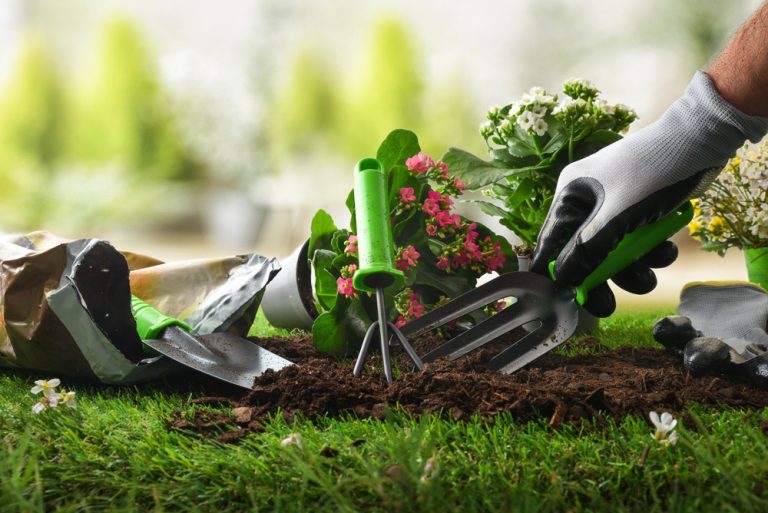
Why So Many First-Time Homeowners Are Starting Gardens
The excitement of getting the keys to a first home often comes with a long list of dreams. Fresh paint, new furniture, and backyard projects usually top that list. Lately, however, one hobby keeps popping up in neighborhoods across the country: gardening. From raised vegetable beds to colorful flower borders, many first-time homeowners are digging…