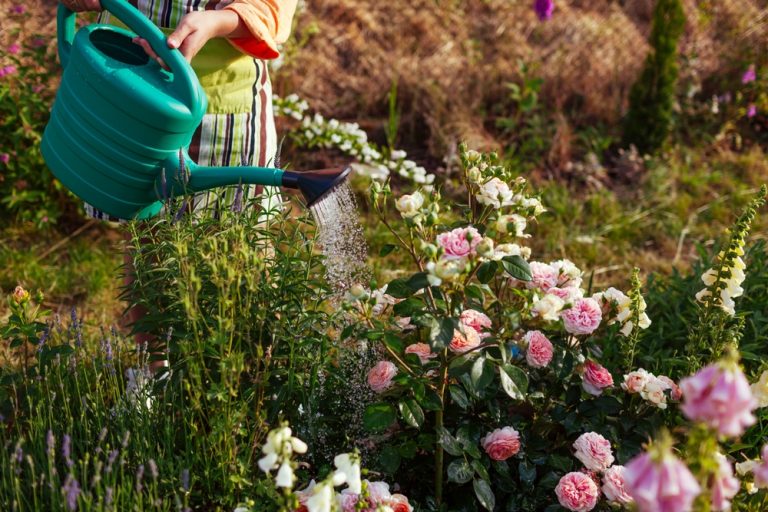
Summer can turn a beautiful flower bed into a tired, drooping mess in just a few days. Blazing sunshine, dry soil, and relentless heat push many popular flowers past their limits long before autumn arrives. Fortunately, some blooms seem to laugh at soaring temperatures and keep putting on a colorful show while others wave the…
garden tips
Why Backyard Gardening Is Becoming a Retirement Hobby Boom
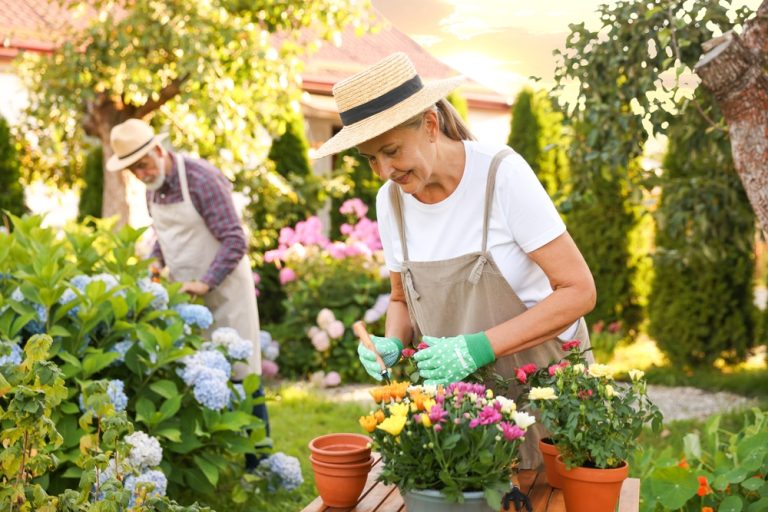
Retirement often opens the door to long-awaited adventures, but many people find unexpected joy much closer to home. A simple backyard can transform into a colorful space filled with vegetables, flowers, herbs, and fresh air that makes every morning feel a little brighter. Gardening gives retirees a reason to head outside, stay active, and watch…
7 Cheap Ways to Protect Plants During Extreme Heat
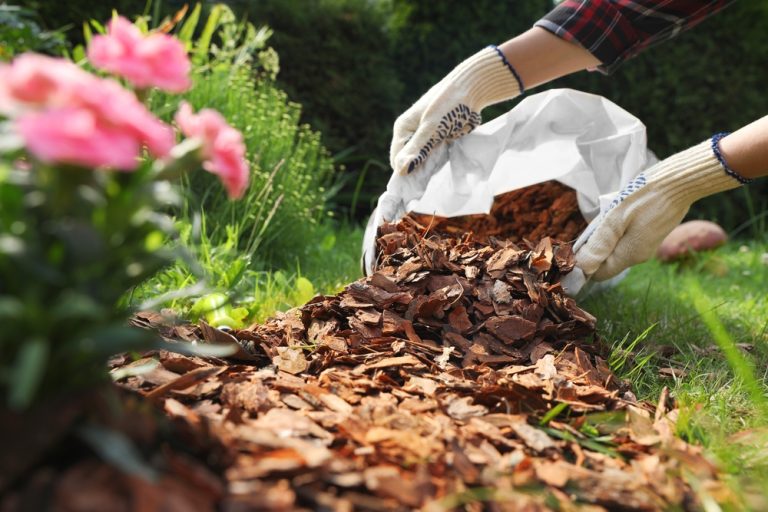
A blazing hot afternoon can turn a happy garden into a droopy disaster faster than anyone expects. Leaves curl, flowers fade, and vegetables suddenly look like they gave up on summer altogether. The good news is that protecting plants from extreme heat does not require expensive gadgets or a complete garden makeover. A few smart…
9 Vegetables That Grow Better Than Expected in Small Spaces
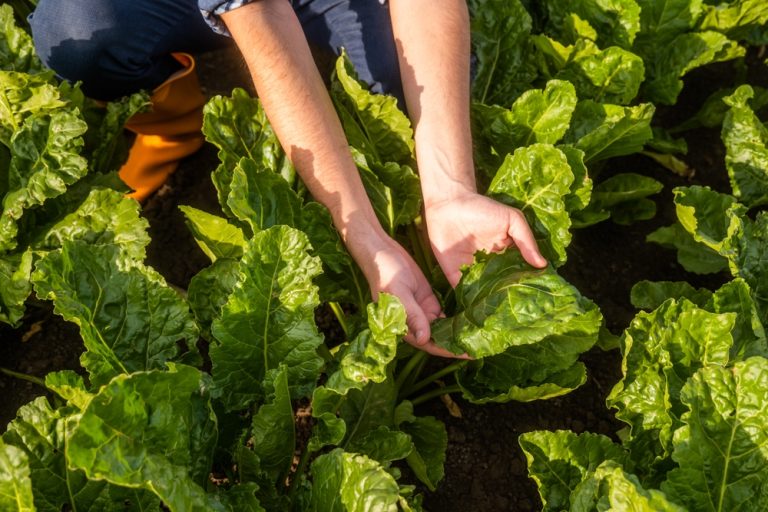
Small spaces often intimidate new gardeners, but they quietly offer some of the most productive growing conditions around. A sunny balcony, narrow patio, or even a few well-placed containers can turn into a surprisingly generous vegetable patch. Many plants actually prefer the controlled environment that containers provide, especially when soil quality and watering stay consistent….
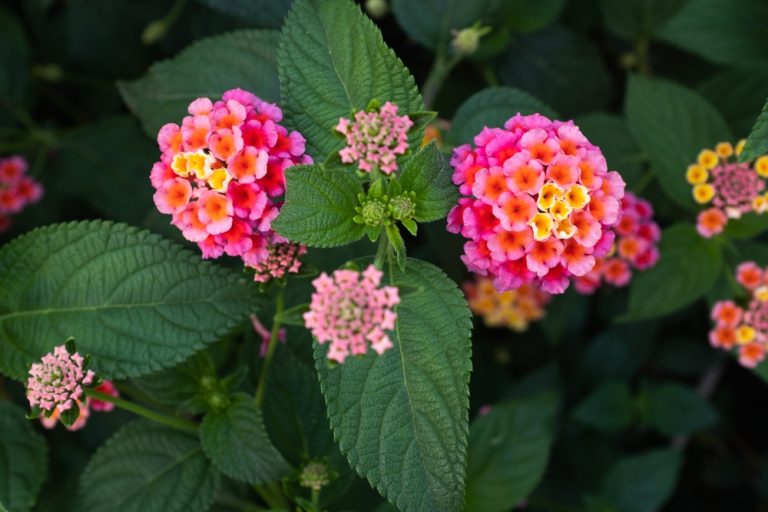
10 Plants That Actually Prefer Hot Weather
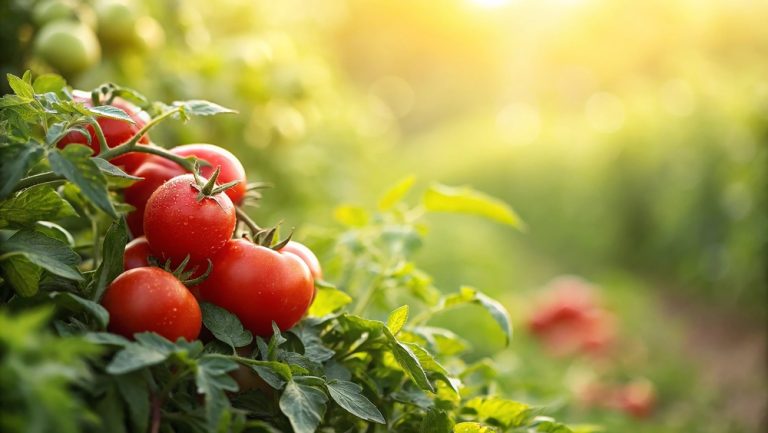
Hot weather often sends gardeners scrambling for shade cloths, watering cans, and survival strategies for their plants. Some plants, however, do not just tolerate the heat; they thrive in it like they were built for summer dominance. These sun-loving varieties grow stronger, bloom brighter, and produce better yields when temperatures rise. Instead of wilting under…
Why So Many Americans Are Starting Sunset Gardens
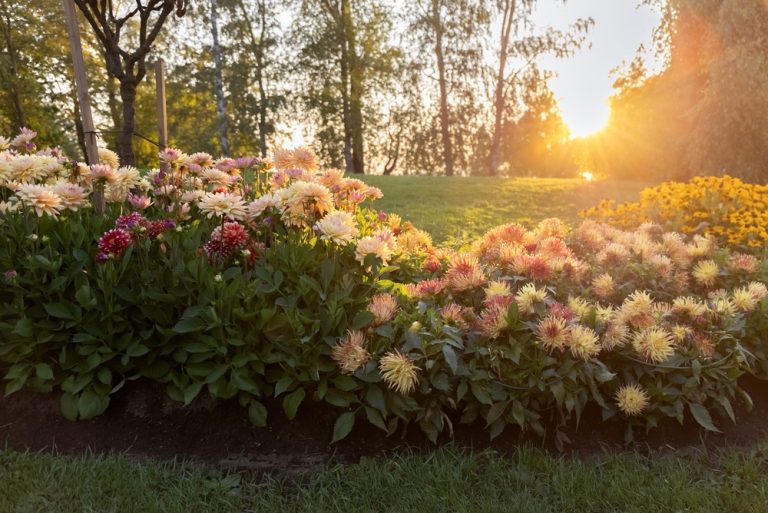
Sunset gardens are quietly transforming backyards into glowing evening retreats filled with color, fragrance, and calming energy that shows up just when the day slows down. These gardens focus on plants that open, shine, or release scent later in the day, creating a space that feels almost cinematic as the sun goes down. Homeowners across…
9 Garden Layout Mistakes Beginners Always Regret

New gardeners often step into their outdoor space with big dreams, fresh tools, and a vision of lush rows of vegetables or blooming flower beds. Then reality hits when plants crowd each other, paths disappear, and watering turns into a daily struggle. A garden layout shapes everything that follows, from plant health to how enjoyable…
The Backyard Trend That’s Making Outdoor Living More Affordable
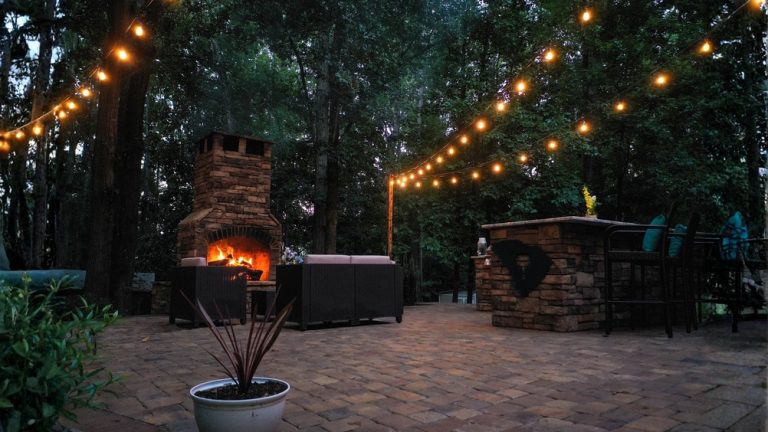
Backyards are no longer just patches of grass that sit unused for most of the year. A growing wave of budget-friendly design ideas is turning outdoor spaces into comfortable extensions of the home without draining bank accounts. Homeowners are finding creative ways to build cozy lounges, dining corners, and relaxing retreats using affordable materials and…
The Gardening Mistake That Causes Raised Beds to Dry Out Faster
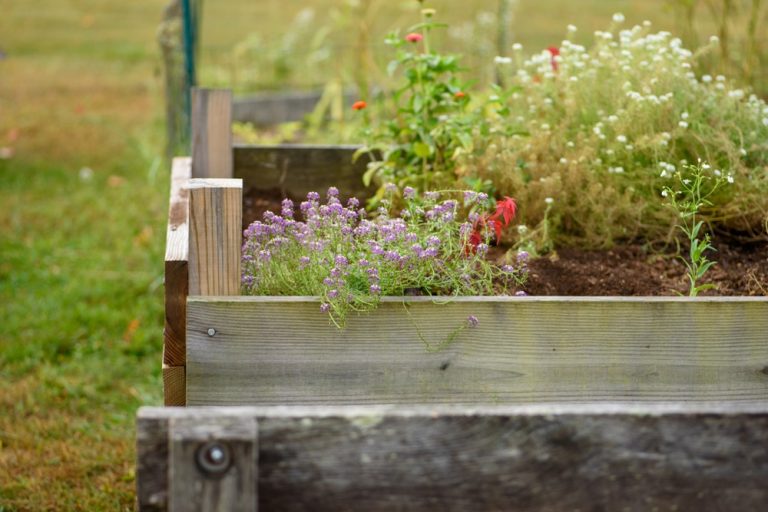
Raised beds often promise lush vegetables, faster growth, and easier maintenance. However, one overlooked habit can completely flip that expectation and leave gardeners constantly chasing dry soil instead of enjoying thriving plants. The frustrating part is that this issue does not usually come from neglect or poor watering habits. Instead, it comes from a simple…
Why Heat-Tolerant Gardening Is Becoming Essential Across the U.S.
Summer is not playing around anymore, and gardens are feeling it first. Soil dries out faster, leaves curl earlier in the day, and plants that once loved full sun now look stressed by midafternoon. Gardeners across the country are rethinking what they plant and how they care for it because the old routines no longer…