Here’s your quick reminder that now is probably the time to start thinking about closing up the garden if you haven’t already done so. The cold weather is slowly trickling in, and garden production is creeping to a halt. Don’t wait till the last minute to put away tools, pull out plants, and get everything…
5 Quick-Growing Trees to Consider Planting This Fall
Fall is the optimal time to plant many tree species. It’s dryer than most months and not too warm. Heat is unlikely to damage young newly planted trees, and root systems are more likely to thrive in fall conditions. If you’re looking for a quick-growing tree to plant this fall, we’ve got five suggestions below. …
Avoid These 5 Costly Fall Garden Mistakes
Summertime errors in gardening are usually easy to fix. Forgot to prune your tomatoes, and now the foliage is out-of-control? No problem. Just trim the excess and choose an appropriate support structure. Forgot to water for a few days? Most plants will be fine, and if not, it’s likely you still have time to re-plant…
Please, I Beg You. Bring in Your Tender Potted Plants!
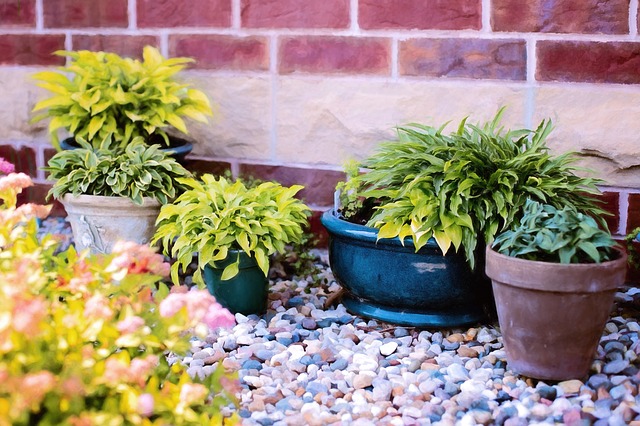
Every year around this time as I walk around the neighborhood with my dogs or pass by homes on my morning runs, I see the insane amount of people who throw away potted plants. In the summer, when the weather is hot and toasty, people calmer to buy all the beautiful plants at the nursery….
5 Things You Can Probably Still Plant Now for a Fall Harvest
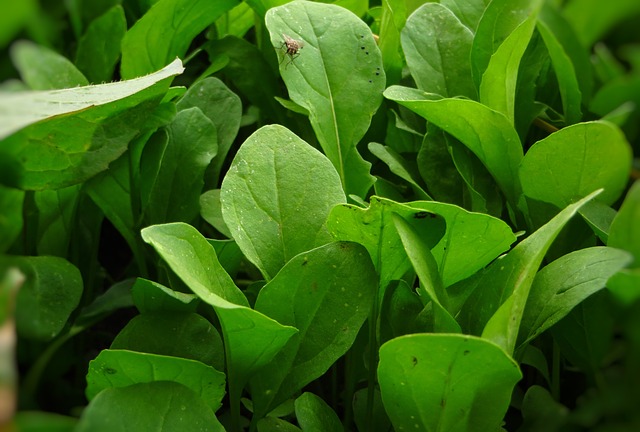
The warmth has returned for but a moment this week, though it definitely gets chilly throughout the night. As I slowly pull out spent crops from the garden, I’m still taking the time to pay attention to new seedlings poking through the earth. That’s right. Things are still growing in the garden! Even as fall…
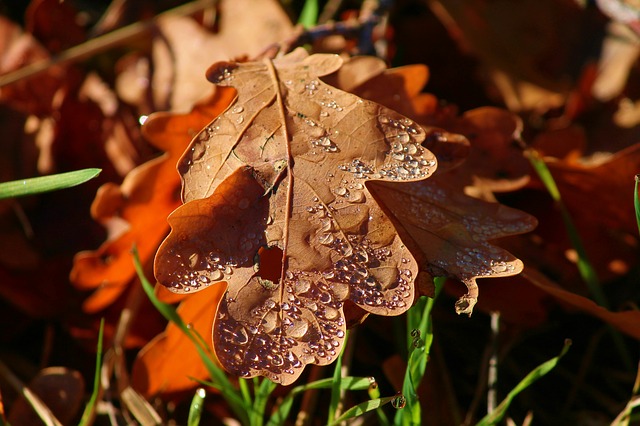
Fall is Slowly Approaching: What to Do in the Garden
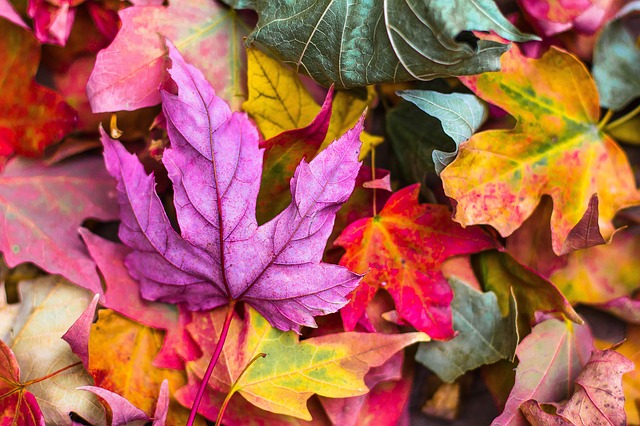
As soon as the calendar flipped to September and ‘back to school’ was declared, Mother Nature seemed to follow suit. Nighttime temperatures chilled rapidly, and in the mornings, I need to throw on a sweater to head outside. I’ve wholeheartedly embraced the fall season. My pumpkin decorations are out, my candles are flickering on the credenza,…
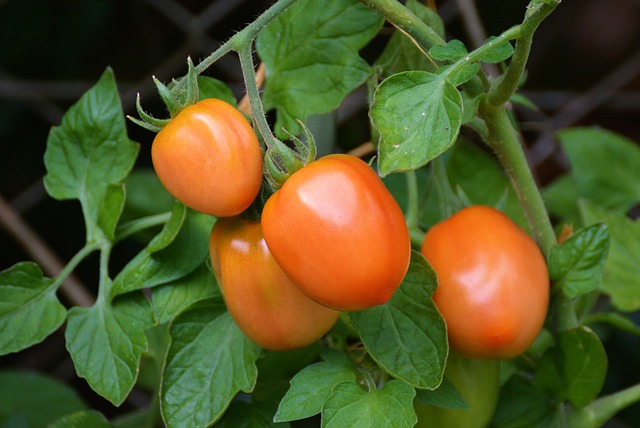
Easy Preserving for the Frugal Gardener: Tomato Edition
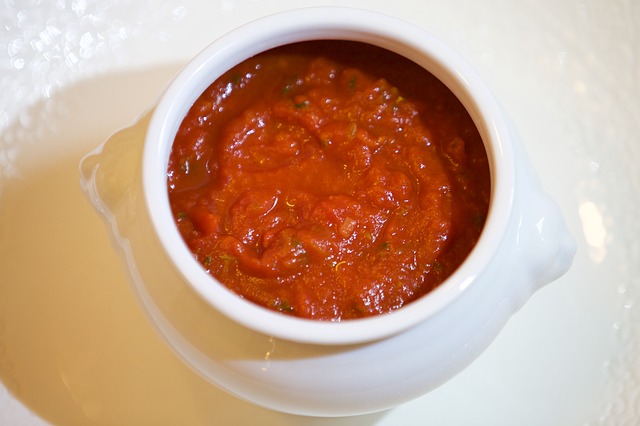
I’ll say it loud and clear, I love the idea of canning, but I hate going through the process. It’s long and tedious. I’m always left feeling paranoid that I’ve done something wildly wrong, which will leave me with botulism infested jars. It’s one of the reasons I’m partial to quick-pickling and other easy preservation…
Cooking on the Cheap: Snacking from Your Garden
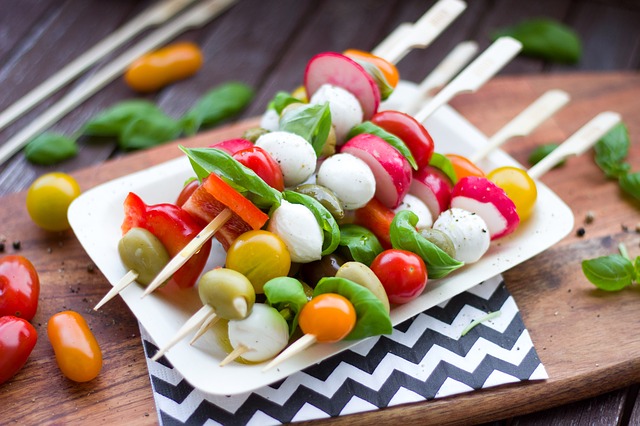
Believe it or not, for me, one of the toughest parts about gardening is figuring out how to utilize the harvest. Often, I find myself sharing the abundance with others because I can’t handle it all. When the determinate tomatoes set their fruit all at once, I’m overwhelmed by what to do with them all….
4 Reasons to Plant Flowers in and Around Your Vegetable Garden

For a long time, I thought planting flowers was a pointless and frivolous gardening activity. Sure, they looked nice, but I was much more interested in growing food. Being able to grow frequently eaten foods such as lettuce, tomatoes, and arugula, meant that my grocery bills were lower, and I was even able to share…
The No-Cost Way to Increased Tomato Yields: Pruning
Hi, everyone! Apologies for the late posting. I’ve known what I wanted to talk about this week for a while, but honestly, it’s tough to explain it well without a visual aid. Pruning tomatoes is one of the tasks that I either excel at or fail miserably to keep up with. I’m either diligent in…