
A friend recently asked me about the process of hardening off plants, so I decided to answer the question here. Hardening off is something I didn’t realize was necessary when I first began gardening. I didn’t have to deal with the consequences of skipping the step, though, because in my early gardening days I mostly…
Seed Starting on a Budget Series: Avoid These 5 Mistakes
You’re bound to mess up at some point or another in your gardening life. That’s fine. I’ve made plenty of errors in the ten or so years that I’ve been a gardener. Much that I’ve learned is the result of messing up. I love that I’m able to experiment in my garden, and if I…
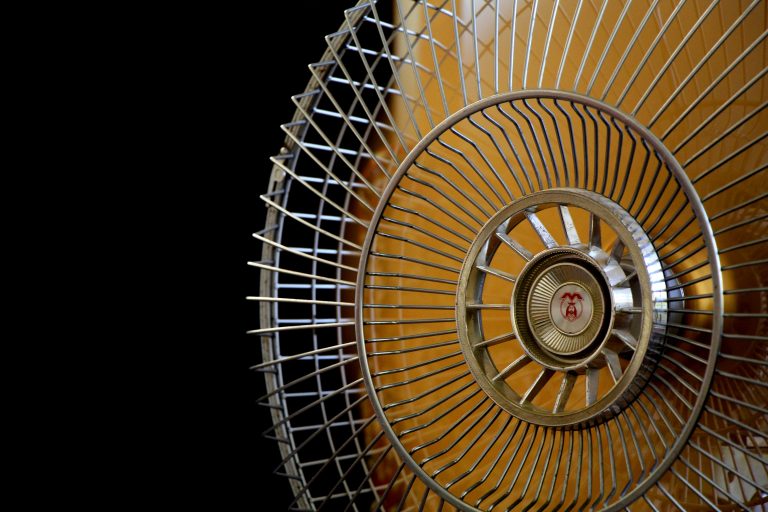
Seed Starting Series: Air Circulation
Frugal gardeners can’t afford to leave a lot to chance during the seed starting process. Failed starts means wasted time, effort, and money. While failure happens more often than I’d like sometimes, I always find a way to learn from my mistakes. Otherwise, what’s the point? Sometimes, it’s out of our hands. But, if my…
Troubleshooting the Seed Starting Process: Using Old Seeds
I’m typing this up on a gloomy day here in Zone 5, Canada. In the past week, I’ve experienced an impromptu snowstorm, a city-wide power outage, and then a bright sunny Saturday where the temps went up to 16 degrees Celcius. It’s been a wacky week. I had been excited to sow quick-growing cool-season crops…
Seed Starting on a Budget Series: Watering your Seedlings
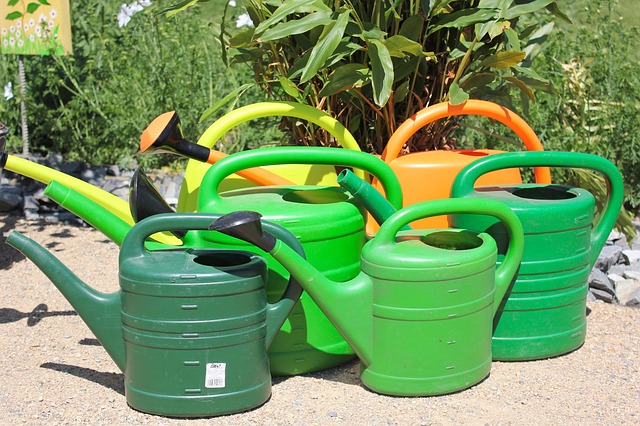
Plants need water to survive. There’s no doubt about it. Moisture is a requirement throughout a plant’s lifecycle. Some are better at handling drought conditions than others, but seedlings are especially sensitive to significant fluctuations in moisture levels. Too much variation will stress your baby plants. Proper watering will produce sturdy seedlings and prevent loss….
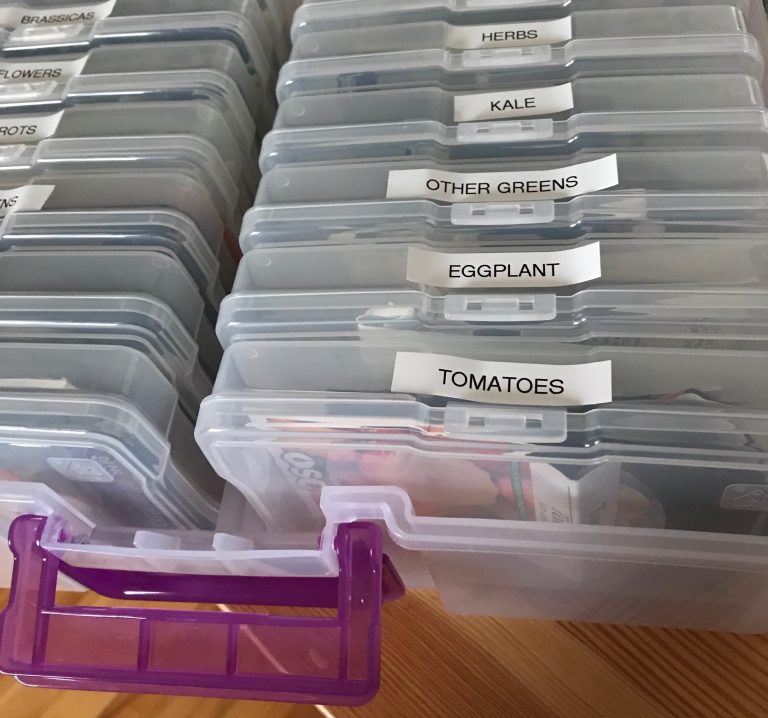
An Organized Pantry Makes All the Difference for the Frugal Gardener
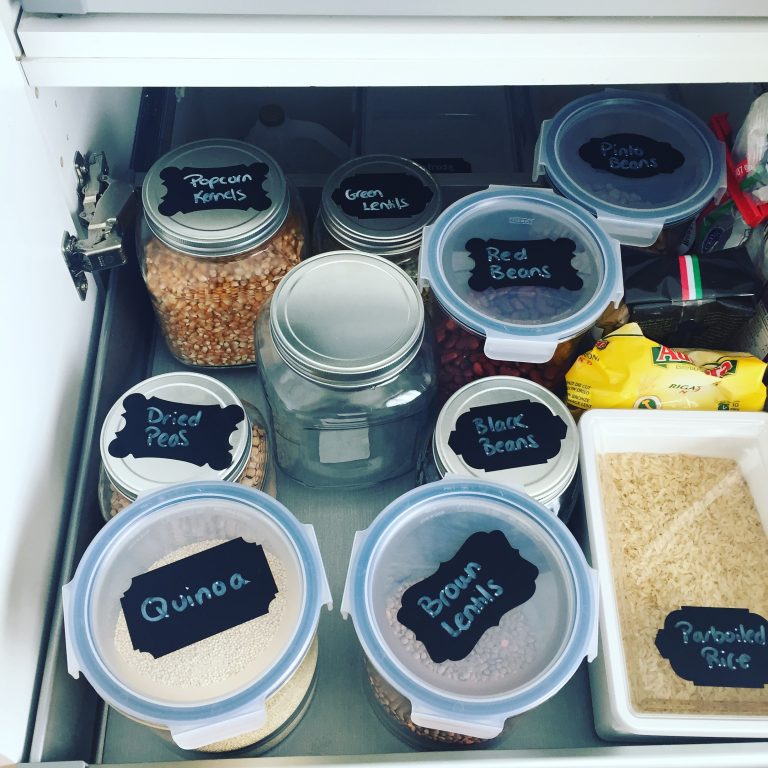
You’re probably wondering why I’m talking about pantry organizing. Aren’t we here to talk about gardening? Of course, but being a successful frugal gardener takes more than just popping some seeds into a clump of dirt. I approach gardening much like I do my health. A holistic strategy is required for best results. Everything has…
A Frugal Side Dish Recipe for the Holidays
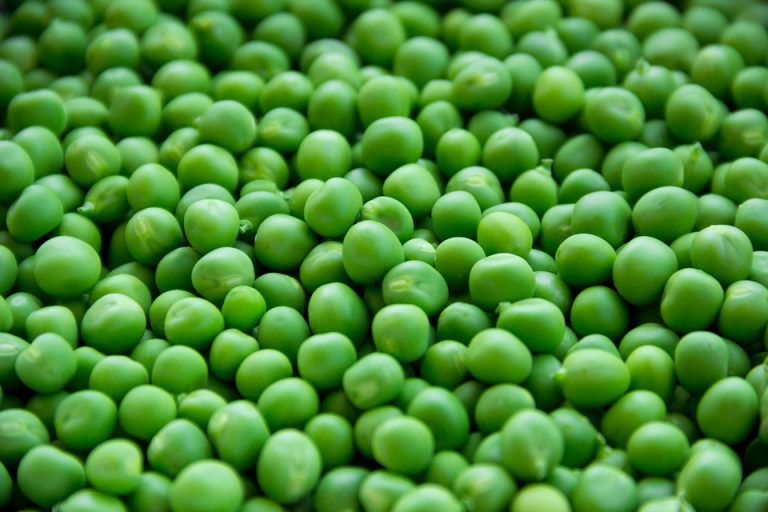
I wanted to share a simple, easy, inexpensive side dish recipe with you just before the holidays. I’m always disappointed how little vegetables end up on the table this time of year. We give all the glory to the main dish, but what about the humble vegetables? I think they’re a particularly important part of…
Another Plant to Look Out for This Season: The Christmas Cactus
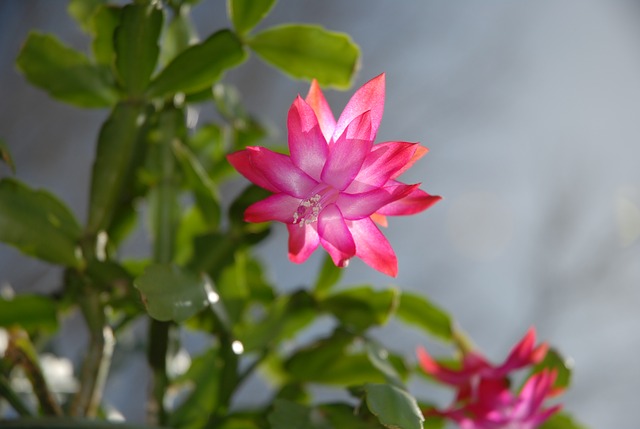
Last week I talked a bit about poinsettias and why they’re a great plant to grab around the holiday season. This week, I thought of another easy-to-source plant that pops up around this time of year. The Christmas Cactus is a lovely tropical plant with succulent leaves and pretty flower buds that bloom right about…
Don’t Throw Out Your Poinsettia!
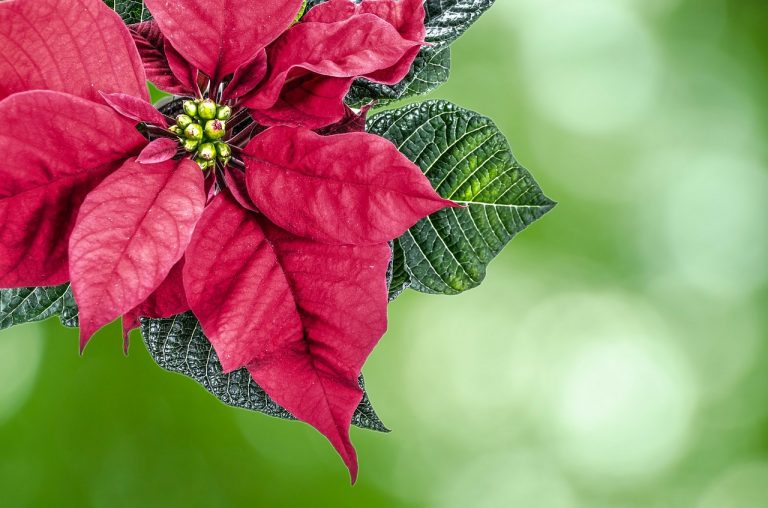
The holidays have arrived, and all I see everywhere are poinsettia plants. In fact, I’ve already been gifted one! It’s a lovely plant that brightens up a room with a bit of cheer. I find it odd, though, that we only see these pretty plants around December. You blink, and they’re gone. Every year, I…
Don’t Throw Out Those Seed Catalogs!
The seed catalogs are arriving! It’s like an early Christmas this time of year when I visit the mailbox and find a new catalog waiting for me. I am signed up to receive a bundle of them from various retailers. Even when I have plenty of seeds on hand for the next season, I love…