I’m rushing to set up my grow shelves and get going with seed starting this year. I came down with another illness over a week ago and it hit me hard. The second time this winter! And it was a nasty bug that left me unable to move from the couch. I spent my time…
Expand Your Gardening Possibilities with Seed Swapping
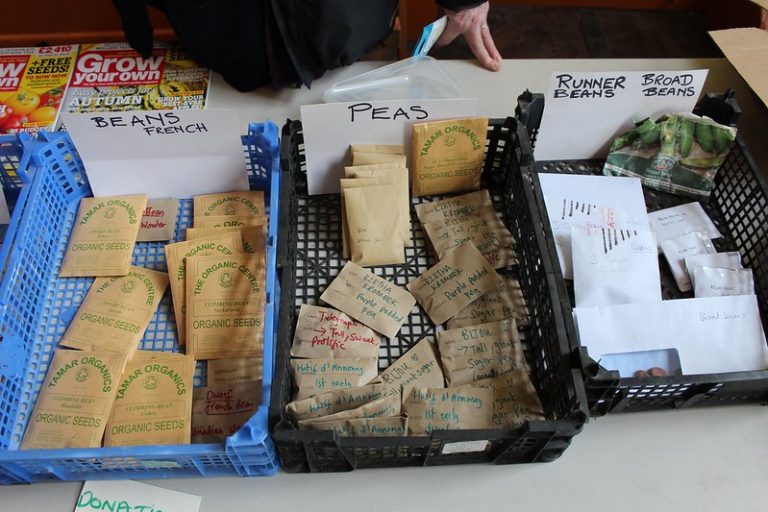
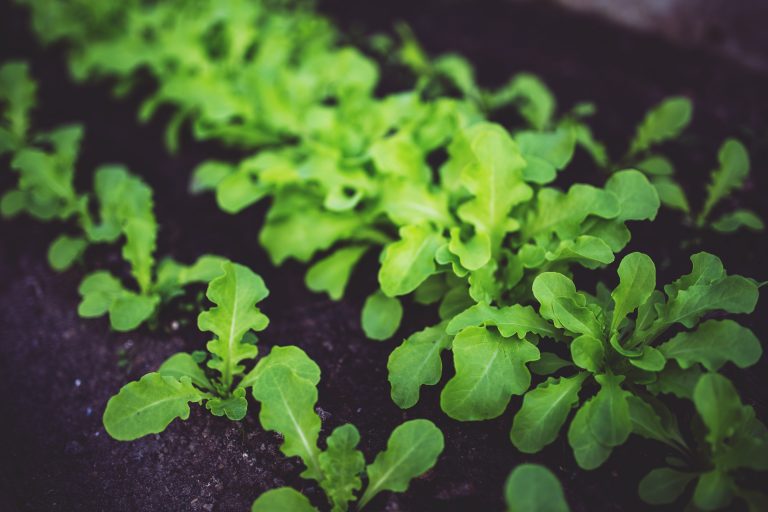
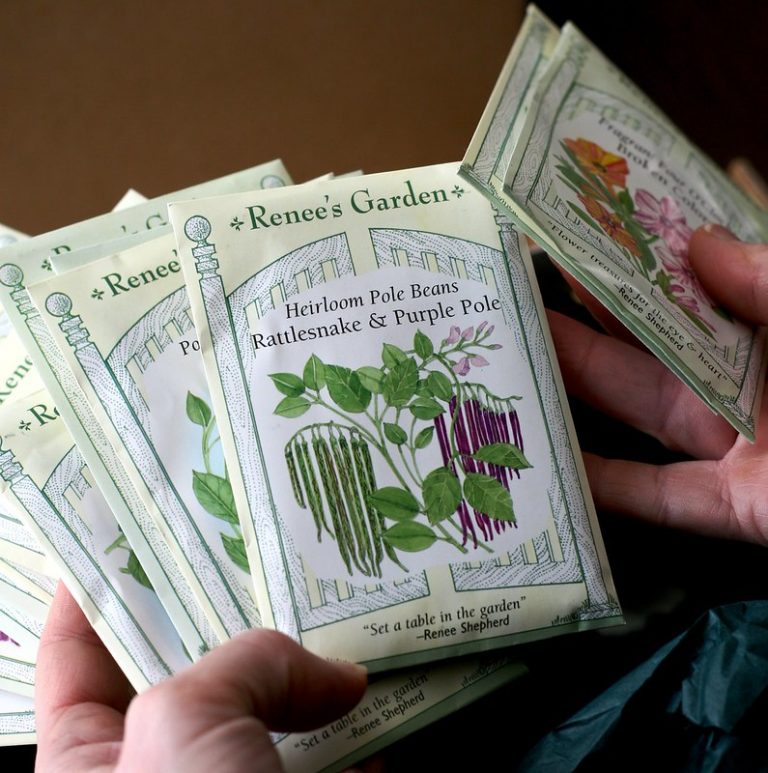
It’s nearly time to start seedlings, but you’ve noticed your seed supply is a bit thin. Or perhaps you’re bored with the varieties you typically grow and want to try something new. Seed swapping is the perfect way to top up your seed inventory on a budget. What is seed swapping? It’s exactly what it…
5 Super Compelling Reasons to Save Empty Seed Packets
Peek into my gardening cabinet, and you’ll find a slew of gardening books, some crafting supplies, seed starting tools, my seed organizer, and a bunch of empty seed packets devoid of seed. Why do I keep the dirty, warped, packets around? If I’m out of seed, why not throw them in the trash? Good question!…
6 Incredible Flower & Garden Shows to Visit in February
Are you missing your garden and can’t believe it’s still winter? Are you searching for an out-of-the-box activity to get yourself out of the house? I know. It’s so tempting to wait out the winter wrapped in a blanket. Curl up on the couch with a good book, and it’ll soon be time to get…
You Need to Mulch Trees for the Winter: Here’s Why
Are you worried about your tree’s ability to withstand harsh winter weather? A bit of mulch might be your ticket to preserving new plant life in your garden. Typically, mulching of trees is done in the fall, prior to freezing weather, in preparation for winter. As we head deeper into the winter, there may still…
5 Fun Hobbies to Keep You Busy This Winter
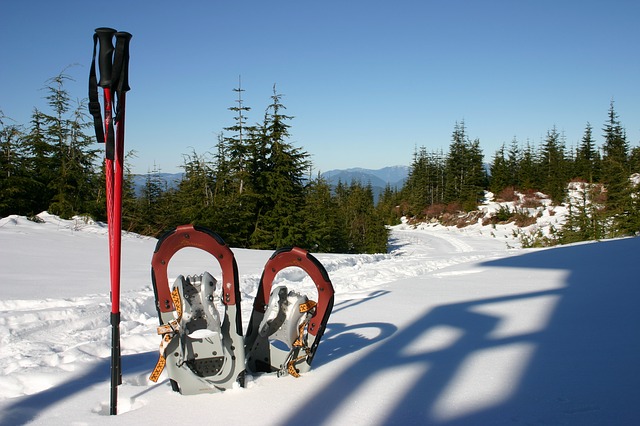
The ice has arrived. It covers the roads, the driveway, and most of the garden. The leftover plants have turned into icy statues. The wind blows, and they remain immobile. The light coating of snow makes everything look intensely beautiful, though. At this time of year, I get to sit down and enjoy the first…
Reasons Why Tomato Foliage Curl
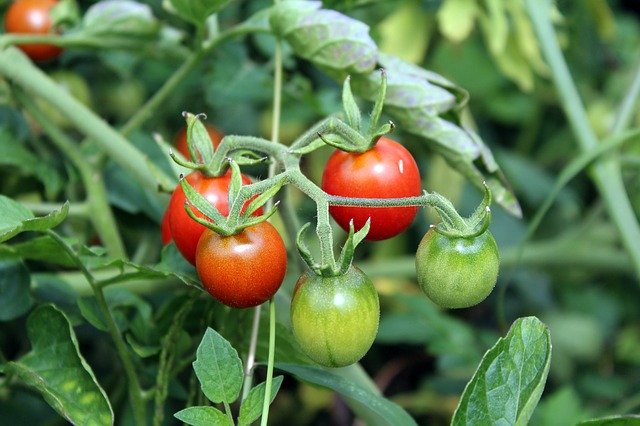
At one time, your gorgeous tomato plant was dotted with juicy, bright red fruit and had brilliant healthy green leaves. Now, the plant is looking under the weather, and its leaves are curling up. What’s going on? Why is your tomato plant taking a turn for the worse? Why does tomato foliage curl? Tomatoes…
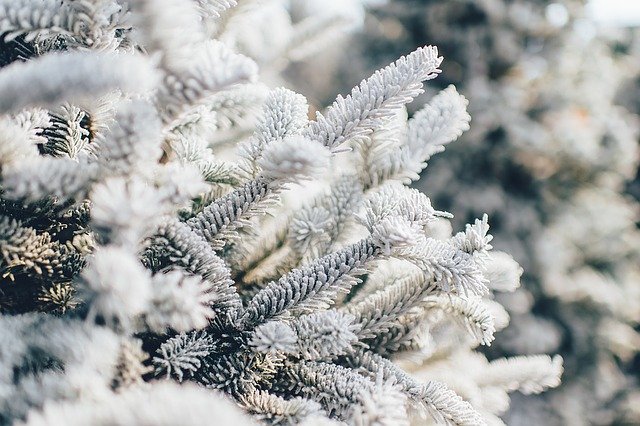
A Restful Season
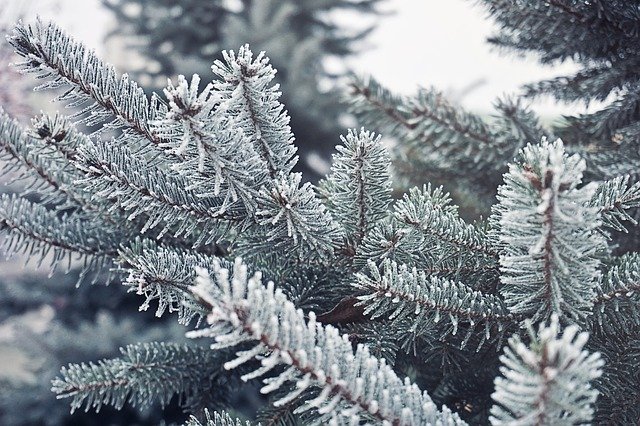
The snow blankets my garden beds, and I peer out longingly at them each morning. The frozen ground is no longer fit to be dug, and most of the straggler plants have wilted away. Each year I have grand plans to build cold frames and harvest through the winter. I tried it once in my…
How Much Dirt Does my Raised Bed Garden Need?
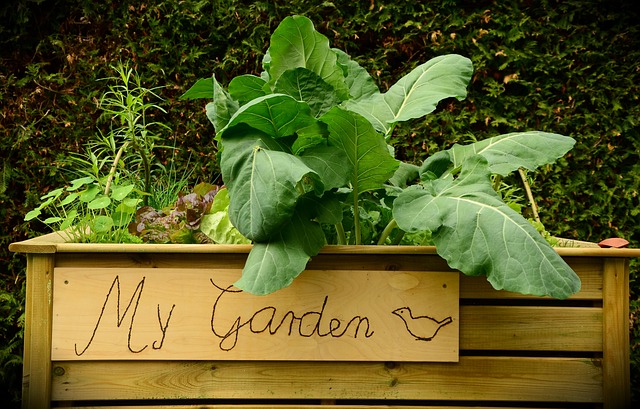
One of the benefits of raised bed gardening is the ability to use your own soil mix. It’s a serious advantage for those stuck living in places where the soil quality is poor or where there’s no soil to speak of (e.g., those who have a concrete yard). But how do you figure out how…
Prepping for the Holidays: Cooking in Advance

Canadian Thanksgiving has already come and gone, but Americans are patiently awaiting the day when they’ll get to enjoy turkey, stuffing, and all the delicious sides. Other holidays are around the corner, too. Christmas, Kwanzaa, Hannukah, and New Years, all coming in hot. Are you already stressing about your next family gathering? Whether you’re the…