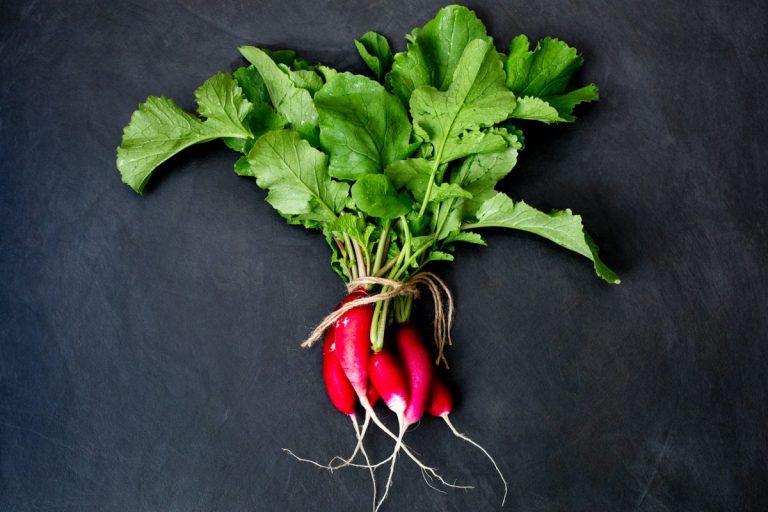
Nothing tests a gardener’s patience quite like staring at a patch of dirt that refuses to do anything exciting. Some seeds crawl out of the ground at a snail’s pace, while others burst into action so quickly they practically throw a party in the garden bed. Fast-germinating seeds bring instant gratification, which explains why experienced…
seed starting
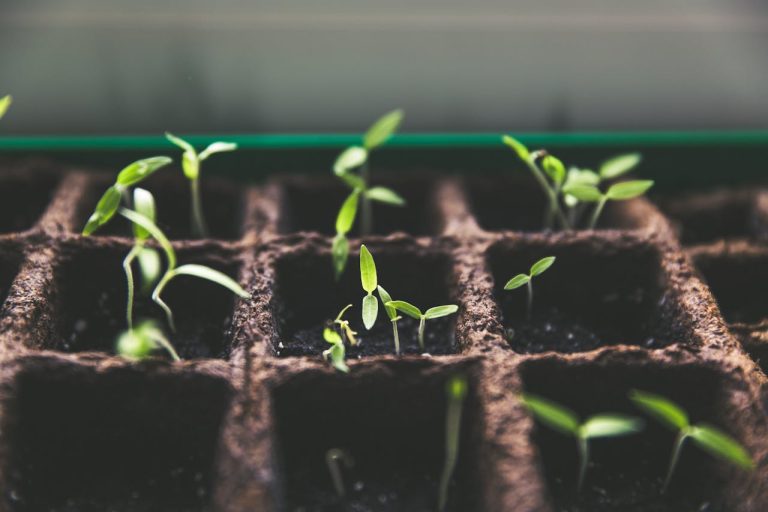
Why Seeds Fail to Sprout Even in Ideal Conditions
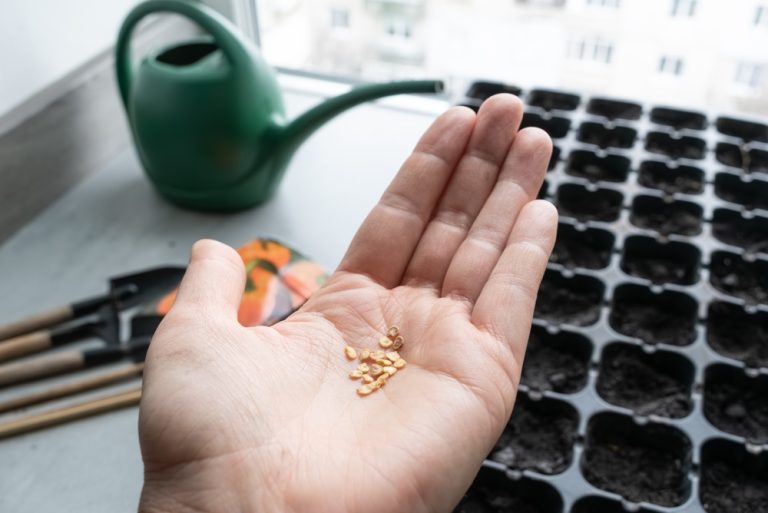
Fresh seed packets, fluffy soil, and perfect spring weather create big dreams for backyard gardeners across America. Nothing crushes that excitement faster than a stubborn tray of empty dirt that refuses to produce even one tiny green sprout. Many gardeners assume bad luck caused the failure, but seeds usually send clear signals long before they…
The “Hardening Off” Mistake That Leads to Transplant Failure
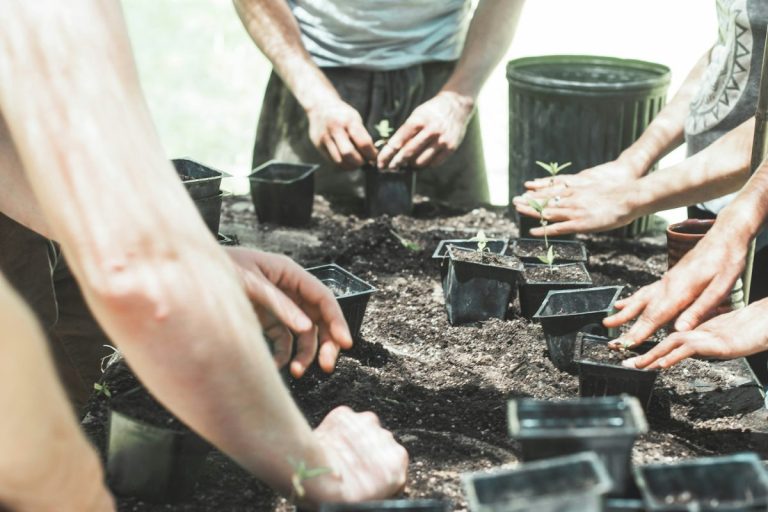
Spring excitement hits fast in the garden world. Seedlings look strong indoors, leaves stretch toward light, and everything feels ready for the big outdoor debut. Then the plants hit real-world conditions—wind, sun, temperature swings—and suddenly collapse like they never knew the garden life existed. That dramatic flop often traces back to one overlooked step: hardening…
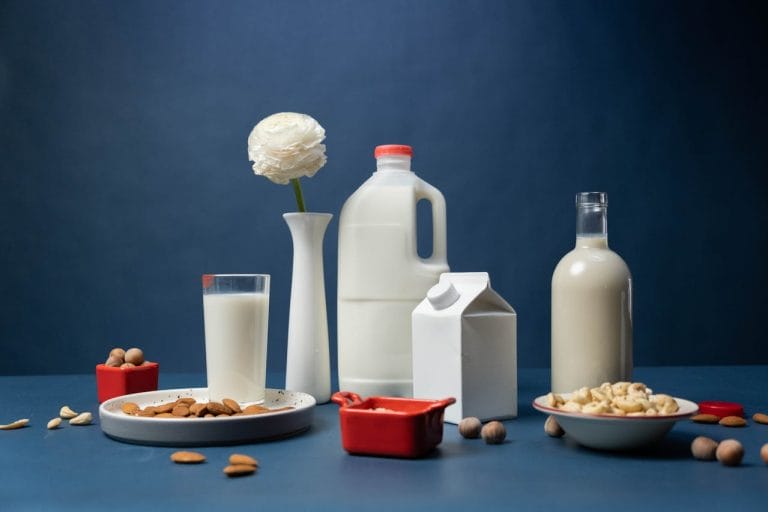
Hydroponics for the Rest of Us: The $5 Mason Jar Method
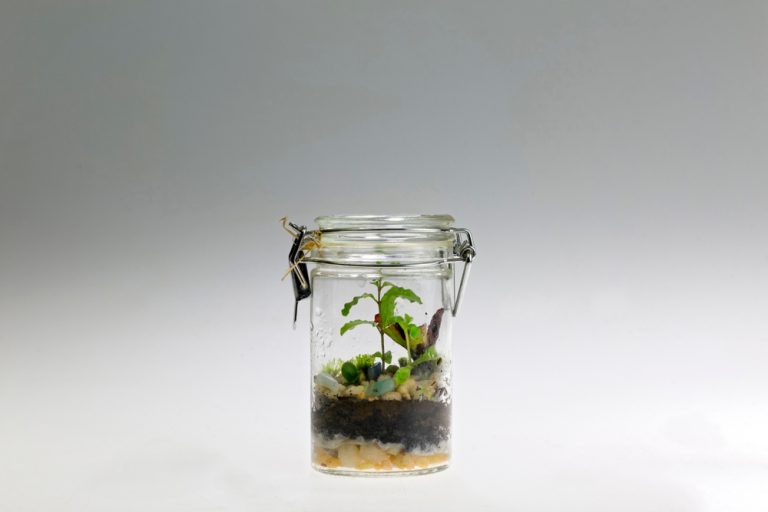
Fresh greens don’t need soil, acres of land, or expensive equipment. A countertop, a mason jar, and a splash of curiosity can launch a thriving mini garden right in the middle of a kitchen. This simple approach turns ordinary glass jars into productive plant stations that grow herbs and leafy greens with surprising speed. The…
The Winter Sowing Method: Why You Should Start Your Garden in the Snow
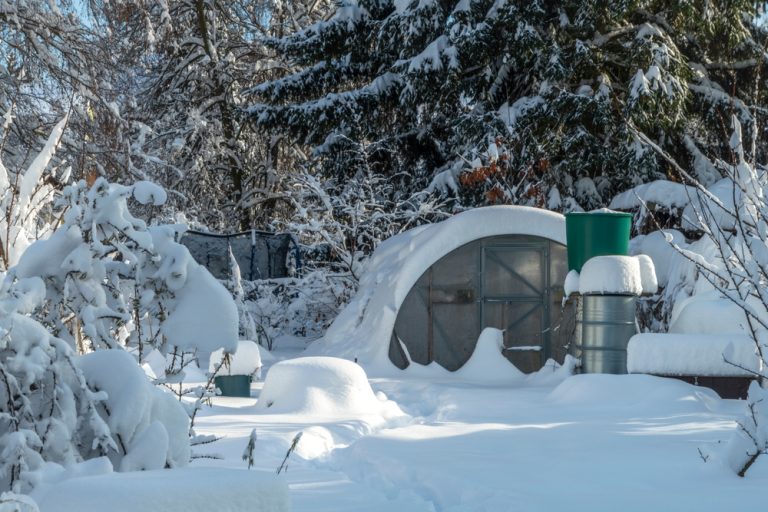
Snow blankets your yard, the garden beds sit frozen solid, and most people assume planting season still sits months away. That’s exactly when savvy gardeners grab recycled containers, a handful of seeds, and get to work. The winter sowing method flips traditional gardening on its head by letting nature handle germination in real time. Instead…
The Milk Jug Greenhouse: The Easiest Way to Protect Your Seedlings for Free
Cold air doesn’t negotiate with fragile seedlings. One sharp drop in temperature can wipe out days or weeks of careful planting, leaving behind nothing but soggy soil and disappointment. That reality hits hard, especially when early enthusiasm pushes planting schedules ahead of the weather. But here’s the twist: protection doesn’t require fancy equipment, expensive kits,…
Don’t Buy Seed Starters: Use These 4 Free Household Containers Instead
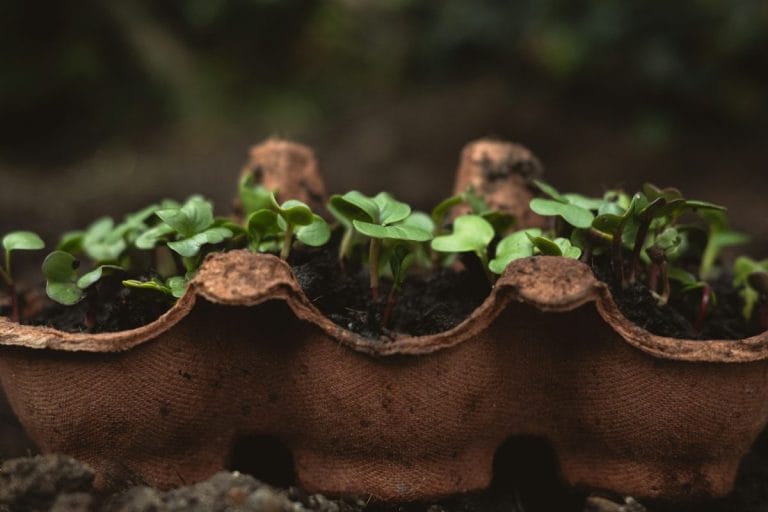
That shiny display of seed starters at the store may look tempting, but it does not hold any magic that a few everyday items cannot match. Seeds do not care about brand names or packaging. They care about moisture, warmth, and a good start, and plenty of common household containers deliver exactly that. A smart…
What Happens When Seeds Don’t Get Enough Water
It only takes one missing ingredient to stop a plant’s life before it even begins. Not pests, not bad soil, not even a lack of sunlight—just water. Strip moisture away from a seed, and everything grinds to a halt before the first root even gets a chance to stretch. That tiny, seemingly lifeless speck depends…
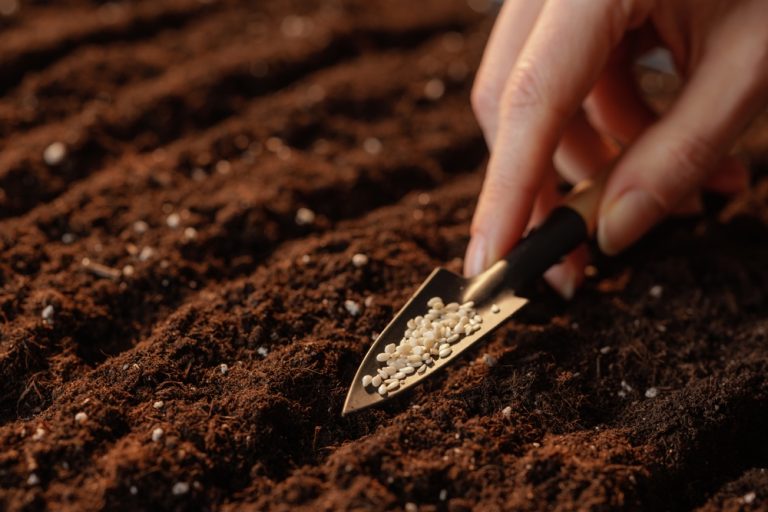
Why Some Seeds Never Germinate and How to Improve Your Success Rate

A packet of seeds promises life, color, and maybe even a plate full of homegrown food—but sometimes, nothing happens. No sprouts, no green shoots, just quiet, stubborn soil that refuses to cooperate. That gap between expectation and reality frustrates even the most enthusiastic gardeners, especially when everything seems “right” on the surface. Seeds don’t fail…
The Common Seedling Mistakes That Destroy Young Plants Before They Grow
Tiny green shoots push through the soil with so much promise that it almost feels like magic. That moment sparks excitement, plans, and visions of lush gardens or overflowing harvests. Then, without warning, those hopeful little sprouts collapse, shrivel, or simply stop growing. No dramatic storm, no obvious disaster—just a quiet failure that leaves people…