Winter has a way of turning gardens into icy wastelands, but that doesn’t mean your green thumb has to hibernate. Microgreens, those tiny, nutrient-packed powerhouses, are the perfect indoor solution to keep your taste buds and your plants thriving while the ground outside is frozen solid. They grow fast, look gorgeous on any plate, and can give your winter meals a fresh, vibrant kick. Whether you’re a seasoned gardener or someone who can barely keep a houseplant alive, indoor microgreens are surprisingly easy and wildly satisfying.
Today, we’ll explore twelve fun and effective ways to grow microgreens indoors so you can enjoy a splash of green all winter long.
1. Choose The Right Seeds For Winter Growth
Not all microgreens are created equal, especially when growing indoors during winter. Opt for varieties like radish, broccoli, mustard, or sunflower—they germinate quickly and thrive in cooler, indoor conditions. Avoid heat-loving varieties that struggle without sunlight and warm soil. Buying organic seeds ensures you’re starting with the healthiest plants possible. Always check the seed packet for recommended growing conditions and days to harvest.
2. Pick The Perfect Containers
Microgreens don’t need giant pots, but the container choice matters more than you might think. Shallow trays with drainage holes work best because they prevent soggy soil and root rot. Recycled containers like takeout boxes or shallow baking trays can be perfectly functional and eco-friendly. Make sure your container is clean to avoid mold or disease. The right container makes watering and harvesting a breeze.
3. Use High-Quality Growing Medium
Microgreens need soil or a growing medium that’s rich yet light. Seed-starting mix or coconut coir works wonders because they retain moisture without compacting. Avoid heavy garden soil—it can be too dense and inhibit germination. A fine, uniform medium ensures roots can easily penetrate and grow strong. Fluffing the soil before planting also helps air circulate around the seeds, which they love.
4. Master The Art Of Soaking Seeds
Soaking seeds can dramatically speed up germination and improve sprouting rates. Simply soak your seeds in water for 4-12 hours, depending on their size and type. Larger seeds like sunflower or peas benefit most from soaking, while tiny seeds like broccoli need minimal or no soaking. Drain the seeds well before planting to avoid mold. This simple step gives your microgreens a healthy head start.
5. Sow Seeds Evenly And Lightly
Scattered seeds produce uneven growth, while crowded seeds can smother each other. Aim for an even layer on your growing medium without piling seeds on top of one another. A light press or gentle pat ensures good seed-to-soil contact. Covering them lightly with soil or leaving them exposed depends on the seed type—read your packet! Proper sowing helps every seed have a chance to shine.
6. Provide Adequate Light
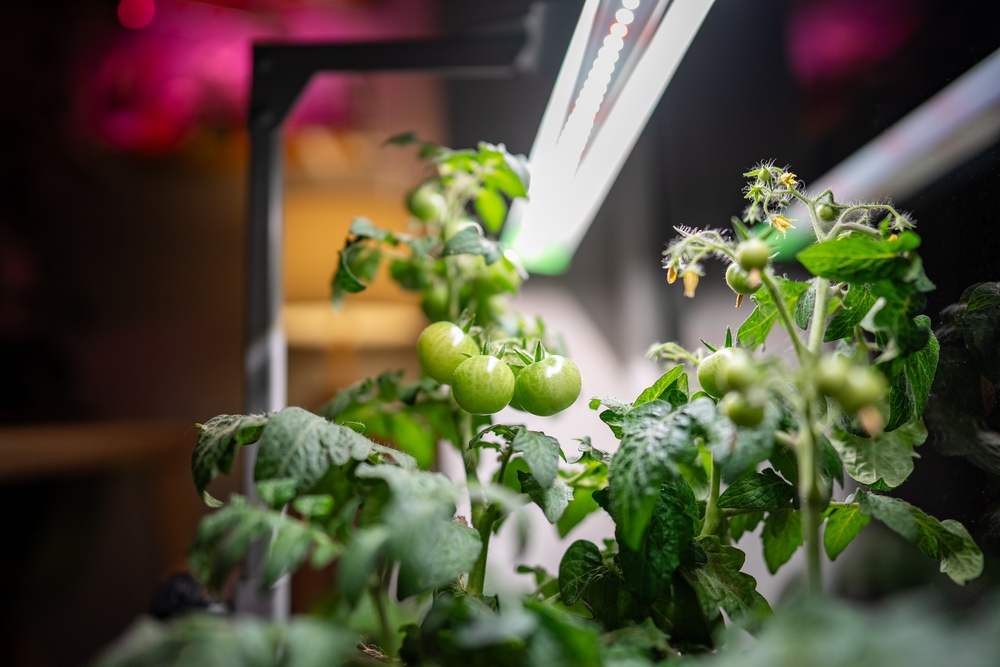
Winter sun is weak and fleeting, so indoor microgreens often need extra light. LED grow lights or fluorescent bulbs placed a few inches above the seedlings work perfectly. Keep the lights on for 12-16 hours per day to mimic natural sunlight. Rotating trays ensures all plants get equal exposure. Adequate light prevents legginess and encourages vibrant, sturdy growth.
7. Maintain Consistent Moisture
Microgreens thrive on consistent moisture but hate soggy soil. Use a spray bottle to mist lightly once or twice a day. Keep the growing medium damp, not soaked, to avoid root rot or fungal issues. Bottom watering trays can help by letting seedlings draw water as needed. Regular attention during germination is key for lush, healthy microgreens.
8. Keep Temperature Stable
Even indoors, temperature fluctuations can stress seedlings. Most microgreens grow best in a consistent 65-75°F range. Avoid placing trays near heaters, cold drafts, or open windows. Small variations are okay, but rapid swings can stunt growth. A stable environment ensures your microgreens reach peak flavor and color.
9. Thin Seedlings When Necessary
Crowded seedlings compete for light, water, and nutrients, slowing overall growth. Once tiny leaves appear, thin them by snipping weaker sprouts at the base. This gives stronger seedlings room to flourish. Don’t pull them; cutting keeps the soil intact. Thinning is like giving your microgreens VIP treatment—they’ll reward you with bigger, healthier leaves.
10. Harvest At The Right Time
Timing is everything when it comes to microgreens. Most varieties are ready 7-21 days after germination, once the first true leaves appear. Use scissors to snip just above the soil line to avoid disturbing roots. Harvesting at the right stage maximizes flavor, nutrition, and visual appeal. Regular harvesting encourages continuous growth if seeds are succession-planted.
11. Experiment With Flavors And Colors
Microgreens aren’t just green—they come in reds, purples, yellows, and even streaked patterns. Mix varieties for visual excitement and diverse flavors. Arugula, beet, and amaranth add zing and color to winter meals. Don’t hesitate to try new seeds or combinations—you might discover your new favorite. A colorful tray brightens not just your plate but your mood.
12. Reuse And Compost
Don’t toss leftover roots and soil! Composting microgreen trimmings enriches future soil and reduces waste. Some hearty varieties can even regrow for a second mini-harvest. Rotating trays and refreshing soil keeps growing conditions optimal. Recycling and reusing is satisfying and sustainable, making your winter microgreen journey eco-friendly.
Share Your Microgreen Wins
Indoor microgreens are a fantastic way to keep your kitchen garden alive, even when frost covers the ground outside. From selecting seeds to proper light, moisture, and harvesting techniques, there’s endless fun experimenting with tiny greens.
Have you discovered a favorite combination, a trick that works every time, or a hilarious growing mishap? Tell your stories, tips, or questions in the comments section. Your winter harvest adventures could inspire someone else to start their own microgreen journey.
You May Also Like…
13 Indoor Plants to Rescue and Overwinter from the Garden
Do Holiday Plants Belong in Your Outdoor Garden or Just Indoors?
12 Ways to Build Soil Over Winter Using Leaves, Compost & More
How to Build a Garden Routine That Works While It’s Too Cold to Dig
10 Winter Flower Arrangements You Can Pull from Your Garden

Brandon Marcus is a staff writer for FrugalGardening.com at District Media, Inc., where he delivers practical gardening advice with a relatable, no-nonsense style. An avid amateur gardener, he holds a BA degree and with over ten years of professional writing experience, he is also an award-winning published author whose first book, Questions For Deep Thinkers, was released by Adams Media. His work has appeared in major publications including Fandom.com, CHUD.com, TheColdWire.com, and Fansided.com.
Leave a Reply