A financial report is a comprehensive document that provides an overview of a company’s financial performance over a given period. It includes information such as revenues, expenses, profits, assets, liabilities, and cash flow. In this article, we will explore the importance of a financial report for a company.
Uncategorized
How to Design and Plan Your Dream Greenhouse Or Shed
A greenhouse is a fantastic way to grow your plants and vegetables. It provides the right conditions for photosynthesis, the process whereby plants use sunlight to make food in their leaves. Greenhouses are great for growing plants in the winter and can be used for many different types of horticulture. However, it is essential to…
Top 8 Edible Plants You Can Grow in Winter

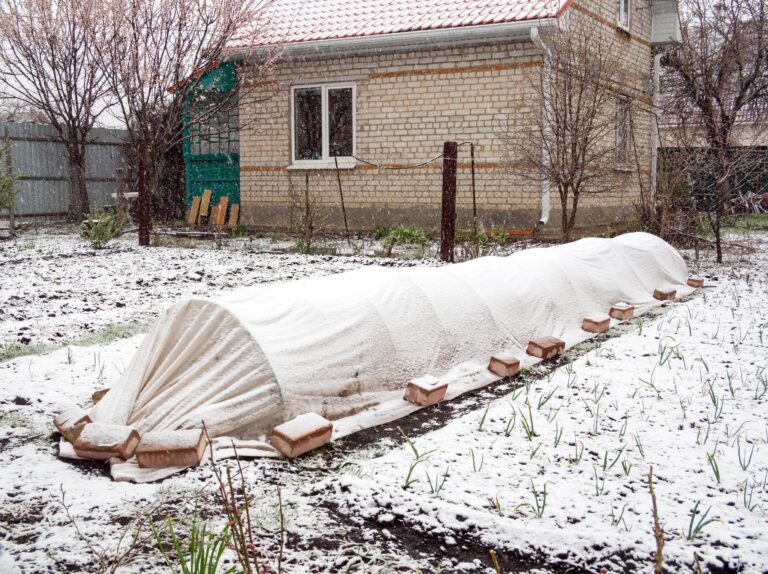
When temperatures start to drop, many people think gardening has to stop. That’s not true. Here are the top 8 edible plants you can grow in winter. Tons of edible plants can survive winter temperatures, rain, and poor soil drainage conditions. And purple varieties, in particular, contain a compound (anthocyanin) that helps prevent root rot…
Gift Exchange Ideas With Fellow Gardeners

Giving gardeners thoughtful and useful gifts is easy! I will provide you with a few ideas for great gifts for fellow gardeners so you can find a touching gift for the important gardener in your life (even if that’s you!). Multitools Multitools are a small collection of tools that usually fold into a rectangular shape…
Gardens Add Life and Equity to Your Home
When it comes to investing in a new home, the one word you always want to keep in mind is equity. The more equity you build up in your home the more valuable it will be should you decide to sell one day. Or, part of your retirement plan might include applying for reverse mortgage….
Winter Garden Tasks
Even if you are not growing a winter garden, you can still do plenty of winter garden tasks. Winter garden chores can be split into planning and chores. Planning Winter is an excellent time to plan your next year’s garden. Planning your garden is split to into these steps. Inventory Before you list things…
Good Bugs for the Garden

How much gardening media is consumed with pest control topics? Gardening store shelves are filled with pesticides, and organic gardening books are full of tactics to beat bugs with more natural tools. But having a bug-free garden is a bad thing. Here are some good bugs for the garden. Why are Bugs Beneficial to…
Cheap Ways to Improve Garden Soil
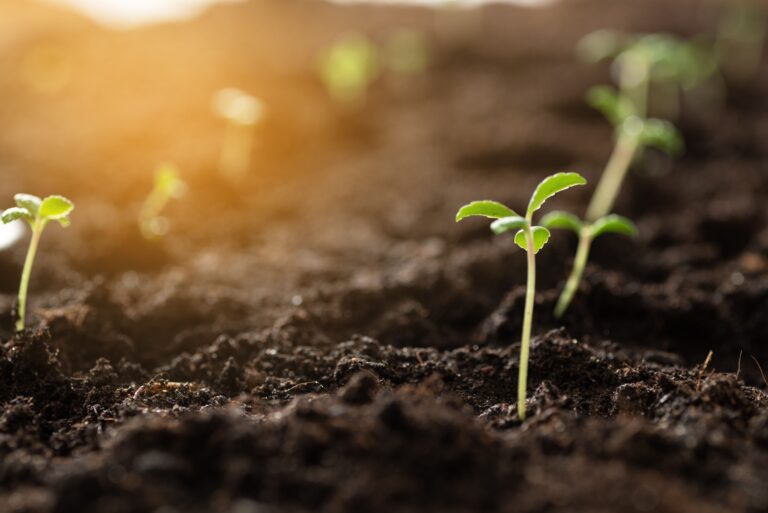
Soil is the heart of your garden. And if we want to keep our gardens healthy and producing plenty, it’s essential to care for the soil diligently. Here are some practical and cheap ways to improve garden soil. Fertilizer When people think of improving soil, they most often think of adding fertilizer. This is…
How to Keep Gardening from Being Boring

Most of the time, growing a kitchen garden is a somewhat predictable task. Many people grow the same things year after year. And that’s great because it means they eat something they love that are nutritious and delicious. But I encourage people to grow at least one new or challenging thing each year. Growing an…
6 Health Benefits of Gardening: How It Boosts your Physical and Mental Health

The health benefits of gardening are not limited to supplying your food. Gardening is also a form of self-care. You can reap several tangible benefits from growing your food, including physical and mental changes. Improves Mood Exercise, eating more veggies, and sunlight are all linked to improved mood. Exercise and eating more veggies keep your…