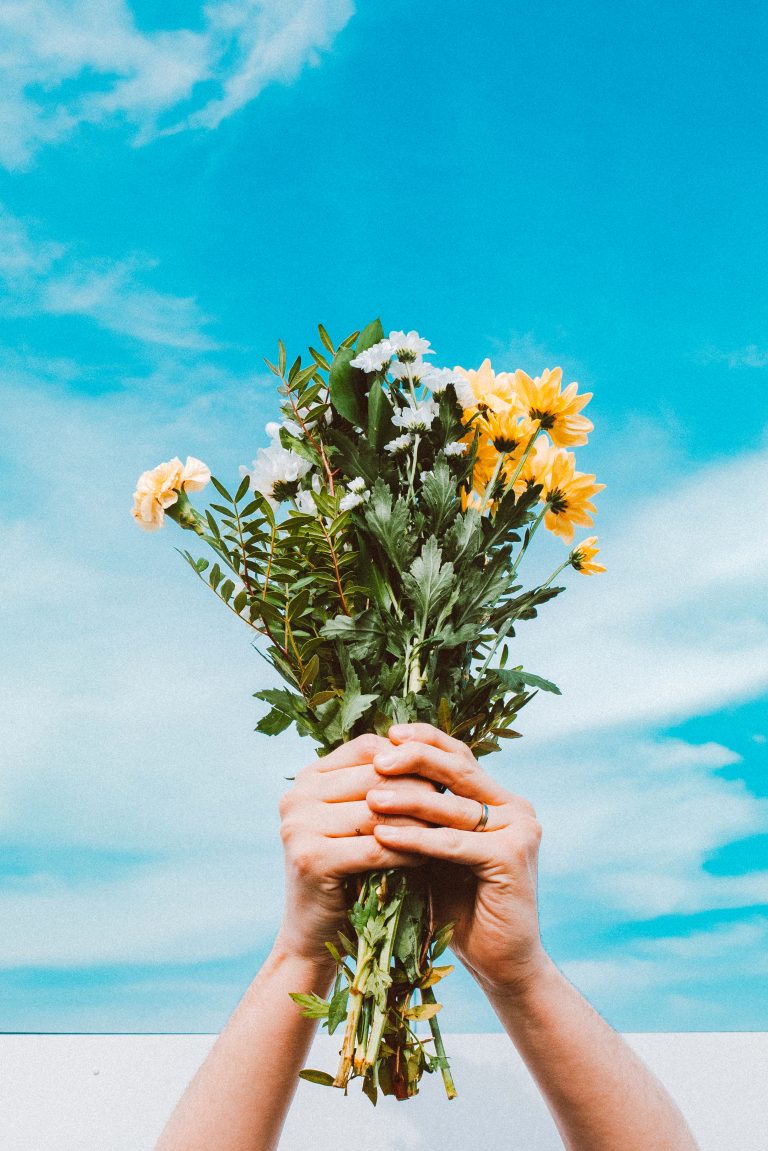
Cut flowers in the garden are the height of luxury. I used to think flowers were pointless. When I was younger, I didn’t find them particularly romantic, and when I began gardening, I thought of them as wasted space. Now I know better. There are plenty of reasons to grow flowers in your garden….
Uncategorized
7 Tips for Getting Through a Heatwave in the Garden

It’s been hotter than ever in the garden these past few weeks, and getting tasks done is no longer an enjoyable experience. Thankfully, the heat let up yesterday, and I manage to spend an hour and a half replacing empty spots and sowing seeds for a fall harvest. The respite is temporary, though. Dealing with…
7 Garden Inspection Tasks for Thriving Plants
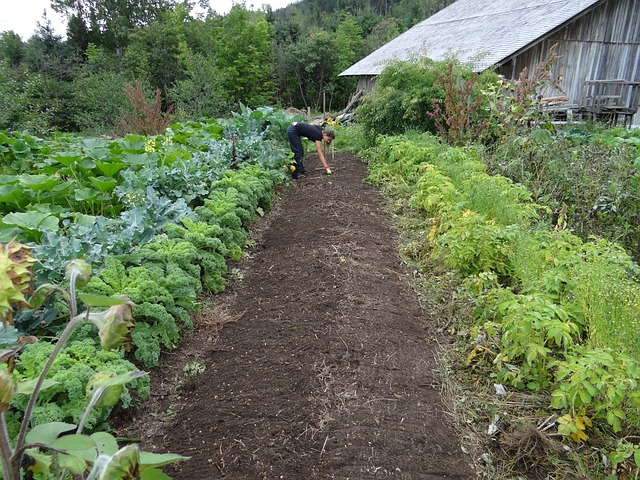
Why do I bother walking through my garden multiple times a day? Let’s talk about my top garden inspection tasks. We’re in the midst of a heatwave in my neck of the woods and the garden is loving it. The heat-sensitive plants have all bolted and been pulled in favor of heat-loving edibles. I make…
Seed Starting with Recycled Materials
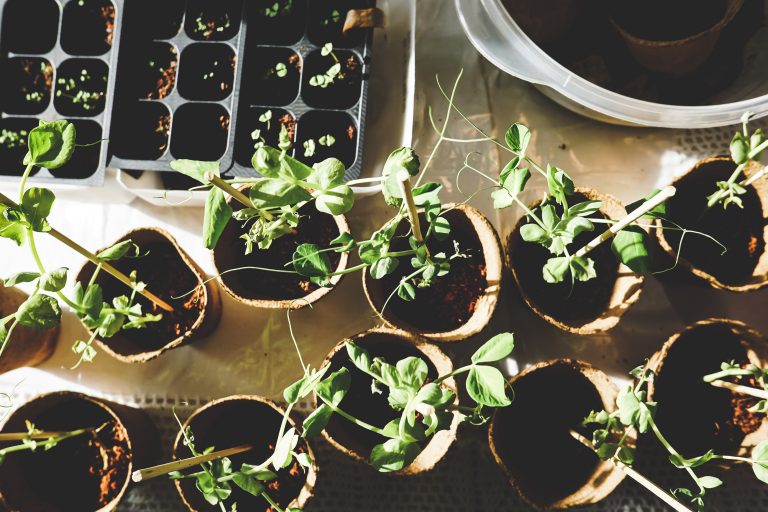
There’s no need to use fancy equipment to start seeds. You have plenty of perfectly suitable materials lying around the house—probably about to end up in the trash or recycling bin. Seed starting with recycled materials is easy! Don’t spend a ton of money on trays and flats. Save your hard-earned money and reduce, reuse,…
Gardening: More than a Solo Activity

The pandemic continues to affect everyday life despite lockdown protocols being lifted, and I’ve spent a lot more time in the garden because it’s currently one of the few things I can control (albeit barely!). For more than a decade, I’ve continued to make mistakes and discover tiny miracles in my outdoor oasis. It’s…
5 Easy and Neat Seed Storage Ideas

I’m an organization nerd (and a seed storage geek). It’s why I’m so attracted to Square Foot Gardening. I like it when things have their place. Without a system, things easily start to become messy and confusing. “Where did I put that again?”, “What did I just plant there last week?”. I’m more forgetful than…
How to Design a Pollinator-Friendly Garden
Gardens are more than just an attractive feature in one’s home. They also help boost ecological balance by supporting pollinators. But before we go into designing a pollinator-friendly garden, let’s refresh our memory on some basic biology concepts.
7 Reasons to Rent Instead of Buy a Home

One of the main aspects of the American Dream is becoming a homeowner…isn’t it? This might not necessarily be the case anymore. For many Americans, there seems to be a declining interest in owning a home. The decline in home buying goes hand in hand with increasing percentages of millennials that consider buying a home…
Expand Your Gardening Possibilities with Seed Swapping
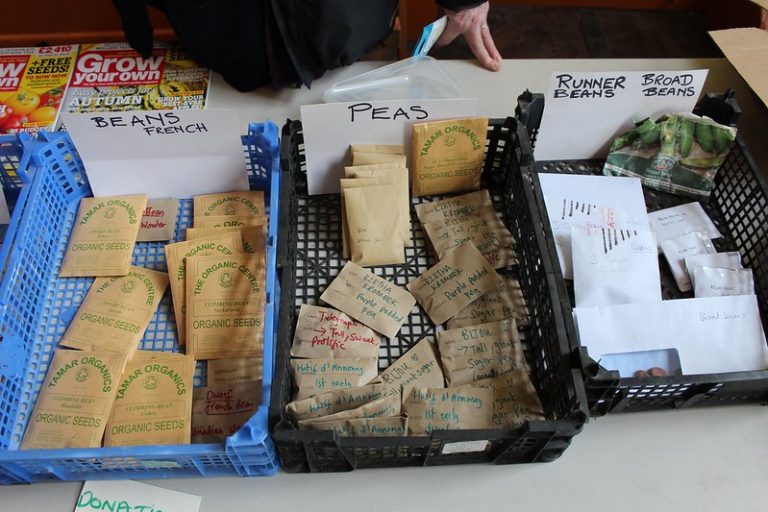
It’s nearly time to start seedlings, but you’ve noticed your seed supply is a bit thin. Or perhaps you’re bored with the varieties you typically grow and want to try something new. Seed swapping is the perfect way to top up your seed inventory on a budget. What is seed swapping? It’s exactly what it…
5 Super Compelling Reasons to Save Empty Seed Packets
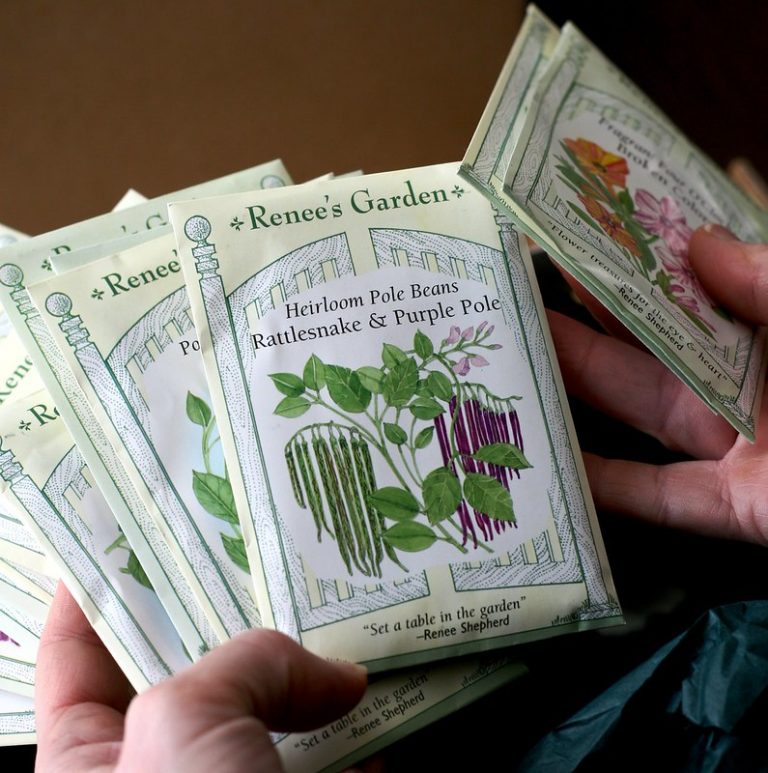
Peek into my gardening cabinet, and you’ll find a slew of gardening books, some crafting supplies, seed starting tools, my seed organizer, and a bunch of empty seed packets devoid of seed. Why do I keep the dirty, warped, packets around? If I’m out of seed, why not throw them in the trash? Good question!…