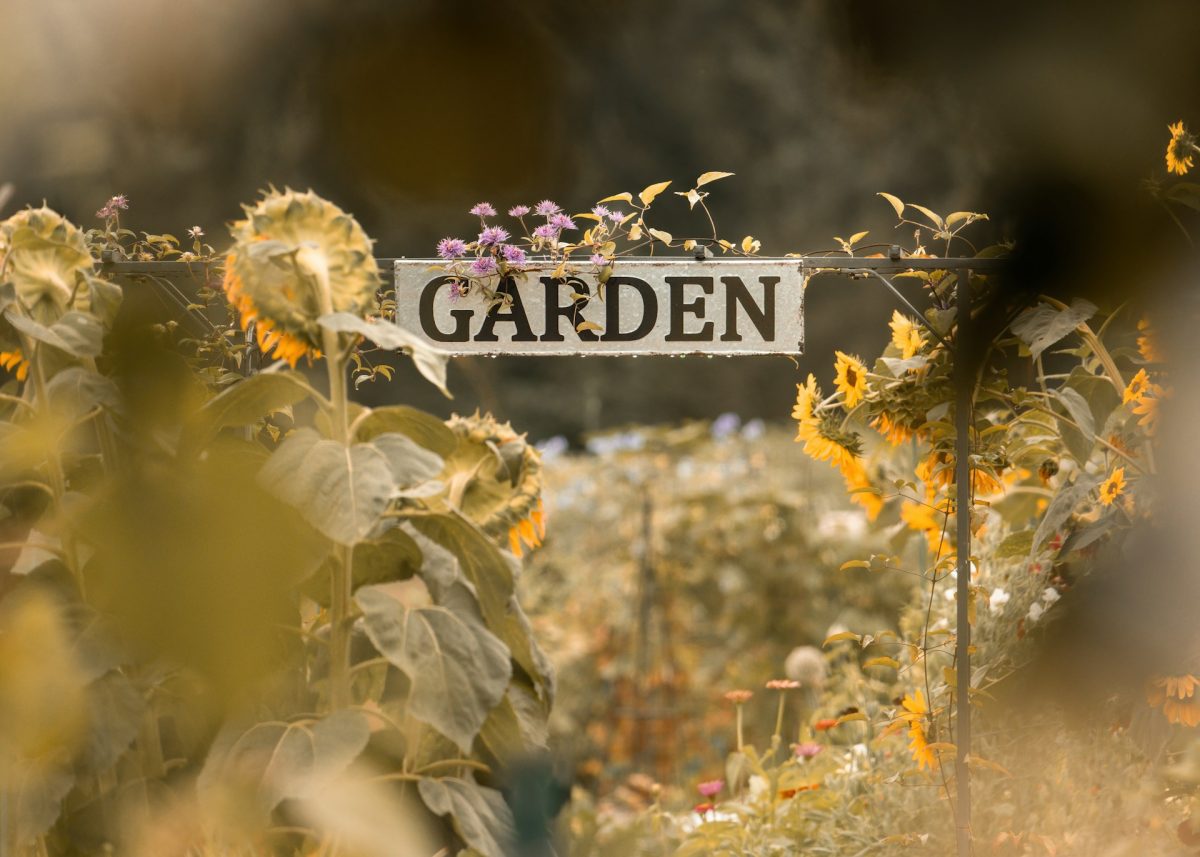
A garden without labels turns into a guessing game fast, and not the fun kind. One week, everything looks neat and organized, and the next, mystery plants start popping up like uninvited guests at a party. Names blur, markers fade, and suddenly basil and mint play identity swap with impressive confidence. A good plant label doesn’t just sit there looking cute; it needs to survive rain, sun, wind, and the occasional curious pet or clumsy footstep. That challenge opens the door for some seriously clever DIY solutions that look great and hold up.
Creative plant labels bring personality into a garden in a way store-bought plastic never quite manages. A little effort turns everyday materials into long-lasting markers that actually stay readable.
1. Metal Stamping: Tough, Timeless, and Practically Indestructible
Metal stamping gives plant labels serious staying power, and it doesn’t take a professional workshop to pull it off. Thin aluminum or copper strips work beautifully because they resist rust and hold stamped impressions clearly. A simple set of letter stamps and a hammer create deep, permanent markings that won’t fade under sunlight or wash away in the rain. This method skips ink entirely, which means nothing can smudge or disappear over time. The result feels clean, intentional, and surprisingly polished for a DIY project.
Beyond durability, metal labels bring a sleek, slightly industrial vibe to any garden setup. Copper develops a natural patina over time, adding character instead of looking worn out. Aluminum stays bright and readable, offering a crisp contrast against soil and greenery. Both options allow bending into stakes or attaching to existing markers, making them flexible for different layouts. A quick sanding before stamping helps create a smoother surface and cleaner lettering.
This approach also works well for labeling herbs, vegetables, and even indoor plants. Short names fit easily, but longer plant names still look neat when spaced carefully. A little planning with layout keeps everything readable without crowding. Anyone who enjoys a hands-on project will appreciate the satisfying process of hammering each letter into place. It feels like crafting something that truly belongs in the garden, not just something picked up on a quick store run.
2. Painted Rocks: Bold, Bright, and Weather-Ready
Painted rocks turn a simple idea into something colorful and long-lasting with just a bit of creativity. Smooth stones provide the perfect surface for painting plant names, and they hold up beautifully outdoors. Acrylic paint sticks well, especially when sealed with a weatherproof clear coat. That extra layer locks in the color and prevents fading, even after weeks of direct sunlight and watering. The weight of the rocks keeps them from blowing away, which adds another layer of practicality.
Choosing larger stones makes names easier to read at a glance, especially in crowded garden beds. Bright colors pop against green foliage, helping each label stand out without looking out of place. For a more subtle look, neutral tones with contrasting lettering create a calm, cohesive feel. Either way, the design options stay wide open, from simple text to tiny illustrations that match each plant. A tomato rock could feature a small painted vine, while herbs might get leafy accents.
This method also invites experimentation without much pressure. If a design doesn’t turn out right, a quick repaint fixes everything. Sealing remains the key step that ensures durability, so skipping it leads to faster fading. Placing rocks slightly above soil level keeps them cleaner and easier to read over time. These labels combine art and function in a way that feels personal and practical all at once.
3. Wooden Markers with Burned-In Names: Rustic Meets Resilient
Wooden plant markers often get dismissed because ink fades quickly, but burning the names into the wood changes the game entirely. A wood-burning tool etches plant names directly into the surface, creating a design that won’t wash away or bleach out in the sun. This technique transforms basic wooden stakes into long-lasting labels with a warm, rustic look. The slightly darkened lettering contrasts naturally with the wood, making it easy to read without any added paint.
Choosing hardwood over softwood improves durability and helps the markers last longer outdoors. Cedar and oak stand up well to moisture and resist rot better than cheaper alternatives. Applying a natural sealant adds another layer of protection while keeping the organic look intact. This step keeps the wood from cracking or splitting after repeated exposure to weather. A little maintenance each season helps extend their life even further.
Spacing and lettering style matter more here than expected. Clear, evenly burned letters improve readability and prevent confusion later. Practicing on scrap wood first builds confidence and helps refine technique before tackling the final markers. These labels fit perfectly into herb gardens, raised beds, or any space that leans into a natural aesthetic. They offer durability without sacrificing charm, which makes them a standout option for anyone who loves a cohesive garden style.
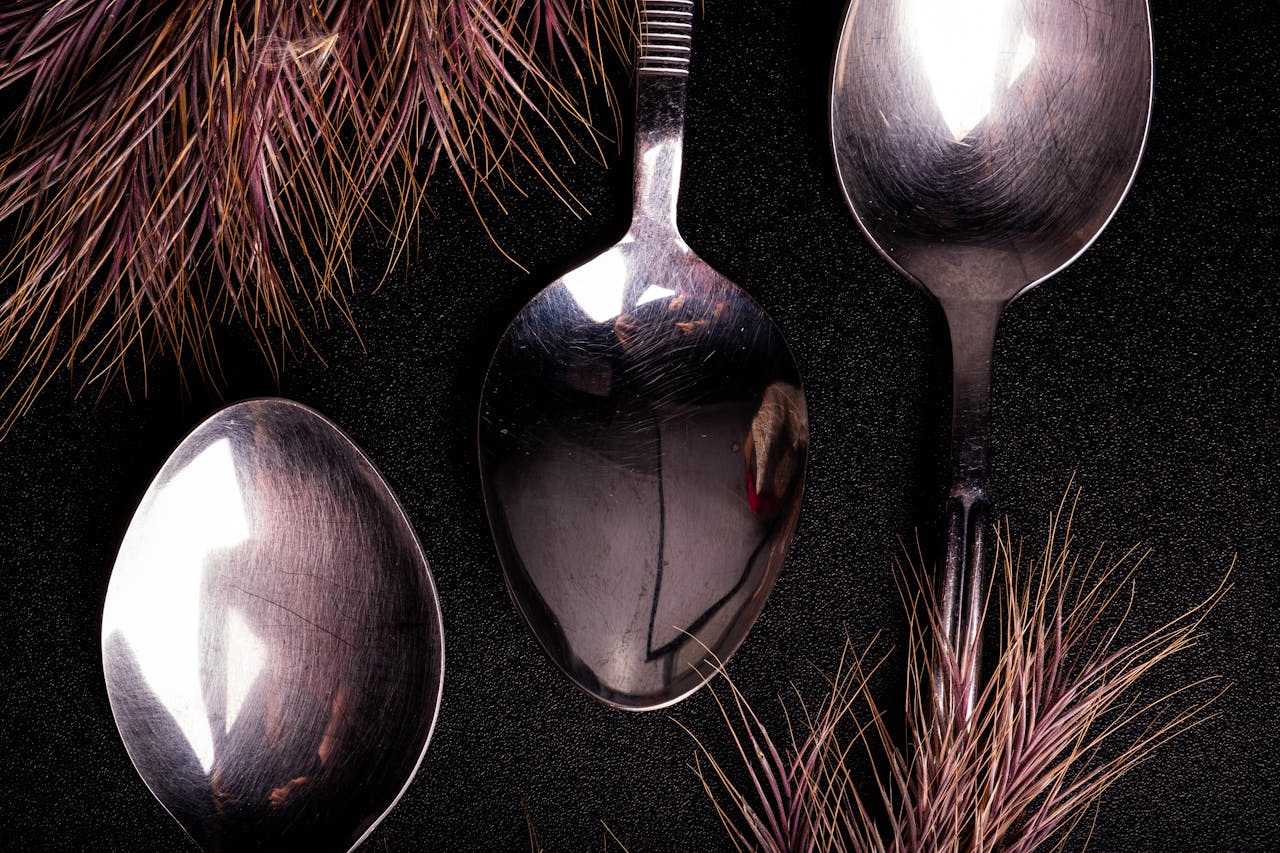
4. Recycled Spoon Labels: Vintage Vibes That Last
Old metal spoons find a second life as sturdy and stylish plant labels with just a bit of effort. Flattening the handle creates a perfect surface for stamping or engraving plant names. The metal holds up well against outdoor conditions, and the curved bowl adds a quirky visual element that catches the eye. This idea blends sustainability with creativity, turning unused items into something functional and fun.
Stainless steel spoons resist rust and maintain their appearance over time, making them ideal for outdoor use. Stamping works best on the handle, while engraving tools can add finer details if desired. Bending the handle slightly helps anchor the spoon into the soil, keeping it upright and visible. This method creates labels that feel sturdy and permanent, even in busy garden spaces.
The vintage aesthetic adds personality without overwhelming the garden’s natural look. Mixing different spoon styles creates an eclectic feel, while matching sets bring a more uniform appearance. Either approach works, depending on the overall vibe. These labels stand out just enough to be noticed without clashing with plants. They prove that practical solutions can still carry a sense of style.
5. Slate or Stone Tiles: Sharp, Clean, and Built to Endure
Slate tiles offer a clean, modern look that pairs beautifully with almost any garden style. Writing on slate with a paint pen or chalk marker creates sharp, readable labels that stand out against the dark surface. Sealing the writing ensures it stays intact through rain and sun exposure. Unlike traditional chalkboards, sealed slate holds up outdoors without constant touch-ups.
Cutting slate into smaller pieces creates manageable labels that fit neatly into garden beds. Attaching them to metal stakes or placing them directly on the soil keeps them stable and visible. The weight prevents shifting, even during strong winds or heavy watering. This approach combines durability with a polished aesthetic that feels both functional and intentional.
White or metallic paint pens create strong contrast, making plant names easy to spot from a distance. Keeping the lettering simple helps maintain clarity and avoids overcrowding. Slate labels work especially well in organized layouts where clean lines and symmetry matter. They offer a low-maintenance option that still looks refined, which makes them a favorite for gardeners who want both style and substance.
6. Plastic Tags with UV-Resistant Marker: Simple, Smart, and Surprisingly Effective
Plastic tags might sound basic, but choosing the right materials turns them into a reliable long-term solution. UV-resistant markers prevent fading, even under constant sun exposure. Writing clearly and allowing the ink to fully dry helps lock in the label before placing it outside. This method keeps things straightforward while still delivering solid results.
Thicker plastic tags hold up better than flimsy ones, especially in changing weather conditions. They resist bending and cracking, which helps maintain readability over time. Reusable options allow switching out plant names each season without needing entirely new labels. This flexibility makes them especially useful for rotating crops or experimenting with new plants.
Keeping labels slightly elevated above soil reduces wear and tear from moisture and dirt. A quick wipe now and then keeps them looking fresh and readable. This approach may not win any design awards, but it delivers consistent performance with minimal effort. Sometimes, simple solutions end up being the most dependable.
A Garden That Remembers Every Name
A great plant label doesn’t just survive the season; it becomes part of the garden’s identity. Each of these ideas brings something different to the table, whether it leans artistic, practical, or somewhere right in the middle. Strong materials and thoughtful techniques keep names visible long after ordinary markers fade away. That reliability saves time, prevents confusion, and adds a layer of intention to every planting decision.
Which of these ideas feels like the perfect fit, and what creative twist could take it even further? Share your thoughts, ideas, or favorite labeling tricks in the comments and keep the inspiration growing.
You May Also Like…
Seed Starting on a Budget Series: The Importance of Labeling
Why Planting Too Early Can Set Back Your Entire Garden
7 Things Earwigs Do in Gardens and When They Become a Problem
6 DIY Trellis Designs That Support Plants Without Breaking Your Budget
Design a Winter Garden That Looks Just as Good Without Flowers
Leave a Reply