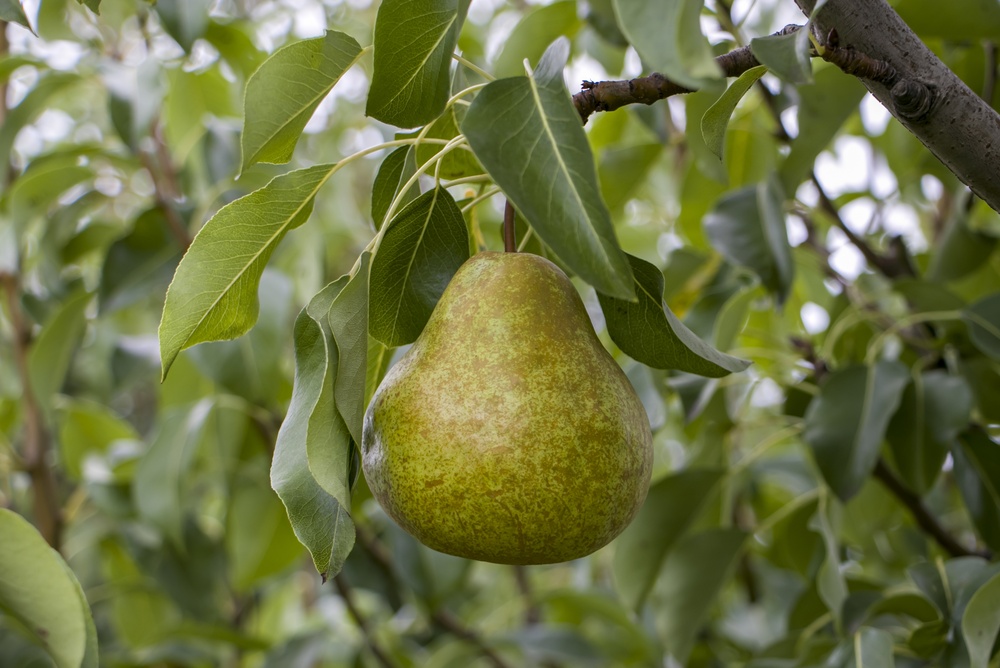
A pear can look like a botanical beauty on the outside, then reveal a mushy, brown surprise when the knife reaches the center. That frustrating problem happens because pears naturally ripen from the core outward, so the inside can become soft and overripe while the surface still looks perfectly respectable.
The trick lies in knowing that a pear does not behave like an apple. Most European pears actually prefer to finish their ripening after harvest, and letting them sit on the tree until they feel soft can lead to coarse texture, poor flavor and internal breakdown.
The Pear Has Been Ripening From the Center All Along
A pear naturally begins its final ripening process around the core and moves outward toward the flesh. That explains the classic gardening mystery where the outside still feels firm while the center has already turned soft, brown or almost pudding-like. Oregon State University Extension specifically notes that pears ripen from the core outward and from the neck toward the blossom end.
This process makes the usual “squeeze the whole fruit” test a terrible detective. A gardener can press the rounded belly, feel firmness and assume the pear needs more time, even while the interior has already started breaking down. By the time the outside finally announces the problem with obvious softness, the center may have crossed well past the point of good eating.
That inside-out pattern also explains why pears often disappoint gardeners who wait for them to become fully ripe on the tree. Most European pears develop better texture when gardeners harvest them while they remain firm and then allow them to ripen indoors. Leave them hanging too long, and the fruit can develop a mealy texture while the core breaks down.
The Biggest Culprit May Be Waiting Too Long
The most common mistake with European pears involves treating them like peaches or plums. Those fruits can develop excellent eating quality on the tree, but most European pears follow a different schedule, and the gardener needs to pick them at physiological maturity rather than waiting for dessert-ready softness.
Look for several clues instead of relying on one magical color change. Depending on the variety, the surface may shift from dark green toward lighter green, the small dots may turn brown, the surface may develop a smoother, waxier feel, and the pear may separate from the spur with a gentle upward twist. Seeds also change from pale to brown as the fruit matures.
Once harvested, pears need the right conditions to finish the job gracefully. Many varieties benefit from cold storage before room-temperature ripening, although the exact requirement varies by cultivar, with varieties such as D’Anjou and Comice needing a longer chilling period than some other common pears. After chilling, bring only the pears that need to ripen into a room around 60 to 70 degrees Fahrenheit and check them regularly.
Storage Mistakes Can Turn a Good Pear Bad
Harvesting correctly solves a big part of the problem, but rough handling can still sabotage the crop. Pears bruise easily, and a bruise creates damaged tissue that can spoil more quickly during storage. Even a tiny impact from dropping fruit into a basket can become a much bigger problem later, especially when the fruit sits in storage for weeks.
Handle harvested pears like eggs with better flavor. Gently lift and twist each fruit rather than yanking it from the branch, and keep bruised, cut or insect-damaged fruit away from sound pears because decay can spread and shorten storage life. Refrigerate or otherwise cool the fruit promptly when the variety calls for cold storage, and maintain high humidity without trapping excess moisture around the fruit.
Temperature matters, too. Pears stored too warm can begin ripening before the gardener wants them to, while excessively cold conditions can damage fruit, so a refrigerator often provides the most reliable home-storage environment. When the time comes to ripen a pear, take it out of cold storage and let it soften at room temperature, checking the neck near the stem rather than waiting for the entire fruit to become squishy.
A Soft Neck Beats a Squishy Belly
The neck test may look almost comically simple, but it works because the neck gives gardeners a better clue about eating ripeness than the pear’s rounded lower half. Press the area immediately around the stem with a thumb, using gentle pressure rather than giving the fruit a full squeeze. When that area yields slightly, the pear has reached the stage when it should deliver the soft, juicy texture gardeners want.
Do not wait for the entire pear to feel soft. By then, the interior may have moved far beyond perfect ripeness, leaving a disappointing combination of mushy flesh, browning and an unpleasant texture. A pear that feels firm around its belly but gives slightly at the neck can actually be the one worth slicing for dessert.
There is one important exception: Asian pears play by different rules. Unlike most European pears, Asian pears generally ripen on the tree and should reach eating maturity before harvest, so the harvest-and-chill strategy for European pears does not automatically apply to them.
Stop Waiting for the Outside to Confess
The mystery of the rotten-looking center becomes much less mysterious once the pear’s ripening pattern enters the picture. Most European pears naturally progress from the core outward, which means the center can become overripe before the body gives gardeners an obvious warning. The best defense involves harvesting at the correct mature stage, handling fruit gently and using proper chilling and room-temperature ripening.
For gardeners with a backyard pear tree, that small shift in timing can make a surprisingly large difference. Instead of waiting for a pear to look and feel edible while hanging from the branch, harvest it while firm, give the variety the storage conditions it needs, and then watch the neck for the final signal. A beautiful pear should not require a forensic investigation at the cutting board, and with the right harvest routine, that suspiciously perfect exterior can finally match what waits inside.
What has your pear tree taught you about the right time to harvest?
You May Also Like…
5 Ways to Stabilize Pepper Plants Loaded With Fruit
8 Backyard Fruits No One Knows You Can Grow in Small Spaces
Why Do Some Melons Stop Setting Fruit During the Hottest Weeks?
6 Reasons Blackcurrants May Become the Next Backyard Superfruit
6 Ways to Keep Cut Flowers Fresh Longer After Harvest

Brandon Marcus is a staff writer for FrugalGardening.com at District Media, Inc., where he delivers practical gardening advice with a relatable, no-nonsense style. An avid amateur gardener, he holds a BA degree and with over ten years of professional writing experience, he is also an award-winning published author whose first book, Questions For Deep Thinkers, was released by Adams Media. His work has appeared in major publications including Fandom.com, CHUD.com, TheColdWire.com, and Fansided.com.
Leave a Reply