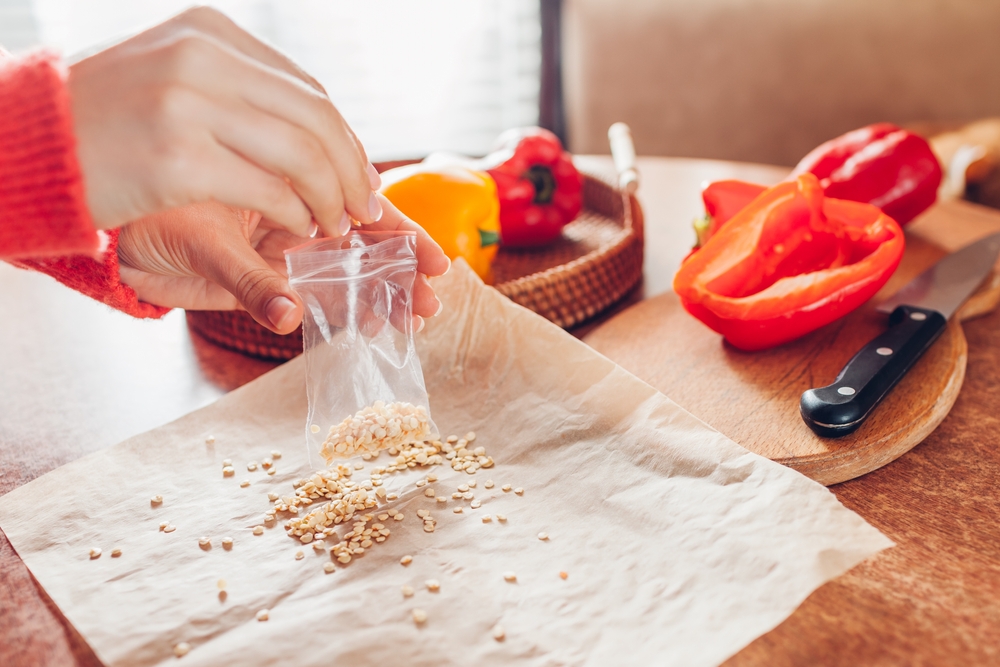
When frost threatens your pepper plants, most gardeners immediately think about harvesting the peppers—but this may also be your last chance to collect next year’s seeds. Saving seeds from a favorite plant costs practically nothing and can turn one successful pepper into dozens of potential plants next season. The catch is that saving pepper seeds isn’t as simple as scooping seeds from any green pepper in the garden, because the fruit needs enough time to mature for the seeds inside to develop properly. Peppers are also sensitive to cold and cannot tolerate frost, according to the University of Illinois, so waiting too long can put both the plant and your seed-saving plans at risk. Before the first hard cold arrives, identify your best plants and save a few of their most mature fruits.
Start With Your Healthiest Pepper Plants
Good seed saving begins before you ever cut open a pepper. The University of Minnesota recommends selecting vigorous plants with desirable fruit rather than saving seeds from weak or unusual plants. Think about which pepper plants produced heavily, stayed relatively healthy and gave you fruit with the flavor, size and heat level you actually wanted. If one jalapeño plant struggled all summer while another produced basket after basket, the stronger plant is the obvious candidate. Saving pepper seeds becomes a form of selection because you’re deliberately choosing which plants contribute to your future garden.
Check Whether You’re Growing a Hybrid
Before getting attached to the idea of reproducing your favorite pepper exactly, find the original seed packet or look up the variety. Open-pollinated varieties are generally the better choice for gardeners hoping to grow plants similar to the parent, while seeds collected from hybrids can produce unpredictable results. Seeds from hybrids can be viable, but their offspring won’t necessarily be identical to the original hybrid plant. That doesn’t mean experimenting with hybrid seeds is forbidden—you might grow something interesting—but don’t count on getting the same pepper next year. If predictability is important, prioritize open-pollinated or heirloom varieties when saving pepper seeds.
Let the Pepper Become Fully Mature
Here’s where many first-time seed savers go wrong: the pepper that’s ready for your dinner isn’t necessarily ready for seed collection. Penn State advises allowing peppers to ripen fully before collecting their seeds and specifically notes that green isn’t the mature color of a ripe pepper. Depending on the variety, a green pepper might eventually mature to red, yellow, orange or another color if it remains on the plant. Minnesota Extension recommends letting fruits become fully ripe and begin to wrinkle before removing their seeds. If frost is approaching, prioritize the most mature fruits rather than collecting seeds indiscriminately from every immature pepper on the plant.
Don’t Expect Seeds From Immature Green Peppers to Perform
That green bell pepper can contain plenty of seeds that look perfectly normal when you cut it open, but appearance doesn’t guarantee maturity. Edible green peppers are typically harvested before their seeds mature, which is why seeds from an immature green pepper aren’t a good choice for planting. This distinction matters when a freeze is forecast and gardeners suddenly harvest everything left on their plants. Save immature peppers for the kitchen, but focus your seed collection on fruit that has reached its mature color and preferably had additional time to ripen. When saving pepper seeds, waiting for physiological maturity gives you a much better starting point.
Extract the Seeds and Let Them Dry Thoroughly
Once you’ve selected a fully mature pepper, cut it open and separate the seeds from the flesh and central tissue. If you’re working with hot peppers, wear gloves and avoid touching your eyes or face; this advice is also emphasized in Penn State’s pepper-handling guidance. Spread the seeds in a single layer on a plate, screen or another dry surface where air can circulate around them. Oregon State University recommends leaving pepper seeds at room temperature until they’re thoroughly dry before storage. Rushing this stage and sealing damp seeds in a container can encourage mold, potentially ruining the seeds you spent all season producing.
Label Them Before You Forget What’s What
If you’re growing one pepper variety, labeling may seem unnecessary—until next spring arrives and the little envelope in your drawer simply says “pepper” in your memory. Write down the variety, year collected and any useful observations, such as “sweet red,” “very productive,” or “hot jalapeño from back bed.” This becomes especially useful when saving pepper seeds from several varieties because dry pepper seeds can look frustratingly similar. Oregon State University recommends keeping saved seeds in a labeled container or envelope in a cool, dry location protected from insects. A 20-second label in October can prevent an entire tray of mystery seedlings in February.
Keep Your Seeds Cool and Dry Until Planting Time
Heat and moisture are enemies of stored garden seeds, so don’t leave your carefully collected pepper seeds sitting in a humid shed or next to the kitchen stove. Try keeping seeds dry and cool. Tightly sealed glass containers can be used once the seeds have dried properly. It lists temperatures between 32 and 41 degrees Fahrenheit as ideal and notes that a refrigerator can provide suitable storage. A desiccant can also help control moisture inside the container, but don’t seal seeds away until you’re confident they’re completely dry. For the simplest system, place labeled packets of thoroughly dried seeds inside a sealed container and keep it somewhere consistently cool.
Remember That Cross-Pollination Can Still Surprise You
Peppers are considered relatively beginner-friendly for seed saving because their flowers are self-pollinating. However, there’s still some possibility of insects carrying pollen between plants of the same species. If you’re growing several compatible pepper varieties close together, saved seeds therefore may occasionally produce offspring that aren’t exactly what you expected. Gardeners determined to preserve a particular variety can isolate flowers before they open and prevent unwanted pollen from reaching them. Casual backyard gardeners may simply decide that a surprise pepper next summer is part of the fun.
One Ripe Pepper Can Help Start Next Year’s Garden
Saving pepper seeds is one of those garden jobs that feels surprisingly rewarding because something you would normally scrape into the compost can become next year’s crop. Choose healthy plants, favor open-pollinated varieties when consistency matters, and let selected peppers become completely mature before extracting their seeds. Dry the seeds thoroughly, label them carefully, and store them somewhere cool and dry until it’s time to start peppers indoors again. Most importantly, don’t wait until frost has already blackened the plants to decide which peppers you wanted to preserve for seed.
Do you save seeds from your favorite peppers each fall, or do you prefer starting with new seed packets every spring?
What to Read Next
7 Garden Plants Worth Saving Seeds From Instead of Buying Them Again Next Year
We Compared Dollar Store Seeds With $5 Premium Seeds — Does Paying More Matter?
Before Buying Cheap Seeds From an Overseas Seller, Check These USDA Rules
Leave a Reply