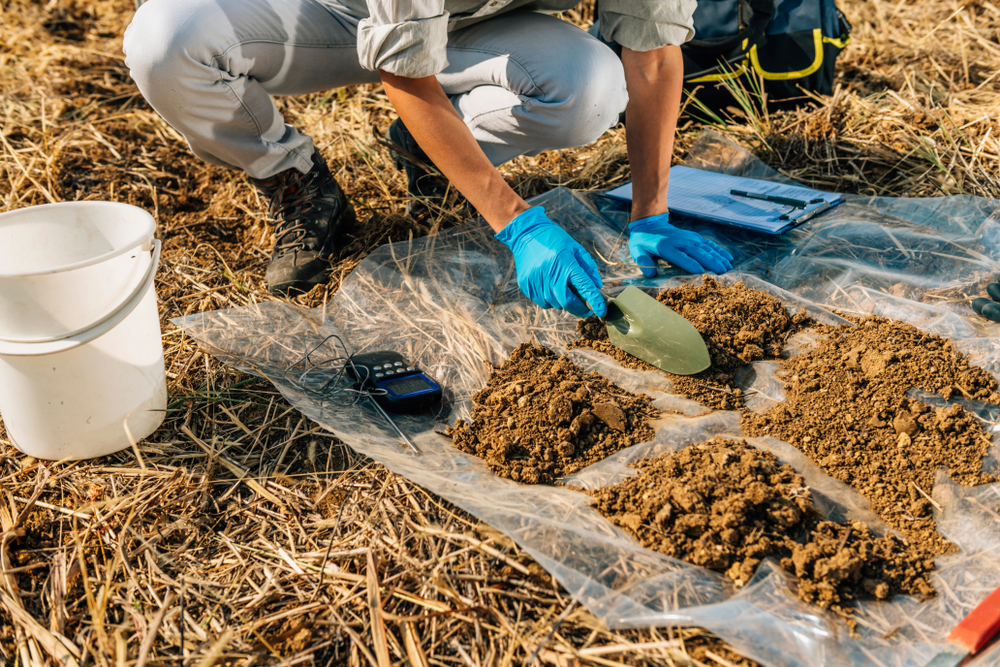
Spring garden centers have a way of convincing us that our soil desperately needs another bag of something. Fertilizer, lime, compost, sulfur and specialty amendments can quickly turn a simple vegetable bed into an expensive project, especially when you’re guessing about what the soil actually needs. Fall soil testing replaces much of that guesswork with actual information about pH, nutrients and, depending on the test, organic matter and soil texture. The University of Minnesota recommends laboratory soil testing as the best way to understand your soil’s condition and make informed decisions about fertilizer, compost and manure. Spend a little time collecting soil this fall, and your spring shopping list could become considerably shorter.
Test After the Garden Has Finished Producing
Fall is one of the best times to test because beds are accessible after vegetables and annuals have been removed. Penn State notes that fall sampling also leaves plenty of time to receive results and make a plan for fertilizer and lime applications before the next growing season. That’s particularly useful when a recommendation involves changing soil pH, since some amendments don’t transform soil conditions overnight. Testing now also means you aren’t standing in the fertilizer aisle next April trying to remember whether your tomatoes looked slightly pale eight months earlier. Fall soil testing gives you an actual plan before the spring gardening rush begins.
Don’t Test Only the Spot Where Something Grew Poorly
A handful of dirt scooped from beside one struggling tomato isn’t necessarily representative of your entire vegetable bed. For garden testing, experts recommend collecting soil from eight to 10 random locations across the area and combining those samples. The University of Minnesota similarly recommends collecting soil from multiple locations and mixing the samples together before sending approximately one to two cups to the laboratory. This composite approach helps prevent one unusually fertile or depleted patch from distorting your understanding of the whole bed. If one section of the garden has clearly different soil, drainage or management history, however, consider testing it separately rather than blending everything together.
Sample at the Right Depth
The soil at the surface isn’t necessarily representative of the root zone where your vegetables will obtain nutrients next season. Penn State recommends sampling garden soil approximately six to eight inches deep, while Oregon State University recommends roughly six inches for most annual and perennial crops or the normal tillage depth. Remove surface mulch and plant debris before collecting your sample so you’re testing soil rather than last summer’s wood chips. Try to collect every subsample at approximately the same depth because consistency makes the combined sample more meaningful. If you’re planning to repeat fall soil testing every few years, using a consistent sampling depth also makes comparisons between tests more useful.
Keep Unusual Areas Out of the Sample
Avoid collecting directly beside a compost pile, fertilizer spill, fire pit or another spot that clearly doesn’t represent normal garden conditions. Oregon State Extension specifically cautions against sampling unusual areas because they can distort the results for the larger growing space. The same logic applies if one corner of your garden received a huge pile of manure while everything else received none. Either avoid that unusual section or test it separately if you genuinely want to know what’s happening there. A soil test is only valuable when the soil you submit accurately represents the area you’re trying to manage.
5Mix, Dry and Label Your Sample Carefully
Place your subsamples in a clean bucket and thoroughly mix them together to create one representative sample. If the soil is wet, the University of Minnesota recommends allowing it to dry before putting roughly one to two cups of the mixed soil into a submission bag. Follow the instructions provided by your particular laboratory because sample amounts and packaging requirements can differ. Label separate samples clearly—”vegetable garden,” “blueberry bed” and “front flower bed” is much more useful than discovering three anonymous bags of dirt on the workbench. Careful preparation makes fall soil testing more likely to produce information you can actually use.
Pay Close Attention to Your Soil pH
One of the most valuable numbers on a soil test is pH because it influences how readily plants can access nutrients already present in the soil. Most fruits and vegetables prefer soil with a pH between roughly 6.0 and 7.0, although plants such as blueberries are notable exceptions. Soil that’s too acidic may require agricultural lime, but you shouldn’t automatically add lime simply because you’ve heard it’s “good for the garden.” Penn State notes that fall is an especially useful time to test because recommended lime can begin working to adjust pH before the next growing season. Let the laboratory recommendation determine whether you need an amendment and how much rather than treating the garden by guesswork.
Don’t Automatically Add Fertilizer Just Because It’s Fall
A soil test can reveal something gardeners sometimes find surprising: the soil may already contain plenty of a particular nutrient. University of Minnesota Extension explains that testing can identify whether phosphorus, potassium and other measured soil characteristics need attention and can help prevent unnecessary nutrient applications. More fertilizer isn’t automatically better, and excessive nutrients can create environmental problems without improving your vegetables. This is also where fall soil testing becomes a money-saving strategy because every bag you don’t need is one you don’t have to buy. Wait for your recommendations before making major amendment purchases, particularly if you’ve routinely added compost, manure or fertilizer for years.
Turn the Results Into Next Spring’s Shopping List
When the report arrives, don’t file it away and forget about it until planting day. Use its crop-specific recommendations to decide what amendments you need, what you already have enough of and whether your soil pH requires attention. Penn State explains that its reports provide lime and fertilizer recommendations based on the crop specified by the gardener, illustrating why telling the lab what you intend to grow matters. Soil fertility doesn’t have to be tested annually in an ordinary home garden; Minnesota Extension says testing every three to five years is generally appropriate, as well as when you’re making significant changes such as converting lawn into garden space. Keep your report so your next test becomes a comparison rather than another isolated snapshot.
Test the Dirt Before You Buy Another Bag of Something
The biggest advantage of fall soil testing isn’t that it gives gardeners another chore—it’s that it can eliminate unnecessary ones. A representative laboratory sample can tell you whether your soil actually needs fertilizer, lime, organic matter or another amendment instead of forcing you to rely on symptoms and assumptions. Collect soil from multiple locations, keep your sampling depth consistent and follow the laboratory’s instructions for drying, packaging and submitting the sample. When spring arrives, you’ll already know what needs correcting and can spend your gardening budget where it will make the biggest difference.
Have you ever had a soil test reveal something completely different from what you assumed your garden needed?
What to Read Next
Can You Regrow Green Onions Forever? We Put the Viral Hack to the Test
6 Soil Tests Worth Doing Before You Buy Fall Fertilizer
Why Soil Tests Matter Under PA’s Fertilizer Law—Know Before You Apply
Leave a Reply