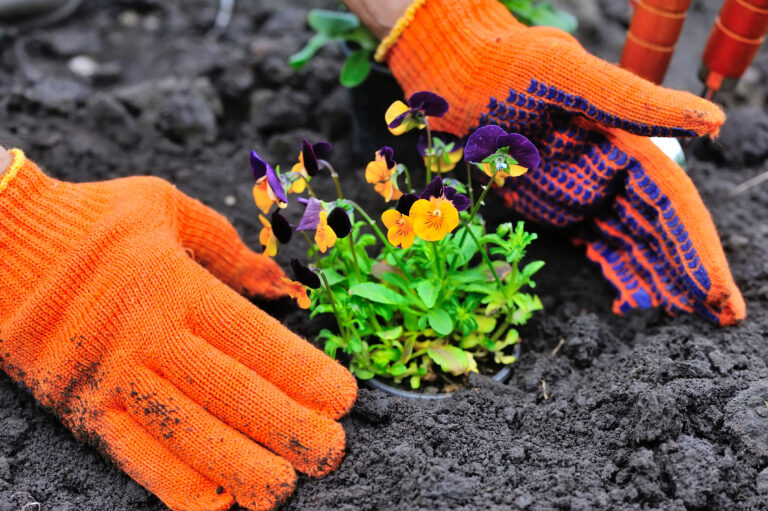
Gardening can be tough on your hands, but the right gloves will protect your skin while adding a stylish flair to your gardening outfit. Whether you’re weeding, planting, or pruning, there’s a perfect pair of gloves for every woman who loves spending time in the garden. From breathable materials to durable designs, here are the…
garden gadgets
Cheap and Economical Humidity Dome Alternatives
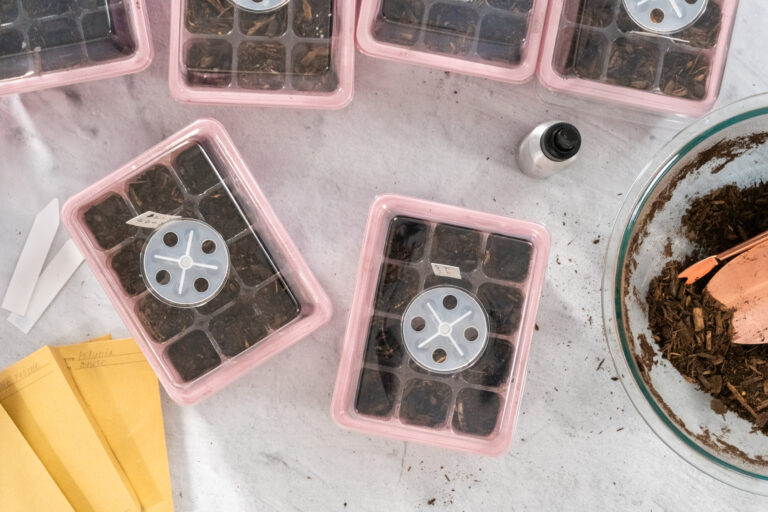
If you grow your plants from seeds then you probably know what a humidity dome is. (If not, don’t worry, we’ll go over it briefly below.) Just like with all of your other gardening supplies, you can buy humidity domes from a variety of different sources. However, you can also DIY them. Here are some…
DIY Squash Trellis Under $10
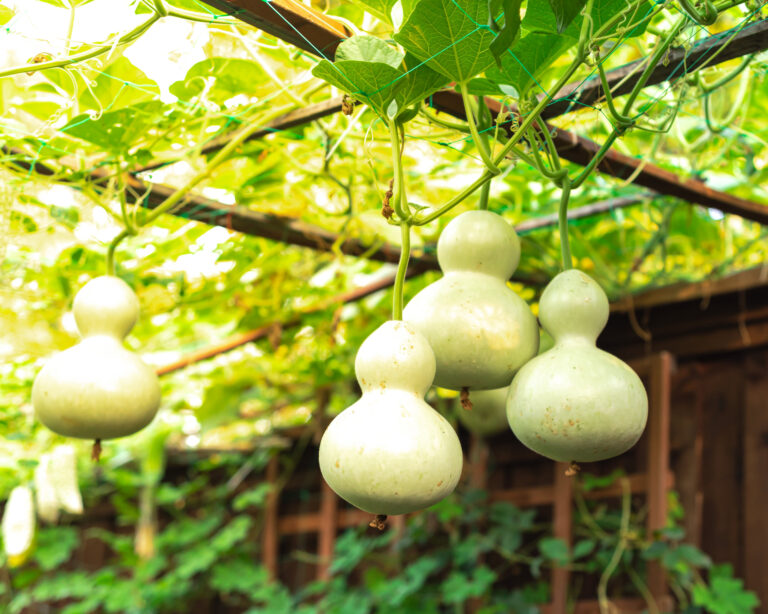
Growing squash is a great idea. There are many great squash varieties to feed your family. However, you want to plan ahead when growing squash. If you don’t, then this plant can take over your entire garden. In particular, you’ll want to train your squash to grow on a trellis. Here are some great…
17 Gardening Tips for Seniors to Create the Perfect Backyard Oasis
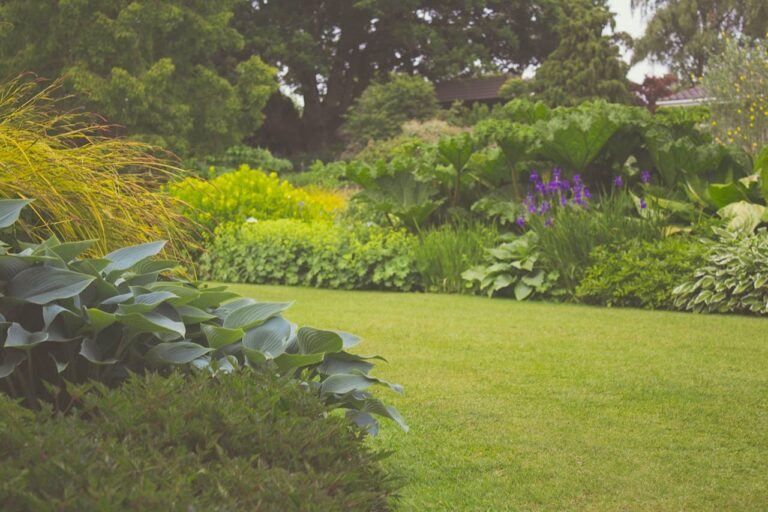
Ah, retirement! The golden years when you finally have time to turn that neglected backyard into your own slice of paradise. But before you start, remember that gardening is supposed to be fun! Whether you’re a seasoned green thumb or a novice nurturing your first petunia, these 17 gardening tips are your secret sauce to…
4 Frugal DIY Drip Irrigation Systems
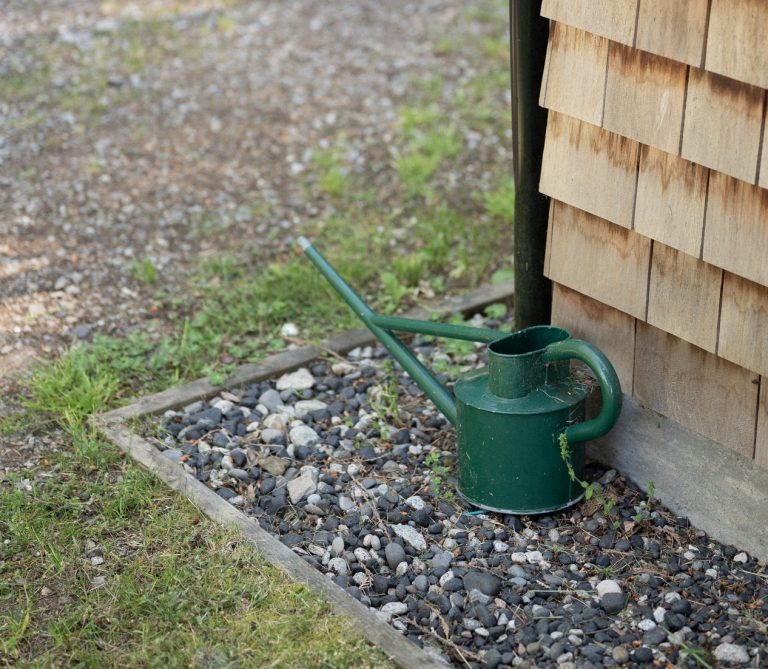
Buying a fancy drip irrigation system is one way to go. But it’ll cost you. Instead, consider a DIY drip irrigation system. Either way, you’ll need to spend time installing irrigation, so why not save a few bucks, too? Benefits of drip irrigation You’ve got a hose or a sprinkler, so why invest…
Seeding Square Review: An Essential Tool for the Square Foot Gardener
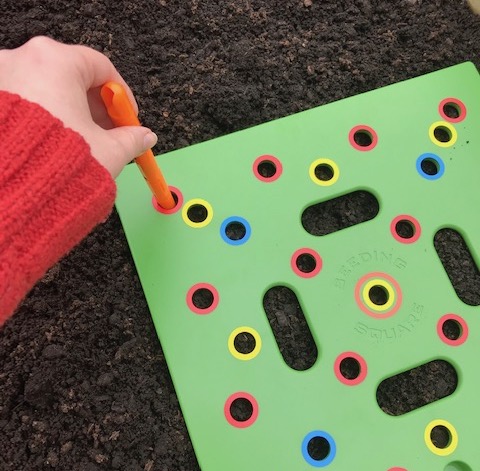
In this review, I’ll explain how the seeding square makes organized planting a cinch! The Square Foot Gardening method has been my go-to since I began gardening. I love it for many reasons. It allows me to maximize my planting space and close spacing keeps weed growth to a minimum. My favorite aspect, though, is…
4 Smart Garden Devices That Save Time and Money
Manual work in the garden is sometimes gratifying, but over time the grind becomes tedious. Thankfully, there are a host of smart gardening products out there that can help save you time and money. Which smart garden devices are worth the investment? Here are my top 4 smart gadget recommendations for gardeners seeking to…