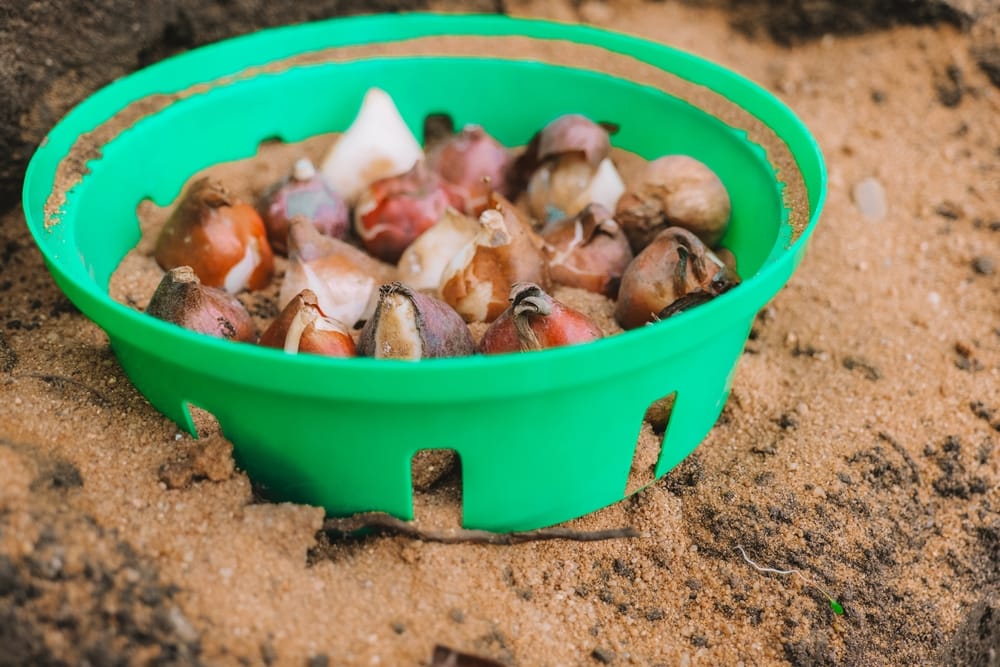
It feels so satisfying when you bury tiny, unassuming bulbs in the ground and know they’re going to explode into color months later like botanical fireworks.
But prepping soil for those bulbs? That’s where many gardeners suddenly feel like they’ve stumbled into a chemistry exam they didn’t study for. The good news is, you don’t need fancy fertilizers, expensive gadgets, or a budget-breaking trip to the garden center to get soil that bulbs will practically fight to grow in.
With a few clever tricks, some household scraps, and a sprinkle of strategy, you can prep your planting space like a pro and still have enough money left over for more bulbs. Because obviously, you’re going to want more bulbs.
Choosing The Right Spot Matters More Than Price
Picking the perfect location is your first money-saving superpower because bulbs do half the work for you if they’re planted somewhere they actually like. Most bulbs thrive in soil that drains well, so low-lying, swampy areas mean trouble unless you enjoy digging up mushy disasters next spring. Instead of buying pricey raised beds to fix drainage, choose naturally elevated areas or spots that dry quickly after rain. If sunlight is limited, bulbs such as daffodils and crocuses can still manage partial shade without losing their charm. By placing bulbs where nature already does the heavy lifting, you’ll spend less, stress less, and get a far better bloom show.
Clearing The Area Without Costly Tools
You don’t need a fancy tiller or a high-powered soil shredder to clear your planting space—your hands, a garden fork, and a little elbow grease will do. Start by removing weeds, rocks, sticks, and anything else that would block bulb roots from spreading comfortably. If weeds are stubborn, water the area lightly beforehand to loosen their grip and make pulling easier. Save your dollars by skipping weed-killers completely; pulling them out today prevents chemical-laced soil tomorrow. The beauty of bulbs is that once they’re in place, they tend to outcompete most weeds anyway, so a simple cleanup is all you need.
Using Kitchen Scraps For Budget-Friendly Soil Boosting
Before you run to the store for soil amendments, take a peek at your kitchen because it’s secretly full of bulb-friendly nutrients. Crushed eggshells add calcium and improve structure, used coffee grounds feed the soil while improving drainage, and vegetable scraps can be composted right into your planting area over time. You don’t have to create a fancy compost pile—just bury small amounts of scraps several weeks before planting to give the materials time to break down. This slow-release nutrition helps bulbs establish stronger roots without costing you a single extra cent. Over time, these homemade boosts transform your soil into rich, lively earth that bulbs absolutely love.
Improving Drainage With Items You Already Own
Bulbs hate sitting in soggy soil, but you don’t need to buy sand, gravel, or specialized drainage mixes to keep things airy. Old potting soil from last year’s containers can be mixed into garden beds to improve texture, even if it looks tired and dry. Small bits of bark, wood chips, or leftover mulch can help loosen compacted areas without suffocating the bulbs. Even shredded leaves create a fluffy structure that lets water pass through instead of pooling around your plantings. By using items you already have lying around, you turn poor soil into a bulb-friendly haven at zero cost.
Loosening Compacted Soil Without Buying Equipment
Compacted soil is the enemy of healthy bulb roots, but you don’t need an aerator machine—or a gym membership—to fix it. Simply stab a garden fork into the area repeatedly, wiggle it gently, and lift the soil just enough to create air pockets. Do this across the whole planting zone, and you’ll instantly create breathing room for bulbs to expand downward. If the soil is extra stubborn, water it lightly the day before to soften it. This low-tech, high-impact method works brilliantly for bulbs because they need loose soil more than they need deep soil.
Adding Organic Material Without Fancy Amendments
Organic matter is what transforms dead soil into living soil, and you don’t need expensive products to make that happen. Rake up fallen leaves, break them apart with your hands, and mix them straight into the top layer of soil. Grass clippings can also be incorporated—sparingly—to boost nitrogen and improve moisture balance. Even small twigs and stems can be crushed and added for texture, slowly decomposing over time. With a little scavenging around your yard, you can enrich your soil naturally and for free.
Testing Soil Health The Easy, Cheap, And Fun Way
You don’t need an expensive test kit to get a sense of what your soil needs—your senses are already built for the job. Pick up a handful of soil and squeeze it; if it clumps into a hard ball, it needs more organic matter, while soil that crumbles easily is bulb-ready. Smell it, too—healthy soil smells earthy, while sour or swampy scents mean drainage trouble. You can even check pH using simple DIY methods like a vinegar-and-baking-soda test, which gives a rough idea of acidity or alkalinity. The goal isn’t scientific perfection; it’s getting familiar enough with your soil to know what helps bulbs thrive.

Planting Bulbs In Budget-Friendly Soil Layers
Once your soil is prepped, creating simple layered pockets helps bulbs get the nutrition they need without pricey fertilizers. Place bulbs in their holes, then sprinkle a thin layer of compost, coffee grounds, or shredded leaves around them. Cover this with regular garden soil, gently pressing to remove any major air gaps. As rain and watering break down the organic material, nutrients drip-feed into the bulb zone naturally. This layering technique creates a slow-release system that bulbs absolutely love and costs practically nothing.
Keeping Soil Healthy For Future Seasons
Good soil is an investment, and maintaining it doesn’t require spending money—just a little consistency. Each fall, top the area with a thin layer of leaves or grass clippings to enrich it over winter. Allow earthworms to work their magic, turning your organic scraps into nutrient-dense compost. Avoid walking directly on bulb beds to keep the soil loose and airy for next year’s growth. With these simple habits, your bulb patch gets better and better every season without draining your wallet.
Share Your Budget-Friendly Bulb Tips
Prepping soil for bulbs doesn’t have to be complicated, expensive, or intimidating—it just takes creativity, resourcefulness, and a willingness to use what you already have. By choosing the right spot, adding homemade nutrients, loosening soil manually, and layering simple organic materials, you can create a thriving, bulb-ready paradise without overspending. The best part is that each year, your soil improves naturally, making future planting even easier and more affordable. Now that you know these thrifty tricks, your next bulb display might just be your best yet.
Have your own low-cost soil prep strategies or funny bulb-planting stories? Share your thoughts, questions, or experiences in the comments section.
You May Also Like…
- Why Gardeners Should Track Soil Temps in Autumn
- Plant These Spring Bulbs Now or Regret It When Everyone Else’s Yard Blooms
- How to Redesign Your Bulb Garden After This Year’s Mistakes
- 7 Soil Tests That Give the Best Results in Fall
- 6 Kitchen Scraps That Enrich Soil Best in Autumn
Brandon Marcus is a staff writer for FrugalGardening.com at District Media, Inc., where he delivers practical gardening advice with a relatable, no-nonsense style. An avid amateur gardener, he holds a BA degree and with over ten years of professional writing experience, he is also an award-winning published author whose first book, Questions For Deep Thinkers, was released by Adams Media. His work has appeared in major publications including Fandom.com, CHUD.com, TheColdWire.com, and Fansided.com.
Leave a Reply