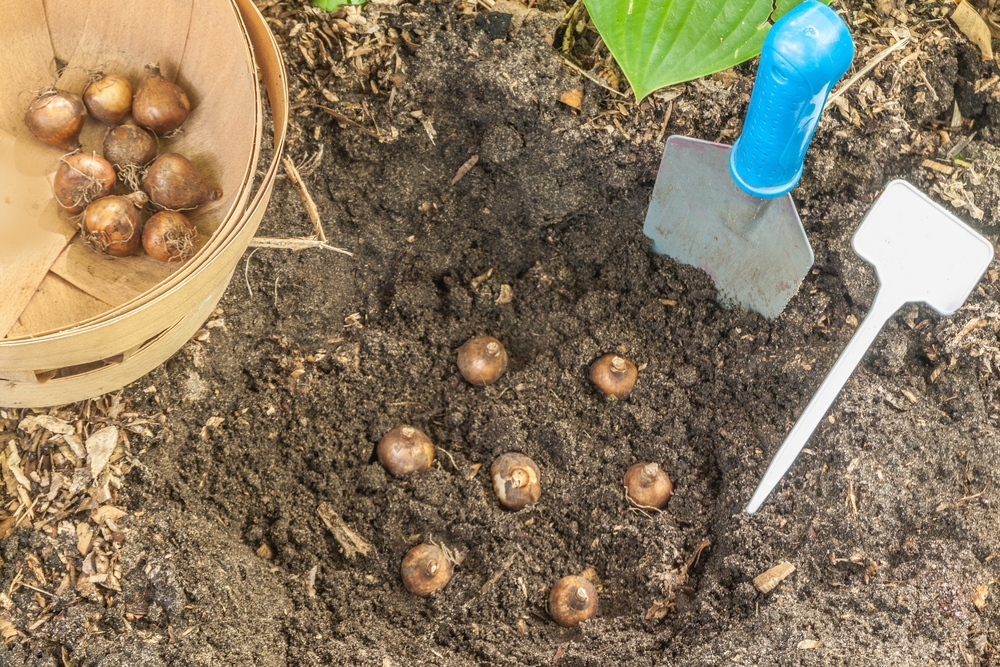
You spent an afternoon planting tulips, daffodils, or crocuses, cleaned the dirt from your hands, and then suddenly had a terrible thought: Were some of those bulbs upside down? Garden instructions usually tell you to put the pointed end up and the flatter root end down, so realizing you may have reversed a few can make you wonder whether you’ve just wasted an entire bag of bulbs. The good news is that planting bulbs upside down isn’t necessarily the spring-flower disaster it sounds like, although correct orientation gives the plant the easiest path to the surface. Bulbs contain stored energy and developing plant structures designed to produce roots and shoots when conditions are right, and growth doesn’t simply stop because the gardener made a mistake. Before digging up the entire bed, here’s what actually matters.
The Pointed End Usually Belongs on Top
With familiar spring-flowering bulbs such as tulips, daffodils, and hyacinths, figuring out orientation is usually fairly straightforward. You should plant these bulbs with the nose pointing upward and the root plate—the flatter bottom portion—facing downward. The roots emerge from that basal plate while the shoot develops toward the opposite end, which is why gardeners are taught the “pointy side up” rule. If you’re examining an oddly shaped bulb and can’t identify the point, look for remnants of old roots on the flatter side or a shriveled previous flower stalk on the top. Getting that orientation right means the plant can begin growing in the direction it naturally wants to travel.
Upside-Down Bulbs May Still Find Their Way Up
Fortunately, plants have mechanisms that help developing roots and shoots orient themselves in response to gravity. If planting bulbs upside down automatically killed them, spring gardens would probably contain many more empty spaces after hurried autumn planting sessions. A misplaced shoot may curve around the bulb before continuing toward the soil surface, while roots can redirect downward rather than simply growing toward the sky. That detour requires more growth than a correctly positioned bulb, which is one reason deliberately planting everything upside down still isn’t a clever shortcut. Think of it as the bulb correcting your mistake rather than the mistake somehow becoming good gardening technique.
Planting Depth May Matter More Than One Backward Bulb
Orientation gets plenty of attention, but planting a bulb at an inappropriate depth can create its own problems. University of Minnesota recommends following the package directions and gives a general guideline of planting bulbs about two to three times deeper than their diameter, with adjustments for soil conditions. Most large spring bulbs such as tulips and daffodils are commonly planted around 8 inches deep, while smaller bulbs are generally planted 3 to 4 inches deep. A bulb that’s upside down and buried unnecessarily deep has a longer journey to correct its direction and reach sunlight than one misplaced at the proper depth. When you’re worried about planting bulbs upside down, therefore, also ask whether you followed the recommended depth for that particular species.
Sideways Is a Good Option When You Can’t Find the Top
Not every bulb arrives with a cartoonishly obvious point at one end and a perfectly flat bottom at the other. Small bulbs and irregularly shaped ones can leave even experienced gardeners turning them over several times and wondering which direction is correct. If you genuinely can’t identify the top, laying the bulb on its side is a practical alternative rather than making a confident but potentially wrong guess. The developing shoot still needs to redirect itself upward, but it generally has less correcting to do than a bulb deliberately placed completely upside down. You can also check the package or look up the specific species because not everything gardeners casually call a “bulb” has the same structure or planting requirements.
Don’t Dig Up the Entire Bed Over One Mistake
Suppose you planted 50 tulips yesterday and now can’t remember whether you paid attention to orientation for the last dozen. Unless you know exactly where a backward bulb is located, digging through the freshly planted bed can create more problems by disturbing correctly positioned bulbs or accidentally damaging them with a trowel. Penn State recommends pressing bulbs into prepared soil with the pointed end up and root base down, then covering the bed with soil and roughly two to three inches of mulch. If you just dropped one bulb into an open hole upside down and haven’t covered it yet, by all means flip it over; otherwise, allowing an uncertain planting to remain may be the less disruptive option. Planting bulbs upside down is a mistake worth avoiding, but it usually isn’t a reason to excavate an entire flower bed in a panic.
Water and Drainage Can Determine Whether Bulbs Survive
Correctly oriented bulbs can still fail spectacularly when planted somewhere that stays waterlogged. Illinois Extension recommends watering after planting to settle the soil and provide moisture for initial root development but cautions that overwatering can contribute to bulb rot. The same guidance emphasizes preparing a well-drained planting area, which is particularly important in heavy soil where excess moisture can linger around dormant bulbs. If your yard contains dense clay or a low spot where water routinely collects after rain, improving drainage or choosing another planting location may matter more than obsessing over whether every single point is perfectly vertical. A firm, healthy bulb in appropriately drained soil has a much better starting point than a perfectly positioned bulb sitting in a soggy hole.
Spring Growth Will Tell You Whether the Experiment Worked
Once the ground is covered and winter arrives, there’s very little benefit to repeatedly wondering what’s happening underneath it. Fall-planted spring bulbs spend time developing roots before winter and then resume growth as seasonal conditions change, eventually sending shoots above ground. Bulbs planted in fall have time to establish a root system before the ground freezes, which helps prepare them for their spring display. If one section emerges slightly later than another, planting bulbs upside down could be one possible explanation, but bulb quality, planting depth, moisture, temperature, sunlight, and species can also affect emergence. Don’t dig up a slow bulb at the first sign of spring simply because its neighbors beat it to the surface.
Give Your Bulbs the Easiest Route to Spring
The best practice remains simple: plant true spring bulbs with the pointed growing end up and the flatter root plate down, following the depth instructions for the particular variety. Water after planting and use two to three inches of appropriate mulch to help conserve moisture and moderate soil-temperature changes. But if you discover afterward that planting bulbs upside down may have happened to a few tulips or daffodils, don’t assume you’ve automatically lost them. Plants are surprisingly capable of correcting direction, and leaving an uncertain bulb alone may be better than tearing apart the bed searching for it.
Have you ever planted a bulb backward and still had it appear the following spring?
What to Read Next
Should You Add Compost Before Planting Spring Bulbs?
What Should You Plant Where Spring Bulbs Have Died?
Plant These Cheap Summer Bulbs Today for a Garden Full of Fall Blooms
Leave a Reply