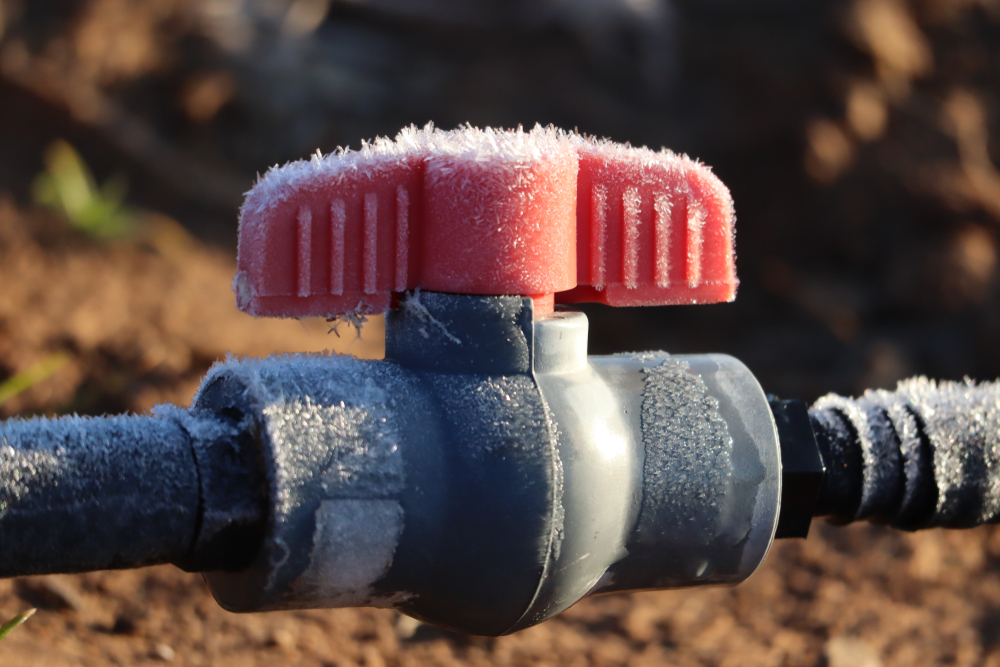
A drip irrigation system can save hours of hand-watering during summer, but leaving water trapped inside vulnerable components all winter can turn that convenience into a spring repair project. When water freezes, it expands, potentially damaging valves, filters, fittings, pressure regulators, backflow devices, and other parts that weren’t designed to spend winter full of ice. The University of Minnesota specifically advises gardeners to clear water from irrigation lines because freezing water can break equipment. Fortunately, winterizing drip irrigation is usually simpler than preparing a large underground sprinkler system because much of a home drip setup may be accessible above ground. The goal isn’t to dismantle your entire garden—it is to shut down the water, remove vulnerable components, and get as much trapped water as practical out before hard freezes become routine.
Give Plants Their Final Watering Before Shutdown
Don’t automatically disconnect the irrigation system just because the first chilly night appears in the forecast. Perennial plants, shrubs, and trees may still need moisture during a dry fall, and the University of Minnesota recommends continuing to water trees and shrubs during dry periods until the soil freezes. That can create a balancing act: you want plants adequately hydrated, but you don’t want vulnerable irrigation equipment full of water when a damaging freeze arrives. Watch your local forecast and complete the final watering before shutting down and draining the system. Winterizing drip irrigation works best when you plan ahead instead of trying to disconnect frozen fittings in the dark because temperatures suddenly dropped.
Shut Off the Water at the Source
The first mechanical step is simple but essential: stop additional water from entering the irrigation system. Utah State University recommends turning off the irrigation water at the main supply and releasing pressure from the system during winterization. A simple garden drip system may connect directly to a hose bib, while a larger landscape installation may use dedicated valves, automatic controls, or connections to another irrigation system. After shutting off the source, open appropriate valves or line ends so pressure can dissipate rather than leaving the system sealed and pressurized. If your installation is complicated enough that you aren’t sure which valves isolate it, check the manufacturer’s instructions or consult an irrigation professional rather than experimenting with unfamiliar plumbing.
Remove the Head Assembly and Bring It Inside
The inexpensive-looking collection of fittings attached near your faucet can contain some of the most freeze-sensitive parts of the entire system. Colorado State University recommends detaching the head assembly—including the portable control valve, backflow prevention device, filter, and pressure regulator—and storing it indoors for winter. Drain these components thoroughly before storage rather than carrying water-filled equipment into an unheated shed where it can still freeze. This is also a convenient opportunity to inspect threads, washers, filter screens, connectors, and housings for wear or cracking. Good winterizing drip irrigation habits protect reusable equipment, so you aren’t buying another pressure regulator or filter every spring.
Open the Ends and Let Gravity Do Some Work
Once the water supply and vulnerable head components are disconnected, give the tubing somewhere to drain. Colorado State recommends uncapping the mainline so trapped water can escape, particularly when an emitter isn’t positioned at the system’s lowest point. Walk the lines while they’re draining and gently reposition sections where obvious low spots are holding water, taking care not to kink or damage tubing that has become stiff in cool weather. After drainage is complete, the guidance says the mainline can be recapped. Removing as much standing water as reasonably possible is the heart of winterizing drip irrigation, especially around fittings and components more susceptible to freeze damage.
Don’t Assume Every System Needs Compressed Air
Gardeners familiar with lawn sprinkler systems may assume every drip line must be blasted completely dry with an air compressor. That’s not necessarily true: Colorado State notes that polyethylene mainline itself isn’t damaged by freezing and describes winterization of many drip systems as relatively minimal. However, systems containing numerous right-angle fittings can retain water and may require pressurized air, and check valves require particular care during draining and blowout. Compressed air introduces its own risks because irrigation components have pressure limits, and Utah State suggests considering a professional when a system requires an air-compressor blowout. Before connecting a compressor, follow the irrigation-system manufacturer’s instructions rather than guessing how much pressure the tubing and emitters can tolerate.
Check Filters, Emitters, Fittings and Tubing
Fall shutdown gives you a chance to find problems while you still remember which section of the garden wasn’t watering correctly. Utah State recommends checking for missing or damaged emitters, pinched or broken tubing, loose connections, and problems associated with excessive pressure. Clean reusable filters according to manufacturer instructions and replace components that are cracked, clogged beyond cleaning, or obviously deteriorated. Labeling unusual fittings or taking a few phone photos before disassembly can make spring reassembly considerably easier, particularly if your garden contains several irrigation zones. Winterizing drip irrigation becomes more valuable when it doubles as preventive maintenance rather than simply an emergency response to freezing weather.
Store Small Parts Where You’ll Actually Find Them
Few spring gardening frustrations compare with having an entire irrigation system ready to go except for one tiny connector you vaguely remember putting somewhere “safe.” Keep filters, regulators, timers, backflow components, removable valves, spare emitters, end caps, repair couplers, and other small pieces together in a labeled container. Store the box somewhere protected from freezing temperatures when it contains components that can be damaged by cold, and keep rubber seals or washers with the parts they belong to when practical. If you have multiple drip zones, label their components now rather than relying on your memory five months from now. Organization costs nothing and can prevent both unnecessary replacement purchases and a frustrating trip to the garden center during spring setup.
A Dry System Is Much Cheaper Than a Spring Repair
The biggest mistake with winterizing drip irrigation is assuming that small tubing means freezing water can’t cause expensive problems. Shut off the supply, release pressure, remove vulnerable head components, open lines for drainage, inspect the system, and use compressed air only when your particular setup requires it and you know how to do so safely. Many polyethylene drip lines can remain outdoors, while filters, pressure regulators, backflow devices, timers, and other vulnerable components deserve more protection. Spending 30 minutes on shutdown can preserve equipment you’ve already paid for and make spring startup much easier.
Do you drain your drip irrigation every fall, or have you ever discovered a freeze-damaged fitting when you turned the system back on in spring?
What to Read Next
Why Cannas Need Special Care Before Winter Storage
Leave a Reply