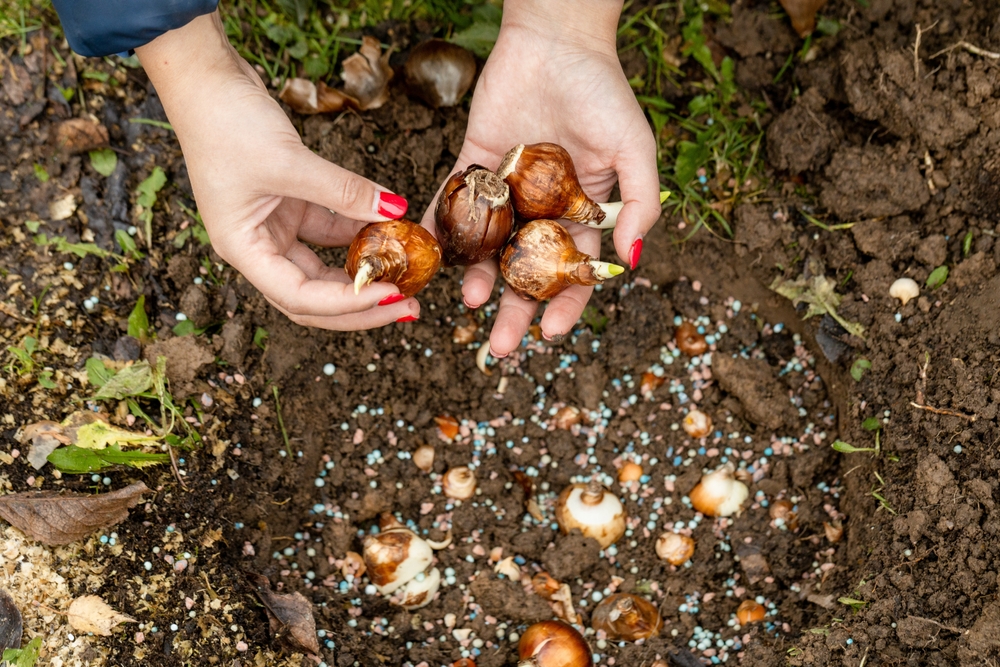
By October, a garden can look like it’s winding down, but one of the best opportunities for inexpensive spring color is actually happening underground. Tulips, daffodils, crocuses, hyacinths, and many other spring-blooming bulbs are planted in fall so they can establish roots and receive the cold exposure they need before emerging months later. Gardeners who still have bags of forgotten bulbs sitting in the garage may have more time than they think, because most hardy bulbs can be planted until the ground freezes. The trick is choosing a suitable location, getting the depth right, and avoiding a few mistakes that can turn an inexpensive bag of bulbs into mush before spring. Here’s how to get spring-blooming bulbs safely into the ground before winter shuts down the planting season.
Don’t Confuse the First Frost With Frozen Ground
A frosty morning doesn’t necessarily mean you’ve missed your chance to plant spring-blooming bulbs. Soil holds heat longer than the air, so a night that blackens tomatoes and annual flowers can still leave the ground perfectly workable several inches below the surface. Penn State notes that spring bulbs can be planted into late fall until the ground freezes, although earlier planting gives roots more time to establish. If you can still comfortably dig to the recommended planting depth, don’t automatically toss those forgotten tulips or daffodils into storage for another year. Planting late in workable soil is generally more useful than expecting ordinary spring-flowering bulbs to remain in perfect condition through months of indoor storage.
Start With Bulbs Worth Planting
Before digging holes, inspect every bulb because planting damaged material wastes both garden space and your time. Healthy spring-blooming bulbs should generally feel firm rather than soft, mushy, severely shriveled, or rotten, and Penn State recommends choosing bulbs without cuts or gashes. A little loose papery skin on a tulip or daffodil isn’t necessarily a problem, so don’t discard an otherwise solid bulb simply because it isn’t cosmetically perfect. Larger, healthy bulbs also tend to produce a stronger initial display, making quality worth considering when you’re comparing bargain-bin bulbs with more robust specimens. For frugal gardeners, buying discounted bulbs late in fall can be a terrific deal—but only if you’re buying viable plants rather than a bag of rot.
Choose a Spot Where Water Won’t Collect
Bulbs need moisture to establish roots, but sitting in saturated soil through winter is an entirely different matter. Good drainage is crucial because persistently wet conditions can encourage bulb rot, while incorporating organic matter can help improve difficult soils. Don’t automatically choose the lowest empty spot in a flower bed if that’s where rainwater and melting snow consistently collect. Many spring bulbs also perform well beneath deciduous trees because they receive substantial sunlight in early spring before the tree canopy fills in. That makes spring-blooming bulbs particularly useful for turning spaces that look bare in March and April into inexpensive pockets of early-season color.
Plant Them at the Right Depth
Planting depth is one of those gardening instructions that can sound complicated until you learn the basic rule. University of Minnesota recommends generally planting bulbs about two to three times deeper than their diameter, although individual package directions should take priority. For example, many large tulips and daffodils are planted at roughly 6 to 8 inches deep, while smaller crocuses and similar bulbs are commonly planted closer to 3 to 4 inches deep. Place the pointed or “nose” end upward and the flatter root plate downward when the bulb’s orientation is obvious. If you’re planting dozens at once, preparing a larger planting area rather than drilling individual holes can also create the dense, natural-looking display many gardeners want.
Water After Planting, but Don’t Drown Them
Putting bulbs into slightly damp fall soil doesn’t mean the job is finished. It is recommended to water after planting because moisture settles the surrounding soil and helps fall-planted bulbs begin developing roots before winter. Give the newly planted area a thorough drink, then let rainfall and actual soil conditions determine whether additional watering is necessary. If autumn turns unusually dry, check the bed periodically rather than allowing newly planted spring-blooming bulbs to sit in bone-dry soil until winter. At the other extreme, repeated watering when the ground is already wet can encourage rot, so this is one garden job where more isn’t automatically better.
Add Mulch Without Burying the Bed
Once the bulbs are planted and watered, a modest layer of mulch can help moderate what happens at the soil surface. University of Minnesota recommends approximately 2 to 3 inches of leaf mulch, wood mulch, or clean seedless straw to conserve moisture and moderate soil temperature changes. That doesn’t mean piling six inches of heavy material onto the bed or repeatedly adding mulch until you’ve forgotten where the original soil surface was. Marking the planting area is also surprisingly useful, especially if you’ve ever accidentally driven a shovel through a forgotten cluster of bulbs while working the following spring. A simple plant label, garden map, or phone photo can prevent you from spending money twice because you couldn’t remember what was already underground.
Protect Bulbs From Hungry Wildlife
Sometimes the gardener follows every planting instruction correctly and discovers a squirrel has completely redesigned the flower bed overnight. Tulips can be particularly tempting to digging animals, and the University of Minnesota suggests laying chicken wire flat over newly planted areas and anchoring it before covering the wire with mulch. The openings allow shoots to grow through in spring while making it considerably harder for animals to excavate your bulbs. Daffodils can also be useful where animal pressure is persistent, since narcissus bulbs contain toxic compounds and aren’t treated like an underground buffet by many common pests. If you’ve repeatedly lost expensive spring-blooming bulbs to squirrels or chipmunks, spending a few extra minutes protecting the bed can save both money and frustration.
A Few Minutes This Fall Can Buy Months of Spring Color
Planting bulbs is one of those wonderfully delayed garden bargains: you do the work when the yard looks sleepy and collect the payoff when winter finally becomes exhausting. Focus on firm, healthy bulbs, well-drained soil, appropriate planting depth, one good watering, and enough mulch to moderate temperature and moisture without smothering the bed. Don’t panic because the first frost has already happened, since workable soil may leave you enough time to plant spring-blooming bulbs before a hard freeze closes the window. If you’re shopping late-season clearance racks, this can also be an inexpensive way to establish daffodils, crocuses, and other varieties that may return for years rather than purchasing fresh annuals every spring.
What spring-blooming bulbs are you planting this fall—tulips, daffodils, crocuses, hyacinths, or something a little less common?
What to Read Next
10 Bulbs to Plant in October for Strong Spring Color
Leave a Reply