An ordinary plastic bin can turn into a thriving ecosystem that quietly transforms scraps into garden gold. That transformation feels almost magical, yet it runs on a simple, natural process powered by worms doing what worms do best. The idea of building a worm farm might sound like something reserved for serious gardeners, but it fits perfectly into everyday life with almost no fuss. A handful of materials, a bit of curiosity, and a willingness to embrace a slightly wiggly setup unlock a system that works around the clock. Food waste shrinks, plants thrive, and the entire process stays surprisingly low effort once everything settles into place. The real hook lies in how quickly this humble project starts delivering results that look and feel rewarding.
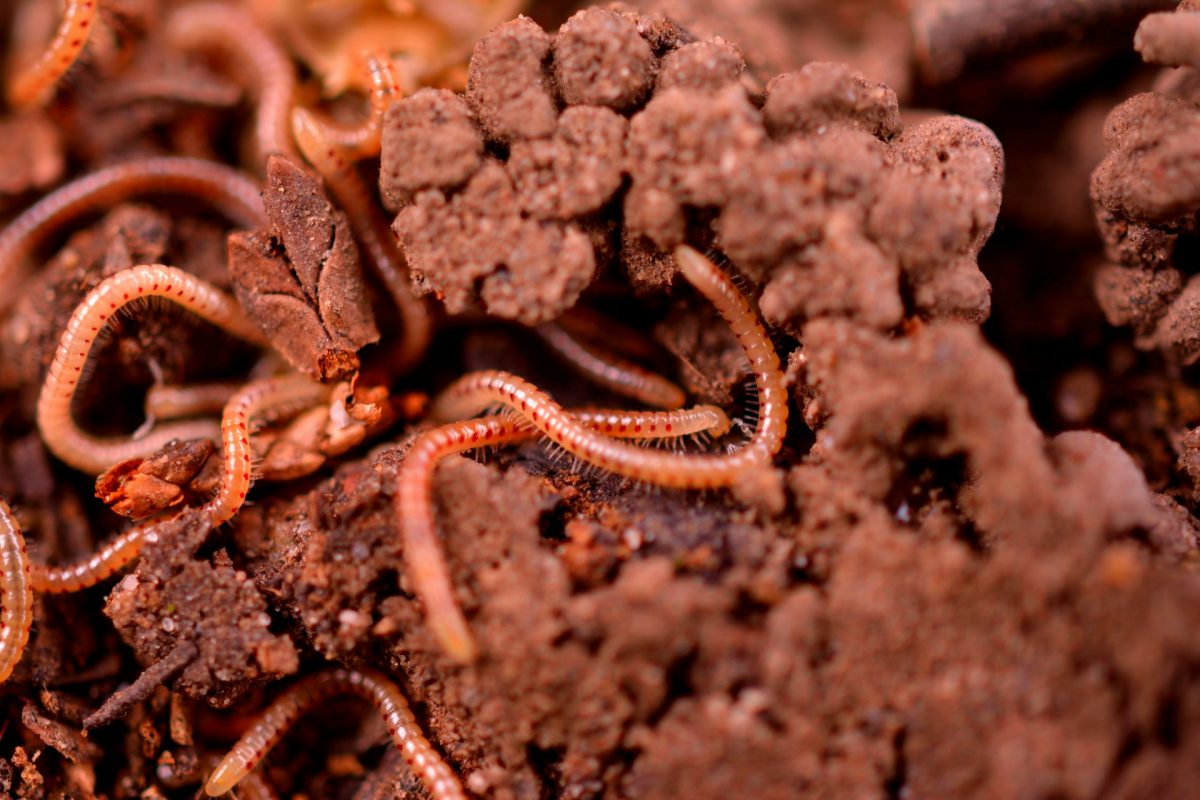
A worm farm does more than recycle leftovers; it creates nutrient-rich compost that boosts plant growth in a way store-bought soil rarely matches. That alone makes the effort worthwhile, but the process itself adds a layer of fascination that keeps things interesting long after setup day. Worms break down organic matter efficiently, and they leave behind castings that improve soil structure and moisture retention. Every peel, crumb, and coffee ground finds new purpose instead of heading to the trash.
The Simple Setup That Gets It All Moving
Start with a sturdy plastic container that has a lid, because worms prefer darkness and consistent moisture. Drill small holes along the sides and bottom to allow airflow and drainage, making sure excess liquid can escape instead of pooling at the base. Add a shallow tray or another container underneath to catch that liquid, often called worm tea, which works as a mild fertilizer when diluted.
Inside the main bin, layer damp bedding materials like shredded newspaper, cardboard, or even old egg cartons, creating a soft, airy environment where worms can settle in comfortably. Toss in a handful of soil to introduce beneficial microbes that help kickstart the breakdown process. The setup feels simple, but each element plays a role in keeping the ecosystem balanced and healthy.
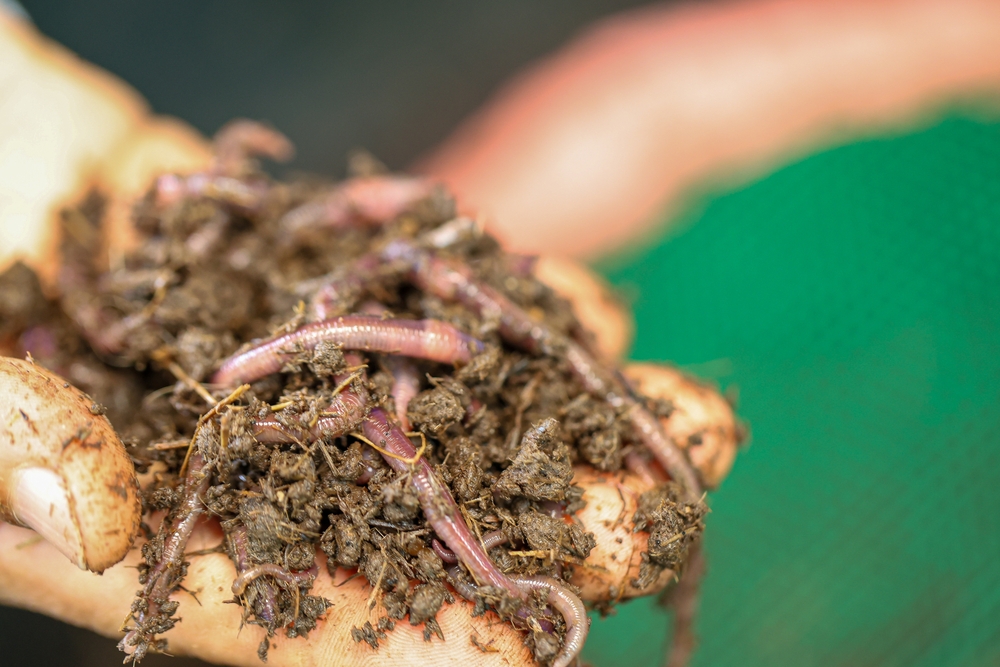
Once the bedding sits in place, introduce red wiggler worms, which thrive in composting environments and handle organic waste efficiently. Avoid using common garden worms because they prefer soil rather than confined bins, and they will not process scraps effectively in this setup. Spread the worms gently across the bedding and give them a little time to burrow down, since they instinctively avoid light and will settle quickly. Add a small amount of food scraps right away, but keep portions modest during the first week so the worms can adjust. Cover the scraps with bedding to reduce odors and discourage pests from showing up uninvited. That careful start sets the tone for a system that runs smoothly without constant intervention.
Feeding Time Without the Fuss
A worm farm thrives on a steady diet of kitchen scraps, but not all leftovers belong in the bin. Fruit and vegetable peels, coffee grounds, tea bags, and crushed eggshells work beautifully because they break down quickly and provide nutrients worms love. Avoid adding meat, dairy, oily foods, or heavily processed items because those attract pests and create unpleasant smells that disrupt the system.
Chop larger scraps into smaller pieces to speed up decomposition and make it easier for worms to process everything efficiently. Bury the food beneath the bedding instead of leaving it exposed, which keeps the bin tidy and reduces the chance of attracting flies. That simple habit keeps the environment clean and balanced.
Consistency matters more than quantity when feeding worms, so aim for small, regular additions instead of large dumps of scraps all at once. Watch how quickly the worms process food and adjust feeding amounts accordingly, because overfeeding can lead to excess moisture and odor issues. If the bin starts to smell, cut back on scraps and add more dry bedding to restore balance. A healthy worm farm smells earthy and fresh, never sour or rotten. Rotate feeding spots around the bin to encourage worms to move throughout the space and process materials evenly. That rhythm keeps the system active and prevents any one area from becoming overloaded.
Keeping Conditions Just Right
Worms thrive in a moist environment, but they do not tolerate soaking conditions, so moisture control becomes a key part of success. The bedding should feel like a wrung-out sponge, damp but not dripping, which creates the perfect balance for worms to breathe and move freely. If the bin dries out, lightly mist the bedding with water, but if it becomes too wet, mix in dry materials like shredded paper to absorb excess moisture.
Temperature also plays a part, with worms preferring a range between 55 and 77 degrees Fahrenheit, which aligns comfortably with most indoor environments. Avoid placing the bin in direct sunlight or near heat sources, since extreme temperatures stress worms and disrupt the process. A stable, moderate environment keeps everything running smoothly.
Airflow supports the entire system, so those drilled holes do more than just prevent soggy conditions. They allow oxygen to circulate, which helps microbes break down organic matter efficiently and keeps odors at bay. Stir the bedding gently every few weeks to prevent compacted areas and encourage even decomposition. That small action boosts airflow and keeps the environment lively. Pay attention to the worms themselves, because active, plump worms signal a healthy system, while sluggish behavior often points to an imbalance that needs correction. A quick check-in now and then prevents small issues from turning into bigger problems.
Harvesting the Reward
After a few months, the bottom of the bin will fill with dark, crumbly material known as worm castings, which act as a powerful natural fertilizer. This compost improves soil structure, boosts nutrient content, and supports healthy plant growth in gardens and containers alike. To harvest castings, push the contents of the bin to one side and add fresh bedding and food to the empty half. Worms will migrate toward the new food source, leaving the finished compost behind for easy collection. That method keeps things simple and avoids the need to separate worms manually. The process feels almost effortless once it becomes part of the routine.
Use worm castings by mixing them into potting soil, sprinkling them around plants, or brewing them into a liquid fertilizer for an extra nutrient boost. The results often show up quickly, with stronger growth and healthier plants that respond to the rich organic matter. Store excess castings in a breathable container to maintain their quality until needed. Every harvest reinforces the value of the system, turning everyday waste into something genuinely useful. That cycle keeps the momentum going and adds a sense of accomplishment to the process.
Small Bin, Big Impact
A simple worm farm delivers more than compost; it shifts the way waste and resources get handled at home. Kitchen scraps shrink dramatically, and the amount of trash heading out the door drops in a noticeable way. That reduction feels satisfying, especially when paired with the steady supply of nutrient-rich compost ready for plants. The setup requires minimal space and effort, yet it produces consistent results that make a real difference over time. Each small action contributes to a larger cycle that supports sustainability without demanding drastic lifestyle changes. That balance makes the project easy to stick with long term.
The beauty of a worm farm lies in its simplicity and effectiveness, proving that even small systems can create meaningful results. A plastic bin, some bedding, and a handful of worms work together to create something far more valuable than the sum of their parts. The process stays engaging, the results stay practical, and the benefits keep stacking up with very little ongoing effort.
What kind of creative twist would take this setup to the next level, or what unexpected results might show up after a few months of steady composting? Let’s hear your thoughts, ideas, or even wild experiments below.
You May Also Like…
Why Some Gardens Attract More Pests
The Most Overlooked Spring Pest: Cutworms
How Earthworms Work Harder in Fall Soils
How to Get Free Worms for Your Garden
This DIY Cold Frame Design Is Collapsing Under Snow — And Causing Injuries
Brandon Marcus is a staff writer for FrugalGardening.com at District Media, Inc., where he delivers practical gardening advice with a relatable, no-nonsense style. An avid amateur gardener, he holds a BA degree and with over ten years of professional writing experience, he is also an award-winning published author whose first book, Questions For Deep Thinkers, was released by Adams Media. His work has appeared in major publications including Fandom.com, CHUD.com, TheColdWire.com, and Fansided.com.
Leave a Reply