Don’t Throw Out Those Seed Catalogs!

The seed catalogs are arriving! It’s like an early Christmas this time of year when I visit the mailbox and find a new catalog waiting for me. I am signed up to receive a bundle of them from various retailers. Even when I have plenty of seeds on hand for the next season, I love to flip through the brightly colored pages and read about different kinds of veggies, herbs, and flowers. When I’m done, though, I don’t ever toss them in the recycling bin. I keep seed catalogs on hand for a few years, because I believe they are a fantastic resource and reference material. 

Why I Keep Back Catalogs

I have a magazine folio filled with old seed catalogs. I usually keep them for around four years or so, until the folio gets full and it’s time to purge. What’s the point of keeping these? Here are a few reasons why.

  • Resource material – Most seed catalogs aren’t just designed to sell a product. They’re painstakingly created – at least my favorite ones are – and contains tons of extra information that’s incredibly valuable. Seed starting charts, growing guides, gardening tips, and more.
  • Seed info – Sometimes, I need to go back and find information about a particular variety I planted that I no longer have the seed packet for. Is your seed packet gone or damaged and you can’t read the planting info? Check the seed catalog!
  • Notebook – Scrawl notes and stick post-its in the catalogs you receive. Instead of buying a new notebook, use seed catalogs to write down your observations, circle the plants you want to grow for the next year or year after. 
  • Reading material – Sometimes, when I’m bored without my garden in the winter, I’ll flip through my collection of seed catalogs.
  • Inspiration – When I lack garden mojo, I’ll check out my collection of catalogs to get inspired again.

Of course, seed catalogs are useful if you’re planning to order some seeds for next year. Nothing beats flipping through the pages and excitedly making plans and dreaming big. Check out your favorite seed retailer’s website to sign up for their seed catalog. Most companies will mail them to you for free. Even if you don’t plan to order anything this year, they’re really great to have on hand. 

Some seed retailers also create separate gardening guides that include product listings but are packed with even more growing information for gardeners. Often they’re also available for free or for a nominal fee.


Properly Storing Seeds

At the end of the season, my seed packets are typically all in a jumble. In the spring, I start things off with the intention of being ultra-organized, but as the season progresses, I don’t always have a spare moment to store everything correctly. I’m constantly needing to access seeds during the growing season as I succession sow and start seedlings to replace spent plants. Things, no doubt, get a bit messy, and conditions aren’t always ideal.

Now that winter is basically here, it’s time to sort and organize seeds in anticipation for the arrival of seed catalogs. It’s also time to think about storing seeds for the long cold season ahead. It’s a must for a frugal gardener. ed storage

Organizing

First, I sort through my current seed stocks to see what I have on hand. Is there anything that’s past it’s prime? Any empty containers or seed packets? I take note of those when the time comes to put in seed orders.

I like to keep all the information about my seeds in a Google Sheet. I can easily edit and make notes not only about whether I’m running low on a particular seed type but also about the time it takes for seeds to germinate and whether I’ve had luck with certain plants during the previous year.

I also take the time to consider what I plan to do with my garden in the new year. I keep the seeds I’m eager to plant within easy reach.

Storing

There are so many options for storing seeds. I used to use little laboratory jars I purchased for cheap on eBay to sort my seed supplies. The process was tedious, but it was very neat and organized. Everything was locked up in airtight containers, and everything remained very fresh. I still have some seeds in these containers, but I’ve gone back to keeping them in their packets for easy reference to planting and maturity info. It’s also less time-consuming. Prolonging freshness requires:

  • A dry location (airtight if possible)
  • A dark spot out of direct sunlight
  • A cool ambient temperature

Storing your seeds with care will ensure you can use them past the packet ‘expiry’ date. Proper seed storage will save you money in the long run, so you’re not having to re-purchase the same seeds each year just because they’ve gone stale.

Come back next week for a post about seed ordering and how to tackle those incoming catalogs.


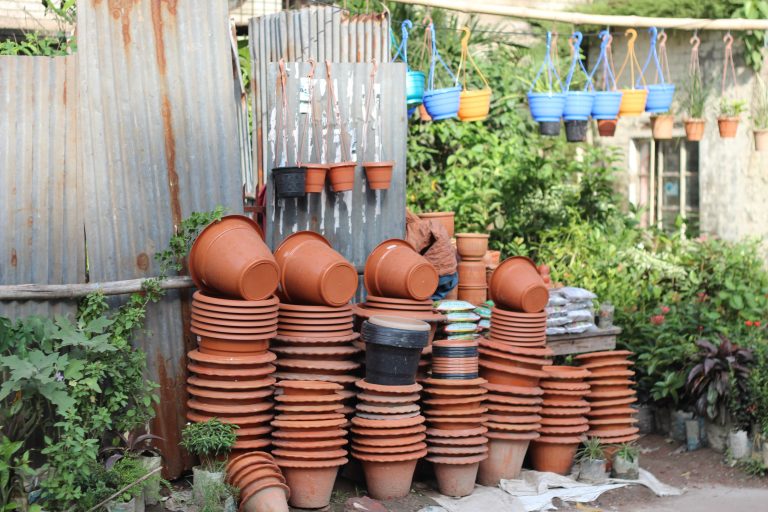
Don’t Throw Those Pots Away!

The pre-winter cleanup continues. I got a jump on tidying things up in the garden when the weather forecast began calling for below zero temps, but there are still things to organize as the threat of a snowstorm looms nearer.

It’s now time to clean up lingering potted plants that were happy with the cooler fall weather. Some were gifted to me, others I left on the porch because I knew they’d survive the lower temperatures. A non-frugal gardener might just toss those dead plants in the compost and recycle the pots. But if you’re frugal minded, you’ll see tons of potential for those containers.

Why Keep Them?

I keep those pots around for a few reasons, even if they’re a little dirty or the wrong size for my current needs.

  • For planting next year. I use them as containers for herbs or for plants when I’ve run out of room in my main garden beds.
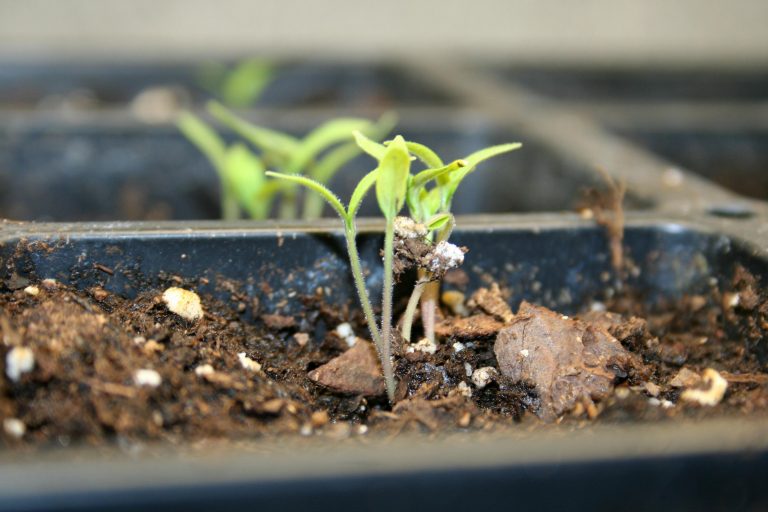
  • For seed starting. If I have lots of small pots laying around, even the flimsy kind, I don’t toss them. I hoard them, actually. Starting plants indoors requires multiple stages of transplanting, and I like to have a variety of pot sizes on hand to ensure none of my seedlings become root bound.
  • For transporting supplies. I always like to have a few medium sized pots on hand – preferably sturdy ones – to lug around dirt or other gardening supplies. Without the budget for fancy buckets and pails, I rely on cheap repurposed containers.
  • For indoor potting. Have multiple containers on hand is useful for when you bring home indoor houseplants that might be stuck in too-tiny pots.

You also never know when any current pots are going to fail you. Even good-quality sturdy pots crack, break, or get knocked over by sneaky squirrels. In a pinch, an old recycle plant pot will house your homeless plants should such a situation arise.

Sanitize Them First

Before re-using containers, be sure to wash them to prevent spreading disease or pests. Think they look clean? Don’t risk it. It’s no fun to lose all your seedlings at once.

There are two ways you can sanitize pots so you can use them for other purposes.

Dishwasher – This is my preferred method because it’s efficient and I’m sometimes lazy. The heat alone will help kill pathogens and bacteria, but you can pop in some dishwasher detergent for extra cleaning power. Use the top rack for delicate pots. I use this method to clean my seedling trays each year, too.

Bleach Bathtub – Add a tiny bit of bleach (a capful should do the trick) to a tub full of hot water and let your pots soak for a little while. Scrub them off if need be. Dry them and return them to your potting station.

There’s no reason to trash perfectly good pots. Whether they’re made of plastic, ceramic, or stone, it’s always useful to have extra containers on hand. Save cash and keep your gardening eco-friendly by saving containers from the trash bin.


Why Prepping in Advance is so Important for the Frugal Gardener

I spent a significant chunk of my Friday afternoon cleaning out the furnace room in my home. In the past, it’s doubled as my grow room, the place where I start seedlings and pot up plants when the weather is less than ideal outside. In the past year or so, it’s also seemingly become our junk room and triage area. It had become so filled with stuff that I was having a hard time imagining how I would ever be productive in the space again. I quickly went to work taking out bins and labeling them so I could organize the space accordingly. The finished area is now free of clutter and ready for seed starting. 

Why Bother?

As a gardener on a budget, I find it incredibly important to carefully plan and think of all garden-related things in advance. The better I plan, the less likely it is that I’ll make uninformed impulse purchases down the road. Prepping and thinking about the 2019 gardening season now means that I can adequately budget and think of penny-pinching solutions to any problems I run into. Frugal gardening isn’t difficult, but it requires a bit more foresight. 

What to Think About Now?

It’s early to think about planting locations and seeding schedules, but there’s still plenty of thinking to be done before the new year rolls around. Here are some things I tend to have on my mind right about now:

  • Seed inventory – Is there anything I need to think about replenishing? Can I swap seeds with a fellow gardener to save money? Is this a variety that did well in the recent growing season? 
  • Seed starting supplies – Can I repurpose anything from last year? Are there products that were not worth the price tag? Do I know anyone with a surplus of pots and trays that might want to make a trade? Are there any sales online for this stuff?
  • Seed starting setup – Having my setup ready in advance means that there won’t be any delays. Starting too late or not having everything prepped may end in missed planting dates. When the seed starting process is disorganized, you might find yourself more likely to spend extra money on starts in the spring. And boy does it add up! 

Plan ahead. It’s worth it. Trust me. You can make more intelligent purchases and avoid small buys that might cost an arm and a leg in shipping. You’ll be more likely to take time to look for deals instead of rushing to get your supplies at the last minute. Procrastination only causes stress, so avoid it like the plague!


Don’t Let Your Halloween Pumpkin Go To Waste

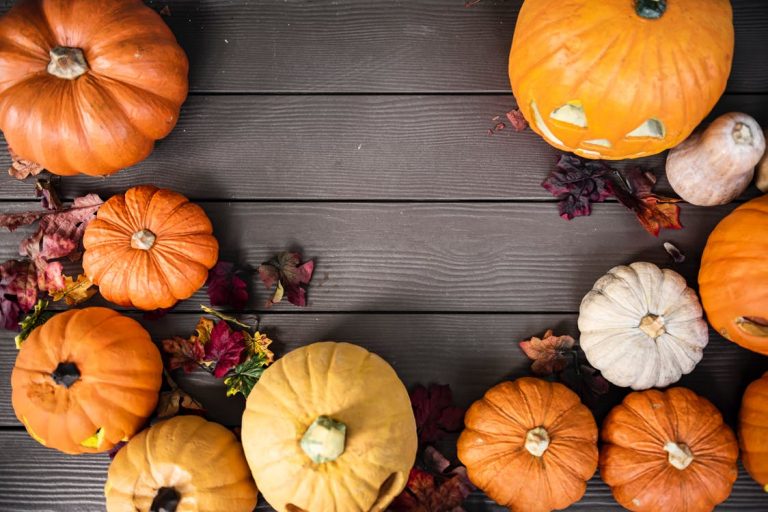
Are you ready for Halloween? Surely you’ve already procured your pumpkin. Have you carved a scary Jack-o-Lantern yet? I hate carving, so my husband is the one who does it. He’s extraordinarily artistic and always manages to etch out something incredible. We normally buy a few pumpkins for our front porch. Some we carve, others we let be. My personal favorite part of the pumpkin tradition is getting to eat them! But there are plenty of ways to prevent those round orange globes from going to waste.

Ideas for your pumpkins

Here are a few ideas for using your Halloween pumpkin:

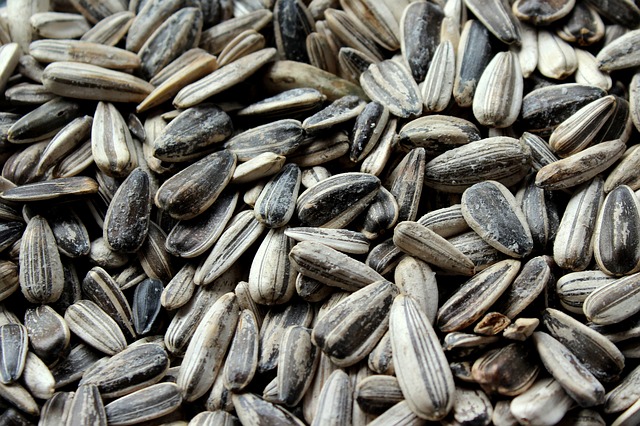
  • Roast those yummy seeds. Once I start eating pumpkin seeds, I can’t stop. They’re so delicious and easy to make. Just keep an eye on them while they’re baking to prevent burning.
  • Use the flesh. Set aside pumpkin flesh when carving to use in cooking. Freeze or use it right away to add pumpkin-flavor to your dishes. 
  • Stick it in the compost. I’d suggest hacking it into bite-sized pieces so it can compost quicker. 
  • Save the seeds for next year. 

A few recipe ideas

Pumpkin soup is one of my all-time favorite soups, and it’s a very easy recipe to make in the slow cooker. Make sure to pick a smaller pumpkin, since large varieties don’t have particularly tasty flesh. 

Pumpkin pie is equally delicious, but I don’t usually get around to making it since Canadian Thanksgiving happens before Halloween. 

Risotto is often labeled as a difficult dish to master, but I find it’s an easy weeknight dinner. Add pumpkin puree for a luxurious twist on your regular risotto. 

Make pumpkin butter, another slow-cooker friendly option that’s simple to whip up and makes a great host or hostess gift.

Happy Halloween

Whatever you decide to do with your pumpkin decorations or Jack-o-lanterns, be sure to bring them in overnight to prevent squirrels from gnawing at them. The frugal gardener knows that using a pumpkin to the fullest is eco-friendly and budget-friendly. Remember, though, you can’t eat a pumpkin once it has been carved. So save the flesh while cutting and be sure to scoop out all the seeds before setting it outside on your spooky porch or front stoop. 


Gold in the Garden: Fallen Leaves

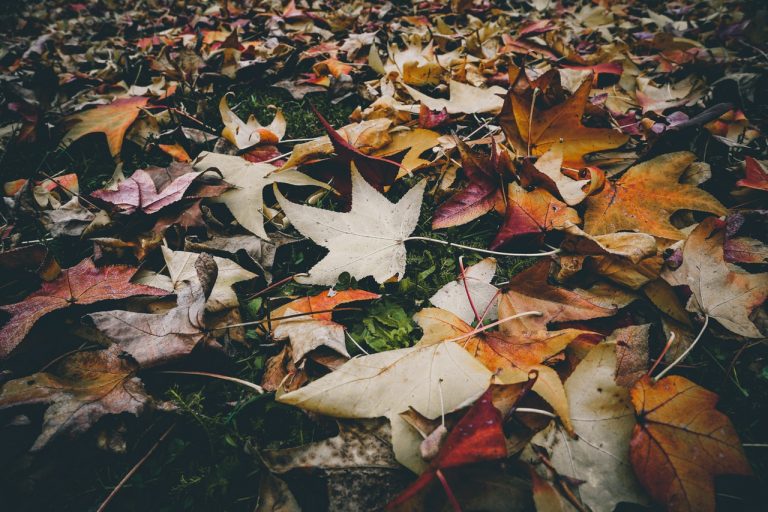
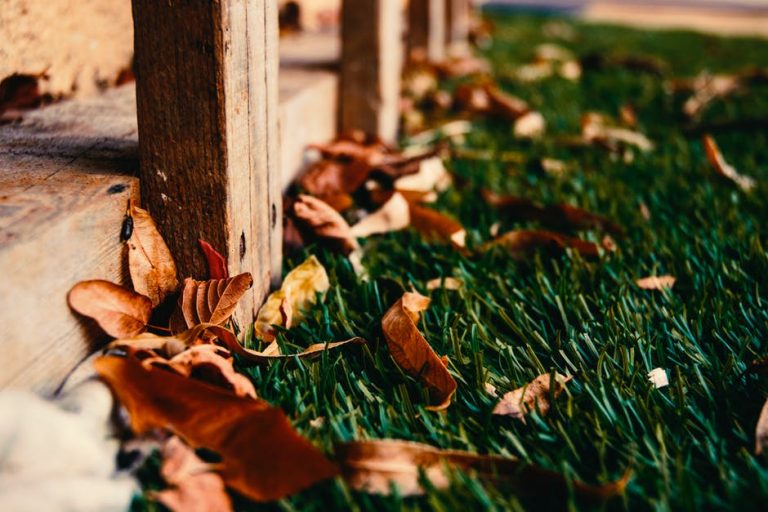
Get out your rake and get those leaves piled up because they’re not just a nuisance, they’re the perfect free tool for the frugal gardener. Enlist the help of a friend and collect all those leaves for use right in the garden. No need to buy bags to dispose of them!

Ways to Use Raked Leaves 

There are a variety of ways to use fallen leaves in the garden. You’ll need to spend some time gathering them up, but otherwise, they’re free! Here are some ideas for using up fallen leaves:

  • Winter mulch – In Zone 5b, the winters get really cold. Even cold-hardy plants need a bit of protection. While some people recommend shredding leaves before applying them as mulch, I’m a bit lazy. I make sure to use dry ones and crumble them slightly when applying. This year, I’m using leaves to protect my fall garlic, kale, and a few other overwintering plants.
  • To line the bottom of newly installed beds – A few years ago, my husband built 4×4 raised beds for me. They’re relatively tall, so filling them is a challenge both physically and financially. Fortunately, we have two huge maple trees on our property, so we use the leaves to add volume to the bottom of the boxes before filling them up in the spring. 
  • Compost pile addition – Leaves are the perfect addition for the compost pile. Not everyone has a compost pile to add leaves to, so many cities pick up bags of leaves from their citizens. Don’t bother bagging and putting them out curbside. Add them directly to your compost pile or bin.
  • Don’t remove leaves that have fallen in your beds – I’ve noticed that the earth in my raised beds compacts over time. It means I need to add soil each year. Instead, add leaves in the fall. They’ll break down and add rich organic matter to your soil. In the spring, add a layer of finished compost over the decomposed leaves.
  • Use clean, dried leaves as autumn decor – Skip the home decor store and use colorful autumn leaves in your seasonal decor.
  • Craft with kids – Browse Pinterest for a variety of creative kid-friendly craft ideas to do with leaves. 

No Deciduous Trees In Your Yard? No Problem

Don’t have to deal with fallen leaves on your property? Lucky you! No clean up required. That doesn’t mean you’re out of luck in the gardening-department, however. Offer to take your friend or family’s leaves off their hands. Better yet, offer your leaf raking services in exchange for free bags of leaves. It’s a win-win for everyone involved.

Caution

One word of caution when raking up and using leaves from your yard. Watch out for ticks. They’re hard to spot and even if you’re well-covered from head to toe can cling to clothing and eventually find their way onto your skin. Some areas are more likely to have ticks than others, but always make sure to do a quick skin check after playing in the leaves or gathering them up. 


Is it Worth it to Grow Your Own Pumpkins?

A few years back, someone asked me whether I grew my own pumpkins for the fall season. For pies, decoration, and soups. I didn’t have any in my garden, and it made me wonder why not. In theory, I could grow beautiful pumpkins and not have to bother buying an expensive Jack-O-Lantern when Halloween came around. So is it worth it to grow your own pumpkin? Does it make sense for the frugal gardener?

Your Space

In most cases, growing vegetables of any kind is a great way to avoid high market prices at the grocery store. You decide how your food is grown, too, so you control whether pesticides or other potentially harmful substances are sprayed around your plants. So many vegetables are also low-maintenance and require very little room to thrive. Some crops, on the other hand, are space hoggers. Pumpkins, for instance, grow on a vine and need a lot of room. Some vined squash varieties can be trellised and grown vertically – which takes some extra care and planning – but pumpkins being so large are tough to train upward. If you plan on harvesting from your own pumpkin patch, you’d better have plenty of free space.

Patience

Pumpkins require a lot of time, too. As every frugal gardener knows, time is money. They’re not a plant that you can succession sow. They take a while to reach maturity. Of course, pumpkins aren’t the only veggie with a long growing season, but it’s something to consider. 

Use

What do you plan on using your pumpkins for? Are they just for Halloween or Thanksgiving decor? If you don’t particularly enjoy pumpkin dishes, you won’t be getting a good return on investment. If you decide to grow pumpkins, make sure to select the appropriate type for your intended use. Carving pumpkins, for instance, aren’t the same as those you might use for baking pies. 

Pumpkin Pros

While pumpkins inevitably require space and patience to grow, I don’t want to discourage anyone from experimenting. As with any plant, all it takes is a single seed. If you’re unsure whether you’ll cook with pumpkin, have enough room, or are willing to wait to enjoy the fruits of your labor, it doesn’t hurt to give it a try. Pumpkins are relatively low-maintenance and grow well when direct-sown. Not willing to dedicate space to a pumpkin patch? Try a miniature variety. They’re usually prolific, and you won’t have to contend with behemoth fruits swallowing up your garden. 

I still haven’t tried growing these orange globes in my garden. I’m often impatient and ever short on space. But I am curious and always willing to experiment. I received a bonus seed packet in a recent seed order and what do you know? It was for pumpkins! I think I may be making room for my very own pumpkin patch next year!


Queen of the Cold Months: Kale

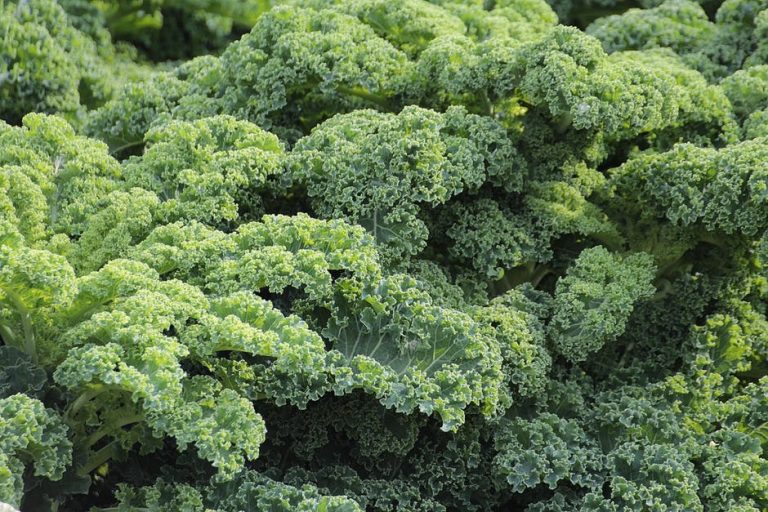
My favorite season is officially here. It’s a good thing most of my favorite vegetables are frost-hardy, cool season varieties. I recently translated some kale – one of my all-time fav veggies – into my designated winter beds, and they’re doing great. The kale trend seems to have come and gone, but I’m not hopping off the bandwagon just yet. Kale is easy to grow and can be incorporated into so many tasty dishes. I also love how many varieties there are. While it’s difficult to successfully experiment with other plants in this region of swinging temperatures, I can always count on kale to provide interesting results.

Why kale is the perfect veggie for the frugal garden

Why is it the one vegetable I must plant each year? The answer is easy.

  • Fast growing. While not all varieties are equally quick-growing, most variants offer a quick yield.
  • Cold hardy. It’s not vulnerable to cold weather like other plants, which means I can plant it early, and sow seed for a fall and winter harvest. And kale actually gets sweeter when exposed to frost.
  • Easy to grow. For the most part, kale requires little upkeep. I often find volunteer kale plants popping up around my beds, and even without my looking after them they seem to flourish.
  • Nutritious. The dark leafy green is packed with nutrients and makes for a healthy addition to meals.
  • Tastes good, too. Roasted, sautéed, or raw, kale is one of my favorite veggies to add to recipes.
  • Works as an ornamental. Have you ever taken a close look at your town’s landscaping? Some municipalities actually use kale extensively to add color and volume to street side plantings.
  • An inexpensive choice. It’s expensive at the supermarket, but growing it offers generous yields. Kale is a cut-and-come-again crop, so with proper care, it will continue to produce throughout the year. Kale seeds are also reasonably cheap.

My favorite kale varieties

I’m still working my way through all the seed catalogs I receive each year in an attempt to try out each and every kale variety. But here are some of my favorites:

Lacinato – Also known as dinosaur kale, it’s a beautiful variety with dark, long leaves. Very frost hardy.

Scarlet – A red-leafed variety that makes it easy to spot cabbage worm. Adds color to the garden.

Red Russian – Features green leaves with purple veins and seems to do very well in my zone 5 garden. Not as susceptible to pest infestations.


Tronchuda – A Portuguese kale that’s perfect for Caldo Verde soup.

Forever the trendiest veggie in my heart

While 2018 has given rise to a fermented food craze, kale still remains one of the most frequently used veggies in my household. Making it taste good isn’t very hard, and it’s a healthy choice. The vegetable is not without its challenges. The cabbage worm pest is the bane of my existence. It decimates brassicas with a fierce determination. The little green worms eat at a fantastic pace and consume an almost unbelievable volume of greens in a single day. Covering crops has been a useful solution, and picking off the little buggers can prevent a total erasure of crops as long as I’m diligent.

Even when faced with the nasty munching critters, I still choose to grow kale every year. It’s indeed a wondrous edible and perfect for adding to fall meals. The biennial plant is capable of living through the winter and growing quite tall. With varieties suitable for all growing regions, kale is a versatile option for any frugal garden.


The Cleanup Begins

I was going to write about dehydrating this week, but I haven’t gotten around to that task yet. Hopefully, my herbs won’t be wilted by the time I get to it!

Instead, I’ve found myself mostly tidying up the garden in anticipation of the end of the season. The weather has cooled down considerably, but that doesn’t mean that I’m closing up shop. Au contraire! Like weeding, it’s important to stay on top of cleaning the garden. For the frugal gardener, time is money, after all. A gradual closing down of your green space is more manageable than a scramble at the last minute.

Why tidy up?

Why not leave everything where it is? Wouldn’t that be so much easier? For the moment, probably. But, clearing dead (or almost dead) plants and prepping beds for the winter will make gardening in the new year so much easier. I know it’s incredibly difficult to pull up plants that have produced so much over the summer, but leaving them there may encourage pests and diseases to take up residence. All that debris will also be in your way when warmer weather comes back around next year. It’s also unsightly. Tidying up the garden provides a clean slate and makes it easier to imagine next year’s bounty.

Clean up tasks


  • Pull up dead plants – Right now, I’ve started pulling up my cucumber plant. It’s no longer producing (I suspect a pest was involved in its demise). The tomato and eggplants are done, too, so I’ll pick the last fruits and gently remove the tall plants and their stakes Removing the stakes is important since once the ground freezes, they’re stuck there.


  • Mulch – I mulch the remaining plants and prep the empty squares for something that will be arriving in the mail quite soon: GARLIC!


  • Cover empty beds with leaves – Squares that will remain empty until the spring are topped with fallen leaves that will decompose and add organic matter to the soil. I have a large maple tree next to my garden, so the leaves inevitably accumulate there. It’s easier to let them be.


  • Add compost – I also add compost to the empty spots, but this year after replacing the old unit, new compost isn’t quite ready. I’ll have to make do with leaves for now.


  • Save seeds – I haven’t gotten around to this yet, but it’s another vital cleanup task. It’s also something I’m still learning and experimenting with.


  • Store things away – I put away any delicate pots and other garden decorations to keep them safe during the winter and prevent damage.


Slow down but don’t stop

There’s no need to pull frost-hardy vegetables. Carrots, beets, and kale, for instance, are all happy snuggling in the cooler dirt. With fall arriving, it becomes a bit harder to gauge what your remaining plants might need to survive. As the weather cools, I often completely forget that it’s still necessary to water the garden. But, your fall crops still need to drink.

Veggies still need to be harvested, mulch may be required with drier periods, and you’ll still need to keep an eye out for pests and scavengers. My gardening activities naturally wind down as autumn arrives, but it’s critical to avoid letting everything go wild. Taking care now will prevent weeds from taking up root in the spring, and pests from popping up when the sun shines bright again next year.


Recipe: Garden Inspired Sushi Bowls

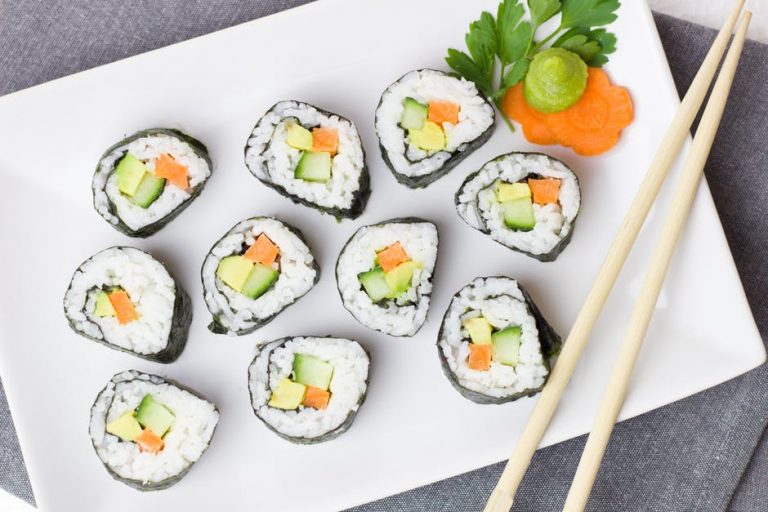
I love sushi. I could eat a truckload of rolls at once. But, it’s expensive. Even the grocery store stuff has a price tag that makes me cringe. While I love treating myself to a sushi dinner once in a while, I realized that what I love about this food is how fresh it tastes. I love that I can recognize the ingredients and feel good about what I’m putting in my body. 

So I decided to create my own spin on sushi at home. This recipe doesn’t require fancy tools or techniques and makes for a quick, healthy dinner when I’m busy but craving whole foods. Sushi bowls have become a well-loved dinner in my home, even my sushi-hating husband enjoys them! 

Sushi Bowls

Cheaper than take-out and easier than rolling your own sushi, these bowls are nutritious and easy to make. Some of the ingredients are also easy to grow right in your garden. 

Serves 2

Ingredients

  • 1/2 cup dry sushi rice (I use Calrose, a medium-grain variety)
  • 1 small cucumber
  • 1 small carrot
  • 1 green onion
  • 1/2 cup Panko breadcrumbs 
  • 1 cup cooked shelled frozen edamame
  • Rice vinegar
  • 1 avocado
  • Spicy mayo (for topping) (you can buy this or make your own by mixing mayo with sriracha) 
  • Sesame seeds for garnish (optional)
  • Faux-crab (Pollock) (omit if vegetarian)
  • Soy sauce (optional)

Directions

Cook rice. I use a rice cooker to cook my rice, but cooking it on the stovetop works just as well. Follow packaging instructions. Once cooked, add a splash of rice vinegar to season the rice.

Use a vegetable peeler to ribbon the carrot. Cut up cucumber into small cubes. Thinly slice green onion. Cut up avocado into cubes.

Roughly chop the faux-crab.

Assemble. Divide rice into bowls and top with 1/4 cup of Panko. Add cucumber, carrots, edamame, avocado, and faux-crab. Drizzle spicy mayo on top. Garnish with sesame seeds and green onion. Add a splash of soy sauce for added seasoning, if desired. 

Enjoy!

These simple bowls are the perfect idea for a healthy, satisfying weeknight dinner. You can even make simple swaps depending on the veggies you have on hand or in your frugal garden. Just because you’re on a budget, doesn’t mean you can’t enjoy sushi in one form or another! Most of the ingredients above are easy to find and if purchased in bulk can be used in a multitude of recipes.