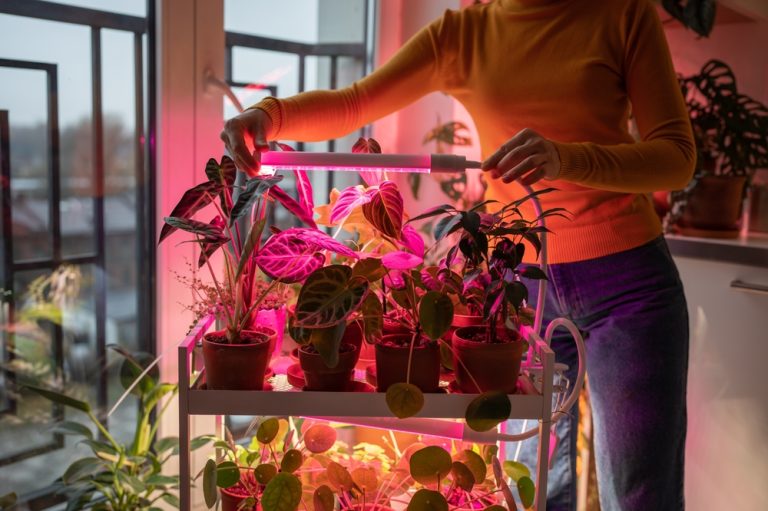
Growing plants indoors is great. However, when plants are grown indoors, they often do not receive enough natural sunlight to meet their needs. This is where grow lights come in. Of course, you can choose to spend a lot of money on grow lights. However, you don’t have to do that. There are some great…
5 Quick Tips To Rescue Your Plants From Root Rot
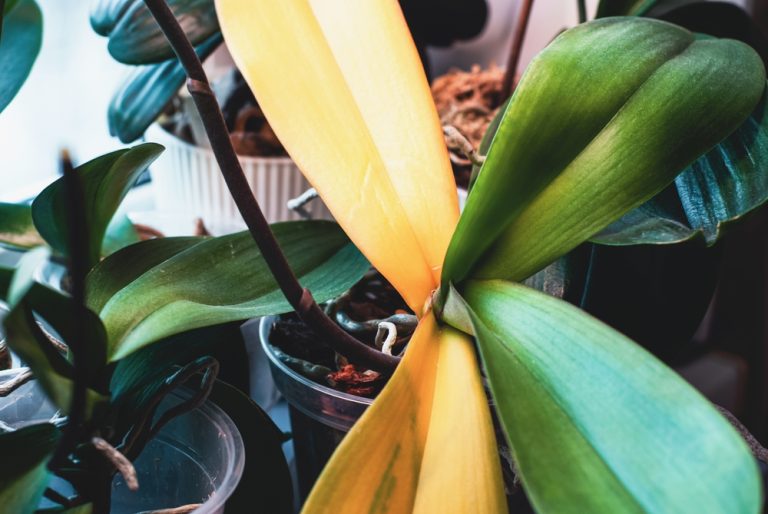
I am prone to overwatering my plants. I suspect that this comes from growing up in the desert. That might sound counterintuitive. However, I have this reverence for the magic of water as a result of my desert upbringing. And so subconsciously, I tend to think that water will solve all plant problems. Which, of…
Here Are The Best Thorn-Proof Gardening Gloves Under $20
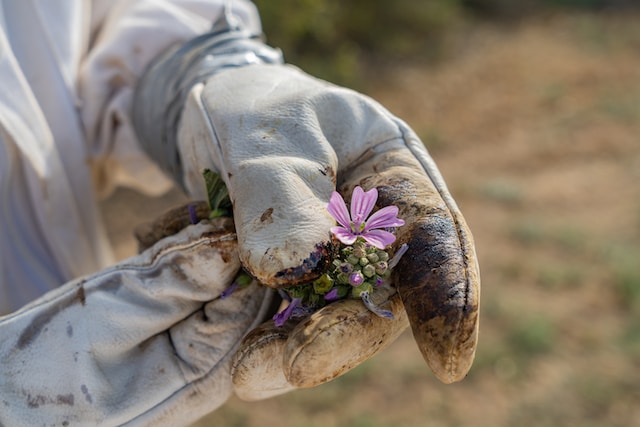
Thorn-proof gardening gloves are an essential tool for any gardener who deals with prickly plants, thorny shrubs, or any potentially harmful vegetation. They provide protection against cuts, punctures, and scratches. Therefore, they allow you to work in the garden more safely and comfortably. They don’t have to be costly but you do want to…
Top Women’s Gardening Overalls Ranked by Price
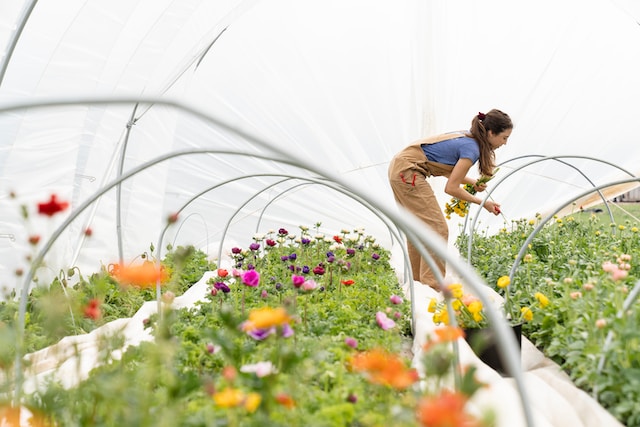
Whether you’re a master gardener or a beginner, you need workwear that’s breathable, durable, and easy to move around in. Jeans and a top that you don’t mind getting dirty will work in a pinch. However, you’ll probably be more comfortable in a pair of gardening overalls, which protect your clothes and body from dirt,…
Should I Use Enviro Ice On My Plants?
Every week, I receive food from Hungryroot. It’s a great service through which you can get meal prep or just general groceries. Much of the food needs to stay cold. Therefore, they put cold packs inside the box. They use an option called Enviro Ice. You can dispose of it in many ways, including apparently…
8 Best Gardening Hats for Ultimate Sun Protection and Style!
The best gardening hats offer protection from the sun that goes beyond just providing a little bit of shade. They protect your eyes. Moreover, they help regulate your body heat. Plus they have other great features such as protection from rain or insects. Of course, you might as well be stylish while in the garden…
Cheap and Economical Humidity Dome Alternatives
If you grow your plants from seeds then you probably know what a humidity dome is. (If not, don’t worry, we’ll go over it briefly below.) Just like with all of your other gardening supplies, you can buy humidity domes from a variety of different sources. However, you can also DIY them. Here are some…
DIY Squash Trellis Under $10
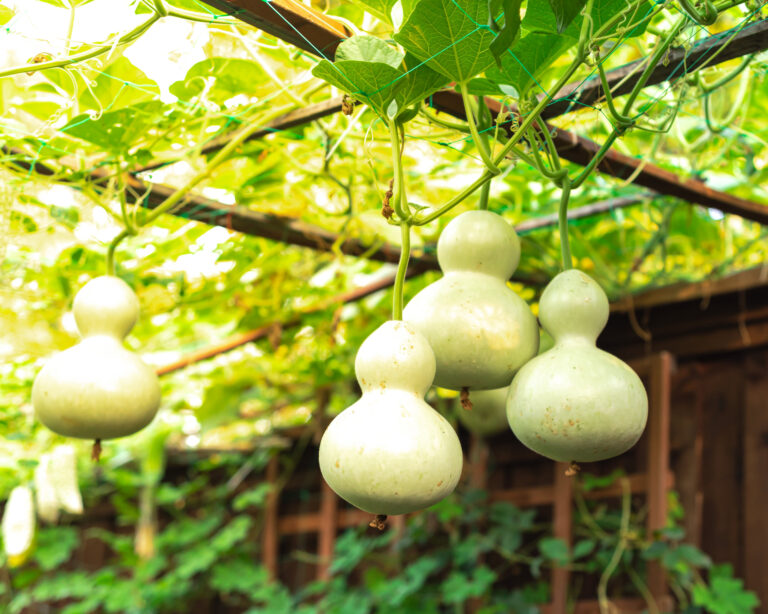
Growing squash is a great idea. There are many great squash varieties to feed your family. However, you want to plan ahead when growing squash. If you don’t, then this plant can take over your entire garden. In particular, you’ll want to train your squash to grow on a trellis. Here are some great…
Gardening Supplies You Can Get at Dollar Tree
Have you been to your local Dollar Tree lately? If so, have you checked out their gardening supplies? If not, then you’re missing out. Dollar Tree gardening supplies are inexpensive and yet work just as well as pricier options that you might be elsewhere. You can get gardening basics like seeds, of course. You can…
Top 6 Gardening Knee Pads on Amazon
Gardening knee pads are protective gear designed to provide cushioning and support for your knees while you’re working in the garden. They typically consist of padded material, such as foam or gel, encased in a durable fabric, and are worn over the knees. These pads help prevent discomfort, bruising, or strain caused by prolonged kneeling…