Germination refers to the process of a seed becoming a plant. Some people don’t mind a very slow process. They’ll plant flowers that take two years to show their colors. However, sometimes you want an experience a little bit closer to instant gratification. While no plant is going to germinate overnight, there are techniques to…
Quotes About the Benefits of Gardening
There are so many benefits of gardening. Many of them relate to frugal living. For example, gardens remind us to enjoy the little things, rather than spending money on flashy stuff. The following quotes about the benefits of gardening remind me of the important stuff. “The glory of gardening: hands in the dirt, head in…
5+ Cheap Ways To Make Soil More Acidic
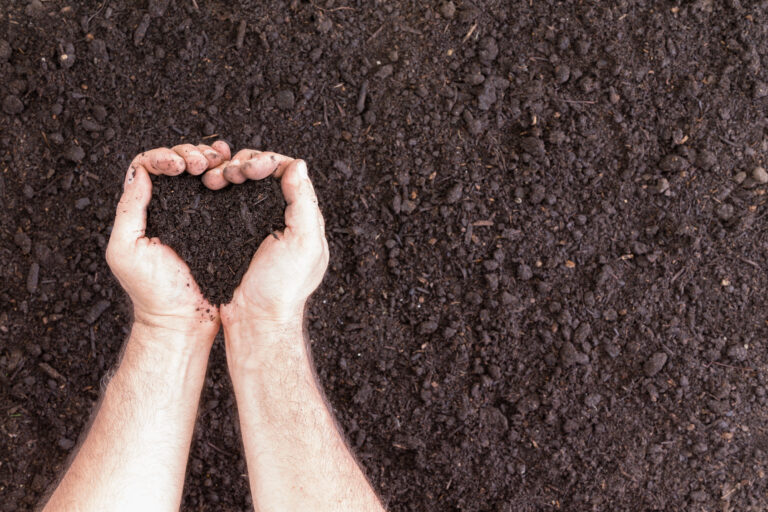
Every garden’s soil has a pH level. You can work with different pH levels using different plants. However, you have to know where you’re starting. And in some instances, you might want to change the pH level. For example, if your soil is too alkaline for the plants you want to grow, then you need…
Garden Photo Walks for Mindfulness
Much of the time, looking at life through our phones takes us out of the present moment. However, I find that I can use the phone’s camera to practice mindfulness. Garden photo walks are my favorite way of practicing this on a regular basis. What Is Mindfulness? All that I mean by mindfulness is the…
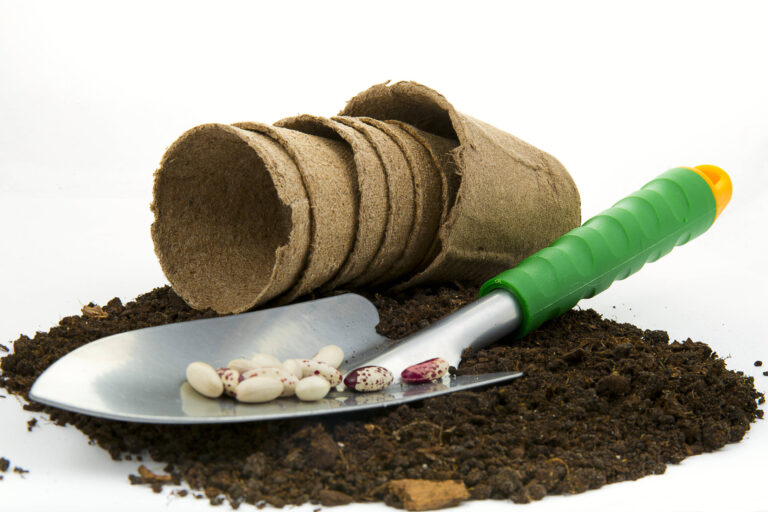
5 Cheap Substitutes for Seedling Trays
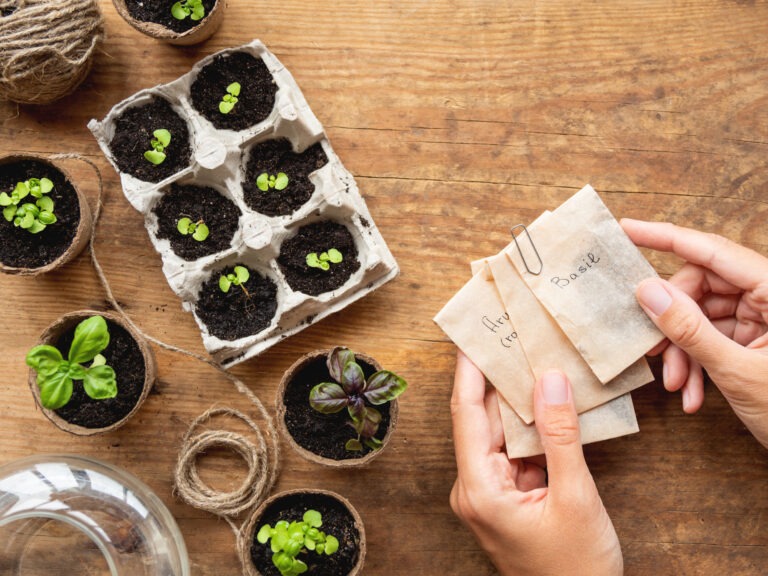
Seed trays offer a great way to start off your planting season. However, you don’t need to purchase actual trays from the gardening supply store. Instead, you can upcycle/recycle/DIY many terrific substitutes for seedling trays. Here are five good ideas: What Are Seedling Trays? Seed trays provide a great opportunity to begin growing multiple plants…
A Garden to Dye For
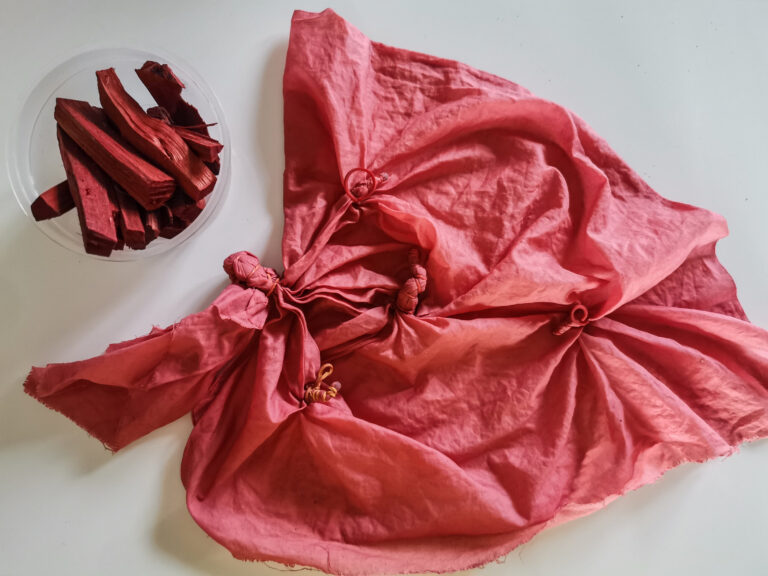
Several years ago my sister sent me a wonderful gift. She’s one of those people who is so great at picking out the perfect gifts for people. The gift was a book called “A Garden to Dye For.” She also sent me a set of Japanese Indigo seeds grown locally to her area. Somehow, all…
How To Battle Garden Pests Cheaply and Naturally
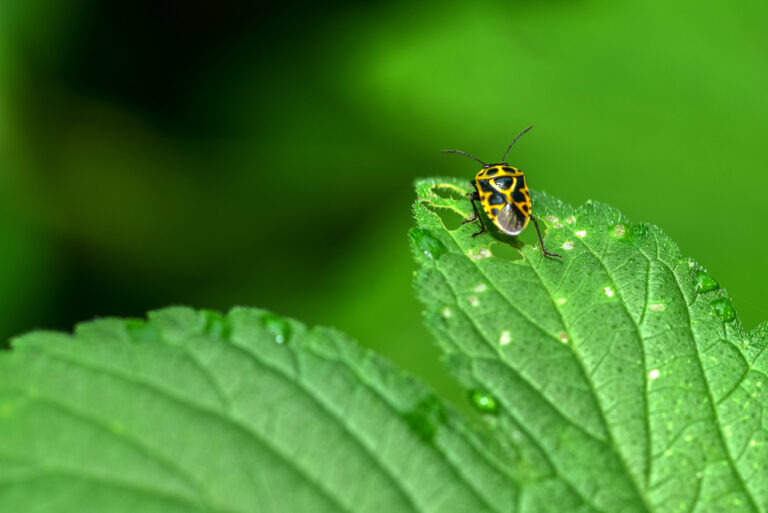
Garden pests can be the bane of a home gardener’s existence. You work so hard to get your plants to grow, then these bugs come along and destroy them. Are you looking for ways to battle garden pests cheaply and naturally? It’s definitely possible! It Doesn’t Have To Be a Battle Yes, we often talk…
5 Cheap Ways to Self Water Plants
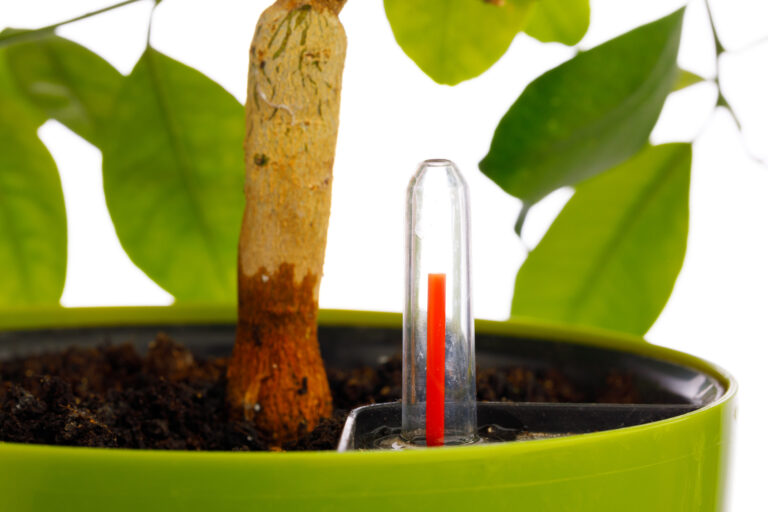
Some people love the ritual of watering their plants each day. However, many of us like to simplify our schedules by setting up systems whereby plants can self water. Moreover, there might be times when you need plants to water themselves, such as when you go on vacation. It’s good to know some cheap ways…
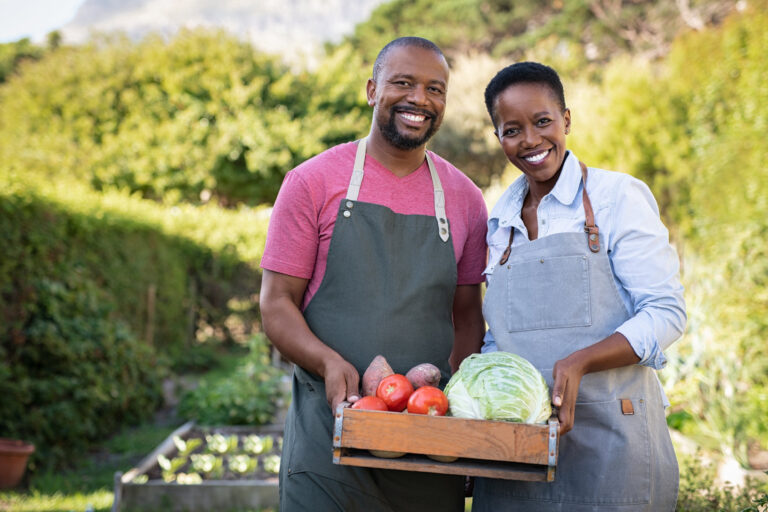
Benefits of Community Gardens
I live in an apartment in San Francisco. I have a porch, windowsills with different light levels, and some counter space to do any gardening that I’d like to do. However, I don’t have a yard. Therefore, if I wanted to get serious about outdoor gardening, I would need to explore other options. That’s gotten…
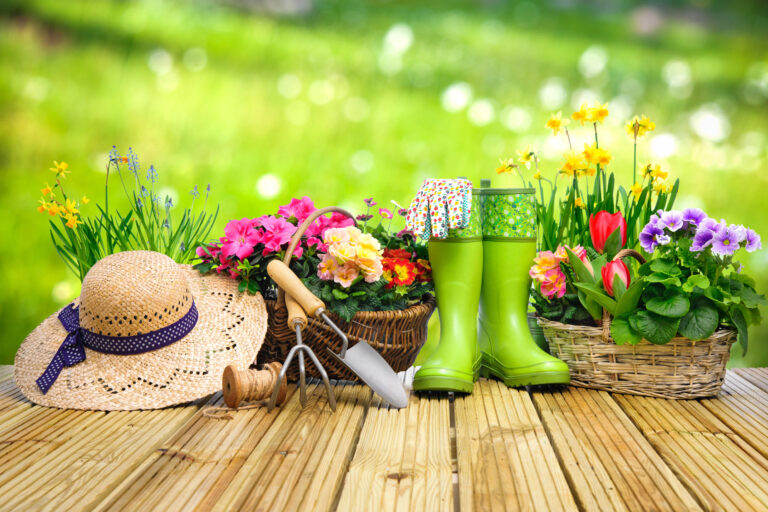
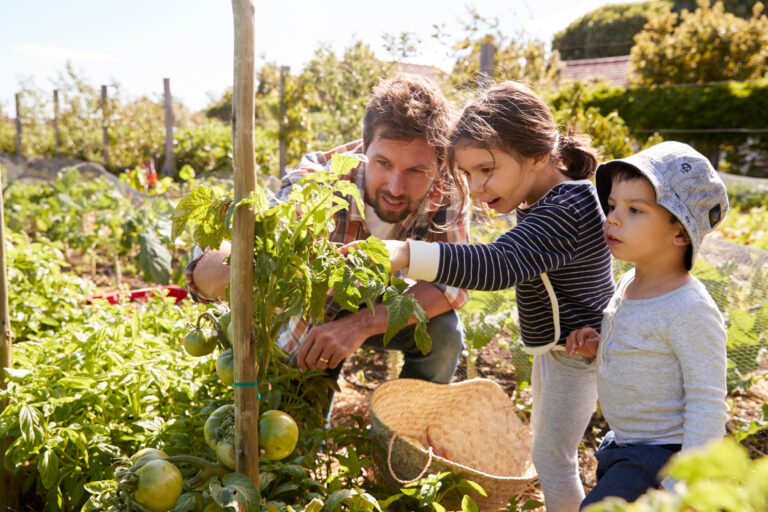
7 Reasons Why You Should Try Gardening
Have you thought about trying gardening for a long time? What’s holding you back? Sometimes people worry that they won’t be good at it, that it’s expensive, or that they don’t have the time to do it properly. However, you can always start small and grow your garden later if you want to it. It’s…