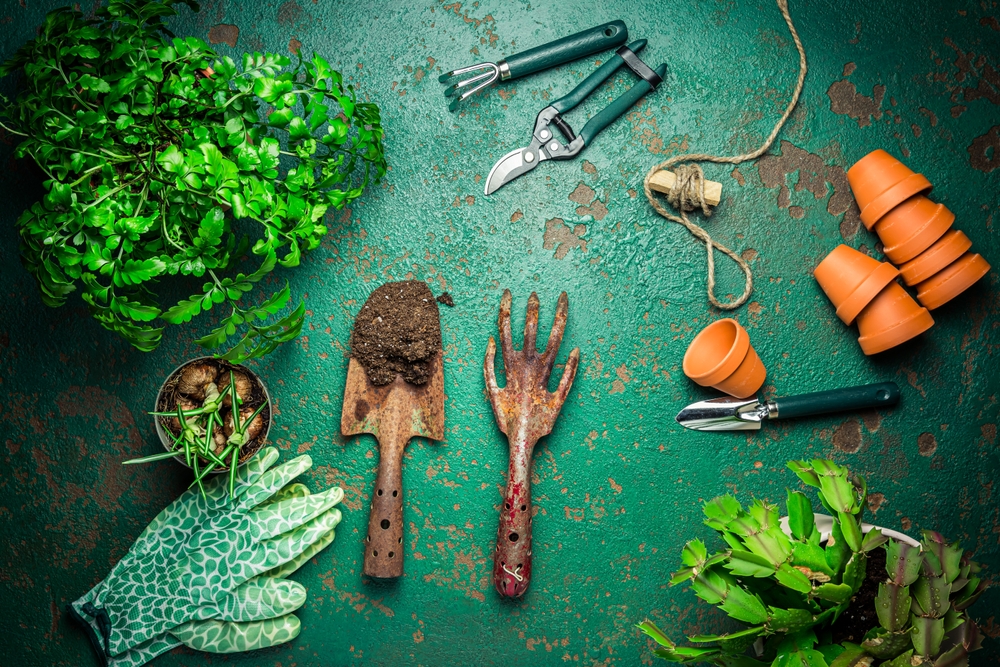
Garden tools have a remarkable talent for turning into a tangled pile of handles, hoses, and mysterious metal objects the moment gardening season ends. Storing them for winter does not require a shiny new rack, expensive storage bins, or a trip to the hardware store, though. A little cleaning, some strategic repurposing, and a better use of the space already available can keep tools protected and much easier to find when spring arrives.
The real trick involves thinking beyond “put everything in the shed.” Soil, moisture, freezing temperatures, and poor storage positions can all shorten the useful life of garden equipment. A shovel tossed into a damp corner can develop rust, while pruners left dirty can carry plant residue into the next growing season. Fortunately, the cheapest storage system may already be sitting around the house.
Clean the Tools Before They Go to Sleep
Winter storage starts with a surprisingly unglamorous job: cleaning. Remove soil, plant debris, grass, and other material from shovels, hoes, trowels, cultivators, pruners, and other hand tools before putting them away. A stiff brush can knock away dried dirt, while a little water can handle stubborn residue when the tool material allows it. Dry every metal surface thoroughly afterward because leftover moisture creates an invitation for rust.
Pruning tools deserve extra attention because plant sap and residue can cling around the blades and joints. Wipe the blades clean and dry, then apply a light coating of suitable oil to metal surfaces and moving parts according to the tool manufacturer’s recommendations. Avoid soaking wooden handles, since excess moisture can encourage cracking or swelling. Once everything looks reasonably clean and dry, winter storage becomes much less complicated.
Turn Ordinary Household Items Into Tool Organizers
A storage system does not need to look like it came from a professional workshop. An old bucket can hold smaller hand tools, while a sturdy container can corral gloves, plant ties, labels, and other loose gardening supplies. Cardboard tubes can separate smaller tools or stakes, and leftover pieces of sturdy lumber can become simple dividers when a shelf needs more structure. Even a clean, unused flowerpot can serve as a holder for hand tools.
For long-handled tools, look upward before looking for another storage product. Existing wall hooks, sturdy nails, brackets, or unused shelving can keep shovels and rakes off the floor, provided the attachment point can safely support the weight. A scrap piece of wood with several properly spaced hooks can also create a basic hanging station. The goal involves keeping tools separated enough that one rake does not become mysteriously responsible for a six-tool avalanche.
Keep Metal Tools Dry and Off the Floor
The floor often seems like the obvious place for garden tools because gravity makes storage wonderfully simple. Unfortunately, floors can expose tools to dampness, especially in sheds, garages, and other spaces where condensation or moisture can collect. Keeping metal tools elevated helps limit contact with wet surfaces and makes sweeping or cleaning the storage area much easier.
A scrap board, old shelf, sturdy crate, or even a couple of solid supports can create useful elevation without requiring a dedicated organizer. Place shovels, hoes, and other heavy tools where they cannot fall onto delicate equipment or create a tripping hazard. Avoid leaning sharp tools where someone could accidentally grab the wrong end. Good storage should make the next gardening session safer, not turn opening the shed into an obstacle course.
Give Wooden Handles and Sharp Blades Some Attention
Wooden handles can last for years when gardeners keep them reasonably dry and inspect them before storage. Look for splinters, cracks, loose connections, or rough areas that could worsen while the tool sits unused. Light sanding can smooth minor roughness, while an appropriate wood treatment can help maintain unfinished wooden handles when the product instructions support its use. Do not coat every handle with a random household oil simply because it happens to be sitting nearby.
Sharp blades need their own storage strategy. Pruners, loppers, shears, and other cutting tools should stay closed or secured so their edges do not create an accidental hazard. A piece of thick cardboard can provide a temporary blade cover when it fits securely, while a reused container can keep smaller cutting tools contained. Store sharp tools where children and pets cannot reach them, and do not bury them beneath a pile of loose equipment.
Make a Simple Winter Inventory
Winter storage creates an excellent opportunity to discover what the garden actually owns. Group similar tools together and check for missing pieces, damaged handles, dull blades, loose bolts, and other problems before everything disappears into storage. This small inspection can prevent the classic springtime surprise of discovering that the only usable pair of pruners has spent months hiding underneath three bags of potting soil.
Labels can help too, especially when several containers hold small supplies. Reuse old labels, scrap paper, or even pieces of cardboard instead of buying a matching label set. Keep frequently used winter items, such as snow tools or outdoor maintenance equipment, separate from gardening supplies if the storage area also serves other purposes. A little organization now can save considerable rummaging later, particularly when the first warm weekend arrives and every garden task suddenly feels urgent.
Let the Shed Work Smarter, Not Harder
The best winter garden storage system often involves using existing space more intelligently rather than adding more stuff. Walls, shelves, ceiling areas designed for safe storage, empty corners, buckets, crates, and scrap materials can all serve useful roles when gardeners match each item to the right job. Keep heavy equipment low or securely supported, keep sharp tools controlled, and give moisture-sensitive materials a dry location.
Most importantly, resist the urge to cram everything into the first available corner. Leave enough room to remove one tool without dragging half the garden along with it. Before closing the shed for winter, take a final look at the setup and ask whether each tool has a logical home. When spring arrives, the reward will not be another organizer taking up space, but a collection of clean, protected tools that are ready to get back to work.
Let the Garden Shed Earn Its Keep
Good winter storage does not require a shopping spree. Clean tools thoroughly, dry metal surfaces, protect blades, keep wooden handles in decent condition, and use sturdy household materials to separate and elevate equipment. Those simple habits can protect tools from unnecessary moisture, damage, and disorder while making the first gardening jobs of spring considerably less frustrating.
What household item has worked surprisingly well for storing garden tools in the off-season? Share the clever storage trick in the comments.
You May Also Like…
The Tool-Share Strategy: How to Get Luxury Garden Tools for Free
The One Gardening Tool People Over 60 Say They Wish They Bought Earlier
7 Time-Saving Tools That Improve Garden Efficiency
How to Keep Garden Tools Rust-Free Without Chemicals
The Best Low-Cost Garden Tools That Actually Last for Years

Brandon Marcus is a staff writer for FrugalGardening.com at District Media, Inc., where he delivers practical gardening advice with a relatable, no-nonsense style. An avid amateur gardener, he holds a BA degree and with over ten years of professional writing experience, he is also an award-winning published author whose first book, Questions For Deep Thinkers, was released by Adams Media. His work has appeared in major publications including Fandom.com, CHUD.com, TheColdWire.com, and Fansided.com.
Leave a Reply