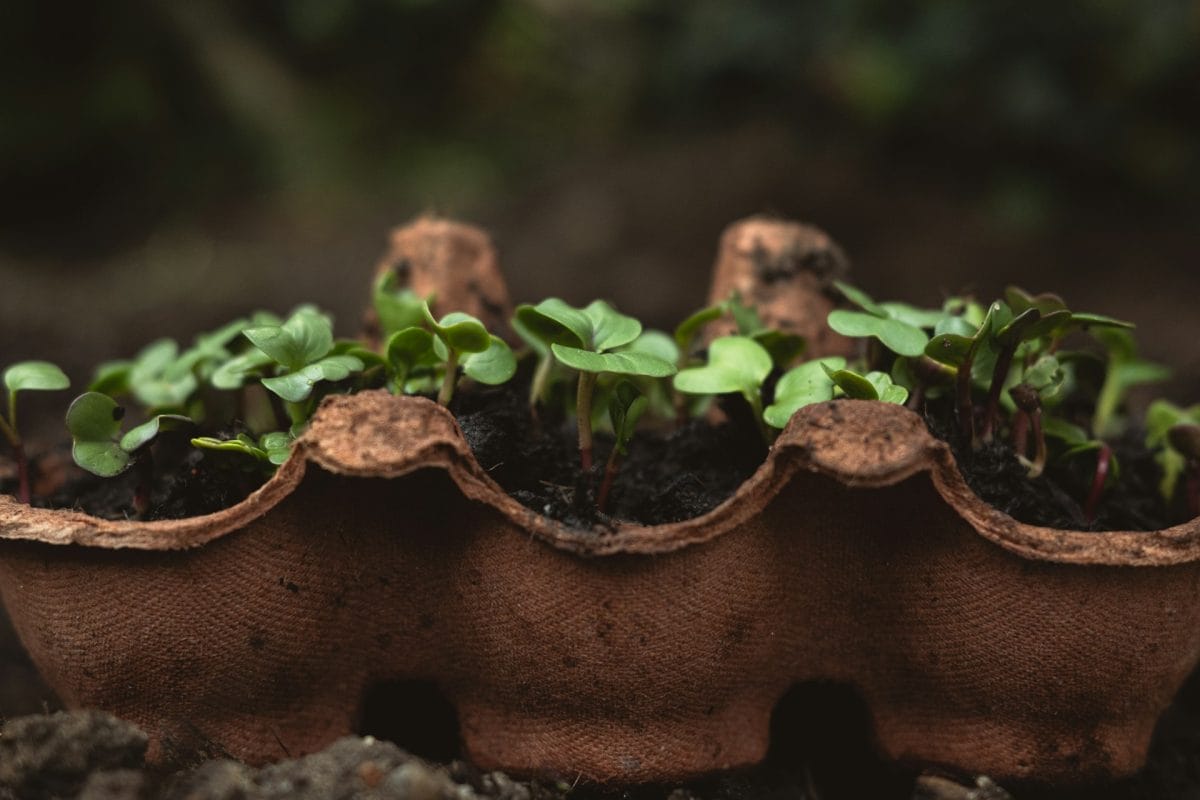
That shiny display of seed starters at the store may look tempting, but it does not hold any magic that a few everyday items cannot match. Seeds do not care about brand names or packaging. They care about moisture, warmth, and a good start, and plenty of common household containers deliver exactly that.
A smart gardener sees opportunity in places most people overlook. That empty carton, that leftover cup, even that forgotten container in the back of the fridge can turn into a mini greenhouse with just a little creativity. These options not only save money but also cut down on waste and add a satisfying sense of resourcefulness to the process. Growing something from almost nothing feels like a win before the first sprout even appears.
1. Egg Cartons: The Classic That Still Crushes It
Egg cartons have earned a reputation in gardening circles for a reason, and they continue to deliver reliable results season after season. The individual compartments create perfectly sized spaces for starting seeds without overcrowding, which gives each plant room to develop strong roots early on. Cardboard cartons, in particular, break down naturally over time, which allows easy transplanting without disturbing delicate seedlings. That means less shock and a smoother transition into the garden.
Preparation stays simple and quick. A small hole poked into the bottom of each section improves drainage and prevents soggy soil, which can lead to rot. Filling each cup with a light seed-starting mix gives seeds the loose, airy environment they need to sprout successfully. Placing the carton on a tray helps catch excess water and keeps everything tidy, which makes maintenance easier. This setup works especially well for herbs, lettuce, and other small plants that do not need a deep root system right away.
Light and moisture control make all the difference here. Positioning the carton near a bright window or under a grow light encourages steady growth. Keeping the soil consistently damp, not soaked, supports healthy germination. Covering the carton loosely with plastic wrap during the early days can help trap humidity and speed things up. Once sprouts appear, removing the cover allows proper airflow and prevents mold.
2. Yogurt Cups: Tiny Powerhouses Ready to Grow
Yogurt cups may look unremarkable, but they offer one of the most versatile options for seed starting. Their size provides more depth than many seed trays, which allows roots to stretch and strengthen before transplanting. This extra space can lead to sturdier plants that handle outdoor conditions better. The rigid plastic also holds up well, which means these containers can get reused multiple times.
A quick rinse prepares the cup for action. Adding drainage holes at the bottom prevents water buildup and keeps roots healthy. Filling the cup with soil and planting seeds at the correct depth sets the stage for strong growth. Labeling each cup helps keep track of different plants, especially when multiple varieties grow at the same time. This simple step avoids confusion later when everything starts to look similar.
Placement matters just as much as preparation. Arranging cups in a tray or shallow box keeps them organized and easy to move. Watering from the bottom by adding water to the tray encourages roots to grow downward, which strengthens the plant overall. This method also reduces the risk of overwatering, which can damage young seedlings. Yogurt cups turn into a powerful tool with just a few small adjustments.
3. Toilet Paper Rolls: The Biodegradable Game-Changer
Toilet paper rolls bring a surprising advantage to seed starting, and they deserve far more attention than they usually get. Their cylindrical shape encourages straight root growth, which benefits plants like beans and peas that prefer deeper space. These cardboard tubes also break down naturally in soil, which makes transplanting incredibly easy and stress-free for the plant. No need to remove the seedling at all, since the entire roll can go directly into the ground.
Creating a stable base takes only a few seconds. Folding the bottom edges inward forms a simple support that keeps the roll upright while holding soil in place. Filling the tube with a seed-starting mix and planting seeds completes the setup. Placing several rolls in a tray or box helps keep them steady and prevents tipping. This arrangement creates a neat and efficient growing system.
Watering requires a bit of attention since cardboard can dry out faster than plastic. Checking moisture levels regularly ensures that the soil stays evenly damp. Placing the rolls close together helps retain humidity and reduces evaporation. This setup works especially well for plants that need a strong root system before moving outdoors. Toilet paper rolls prove that even the simplest materials can deliver impressive results.
4. Takeout Containers: The Instant Mini Greenhouse
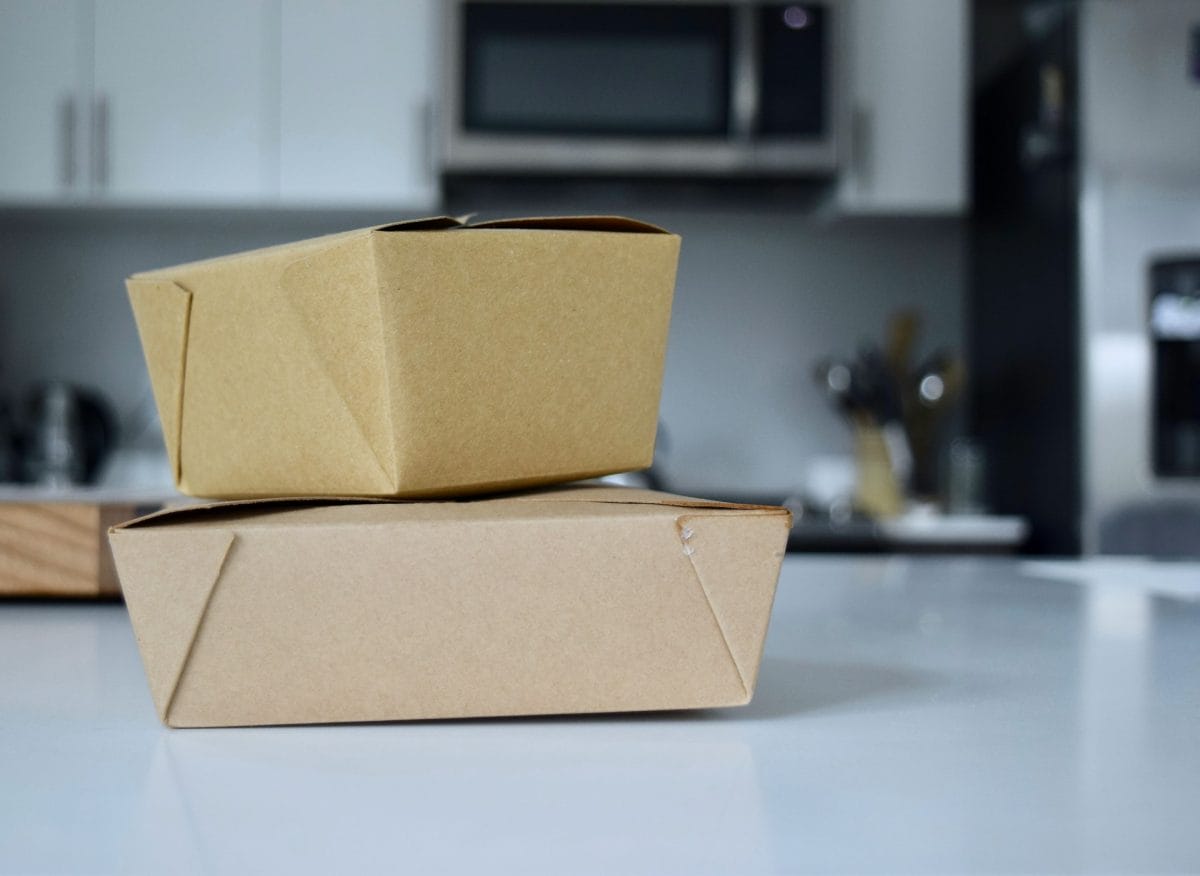
Takeout containers bring a whole new level of convenience to seed starting, especially those clear plastic ones with lids. These containers create a built-in greenhouse effect that traps heat and moisture, which speeds up germination. The clear lid allows sunlight to reach the seeds while maintaining a stable environment inside. This combination gives seeds a strong and steady start without much extra effort.
Preparation starts with cleaning the container thoroughly to remove any food residue. Adding drainage holes prevents excess water from collecting at the bottom, which keeps roots healthy. Filling the base with soil and planting seeds at the recommended depth sets everything in motion. Closing the lid loosely allows some airflow while still maintaining humidity. This balance helps prevent mold and encourages healthy growth.
Monitoring becomes easy thanks to the transparent design. Watching seedlings emerge and develop adds a fun visual element to the process. Once the plants outgrow the container or need more airflow, removing the lid allows them to adjust gradually. This flexibility makes takeout containers one of the most adaptable options available. They transform from storage to greenhouse in minutes.
Skip the Store, Grow Smarter
Store-bought seed trays may look polished, but they do not hold any real advantage over these simple, free alternatives. Each of these household items delivers the essentials that seeds need while adding a layer of creativity and sustainability to the process. Choosing to reuse everyday containers reduces waste and keeps gardening accessible without extra cost. That combination makes the entire experience more rewarding from start to finish.
Which of these containers feels like the easiest win, and what other creative setups have worked well? Give us your ideas, tips, or even unexpected successes in the comments.
You May Also Like…
What Happens When Seeds Don’t Get Enough Water
Why Some Seeds Never Germinate and How to Improve Your Success Rate
Easy DIY Garden Cloche Ideas for Cold Protection
6 DIY Plant Label Ideas That Don’t Fade
Why Some Seeds Never Germinate and How to Improve Your Success Rate

Brandon Marcus is a staff writer for FrugalGardening.com at District Media, Inc., where he delivers practical gardening advice with a relatable, no-nonsense style. An avid amateur gardener, he holds a BA degree and with over ten years of professional writing experience, he is also an award-winning published author whose first book, Questions For Deep Thinkers, was released by Adams Media. His work has appeared in major publications including Fandom.com, CHUD.com, TheColdWire.com, and Fansided.com.
Leave a Reply