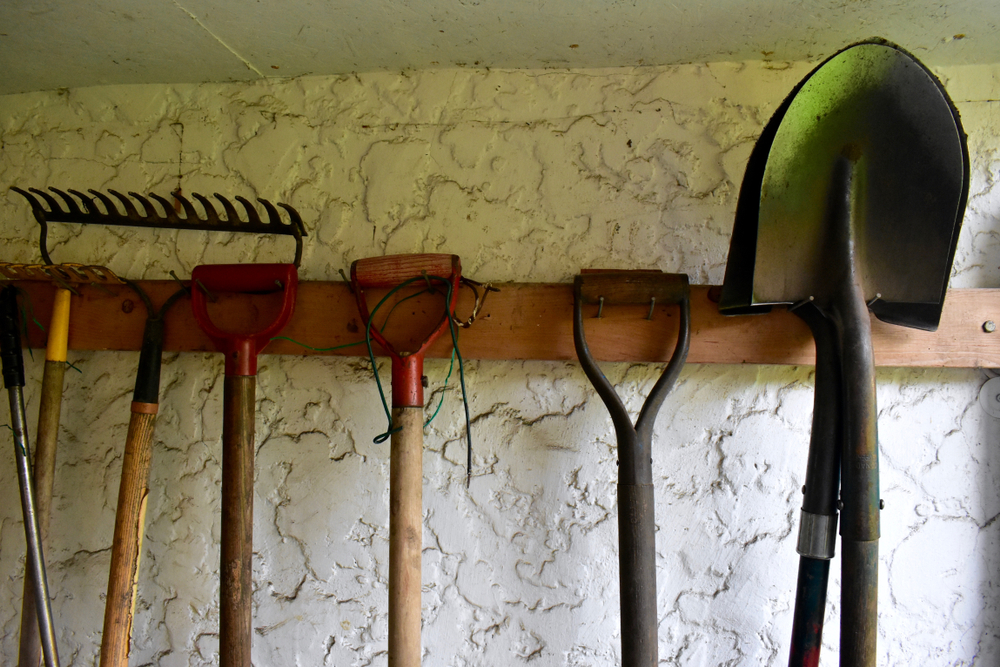
When the garden starts shutting down for winter, it’s tempting to toss the shovel against the shed wall, drop the pruners on a shelf, and promise yourself you’ll deal with everything in spring. Unfortunately, a few months of moisture, dirt and neglect can turn perfectly usable tools into rusty, dull, or cracked ones. Proper garden tool storage doesn’t require an expensive organizer or a climate-controlled garage, but it does require more than simply getting tools out of the rain. A little maintenance now can save money on replacement shovels, pruners, hoes, and other equipment when planting season returns. Before cold weather settles in, give the tools that worked all summer a proper winter shutdown.
Don’t Store Tools With Soil Still Stuck to Them
That crust of dried soil on your shovel isn’t harmless just because gardening season is over. Iowa State University recommends removing caked-on soil with a wire brush or stiff putty knife, washing the tools and drying them before storage. Dirt and plant material can retain moisture against metal, creating exactly the conditions you don’t want during months of garden tool storage. Pay particular attention to the back of shovel blades, the teeth of garden forks, and tight spaces where soil tends to accumulate unnoticed. I’ve found this job is considerably easier when soil is brushed away after it dries rather than leaving muddy tools sitting in a shed until January.
Remove Rust Before It Has All Winter to Spread
If you already see orange or brown patches on metal, don’t simply hang the tool up and hope it looks the same in March. University of Georgia recommends inspecting clean, dry tools and removing rust with sandpaper or steel wool. This is also a good opportunity to inspect the tool for cracks, loose hardware or other damage that might make it unsafe next season. You don’t necessarily need to replace a shovel because of superficial rust, but corrosion is easier to address before it becomes severe. Think of the fall cleanup as an annual inspection that catches inexpensive problems before they become replacement-tool problems.
Clean Pruners Before Putting Them Away
Pruners and loppers deserve extra attention because they spend the growing season cutting through living and sometimes diseased plant material. North Carolina Cooperative notes that disinfecting tools helps prevent the spread of plant disease, particularly for equipment used on multiple plants or in different locations. Remove visible sap and debris first, then use an appropriate disinfectant for the tool and allow it to dry completely afterward. Bleach solutions are sometimes recommended for disinfection, but experts caution that bleach can be corrosive, so rinsing, drying, and following guidance carefully matter. Starting spring with clean pruners is much better than carrying last year’s plant problems directly into your first pruning job.
Sharpen the Tools That Are Supposed to Cut
A dull shovel still digs, but you’ll probably notice how much harder you’re working to make it happen. University of Illinois recommends sharpening dull digging and pruning tools before winter storage and checking blades for cracks, nicks and burrs. Shovels, hoes, pruners and loppers can all benefit from an end-of-season inspection, although the exact sharpening method depends on the tool. If you’re sharpening with a file or stone yourself, use gloves and eye protection, secure the tool and preserve the existing bevel rather than inventing a new blade angle. Gardeners uncomfortable doing this themselves can have valuable cutting tools professionally sharpened instead of risking damage to a good blade.
Give Bare Metal a Protective Coat
Once you’ve cleaned, dried, and sharpened everything, don’t immediately put it on the rack. Iowa State recommends wiping metal surfaces with an oily rag or applying a protective product such as WD-40 before garden tool storage. University of New Hampshire similarly recommends thoroughly oiling sharpened cutting blades to help prevent rust during storage. You don’t need to soak the tool; you’re creating a light protective barrier on exposed metal. Don’t overlook pivot points and joints on pruners and loppers, since smooth-moving parts can become frustratingly stiff after months without use.
Wooden Handles Need Winter Protection Too
The metal gets most of the attention, but an aging wooden handle can eventually make an otherwise excellent tool unusable. Inspect handles for rough areas, cracks, and splinters, then lightly sand damaged or weathered surfaces until they’re smooth. University of Georgia recommends applying a light coating of linseed or mineral oil to help preserve wooden handles after they’ve dried completely. Wipe away excess oil instead of leaving the handle wet or sticky before storage. This small job can be particularly worthwhile for older high-quality tools where replacing a damaged handle would cost more than spending a few minutes maintaining the one you already have.
Get Tools Off a Damp Garage or Shed Floor
Where tools spend the winter matters almost as much as how you prepare them. Cornell Cooperative recommends keeping tools out of the weather, hanging them when possible, and keeping them off the ground. A rack, hooks, or simple wall-mounted storage system prevents metal edges and wooden handles from sitting against a floor that may become damp. It also keeps sharp tools organized instead of creating the familiar shed pile where a rake somehow manages to attack your ankle every time you walk past it. The best garden tool storage location is sheltered, dry, and arranged so tools aren’t constantly falling against one another.
Don’t Forget Hoses and Other Garden Equipment
Hand tools aren’t the only garden equipment that needs attention before freezing temperatures arrive. Iowa State recommends draining water from garden hoses, then storing them on reels or coiled on a flat surface to prevent kinking. Sprayers and spreaders should also be emptied and cleaned, especially because fertilizer residue left in a spreader can absorb moisture and contribute to corrosion, according to the University of New Hampshire.
Power equipment requires its own winterizing procedure, and owners should follow the manufacturer’s instructions for fuel, batteries, oil, and other maintenance rather than assuming every machine should be stored the same way. Creating one end-of-season checklist makes it less likely you’ll discover a frozen hose fitting, corroded spreader, or neglected mower when you need it again.
A Little Fall Maintenance Can Save a Spring Shopping Trip
Good garden tool storage is really about protecting equipment you’ve already paid for rather than buying replacements every few seasons. Clean away dirt, remove rust, sharpen cutting edges, protect exposed metal and take a few minutes to condition wooden handles before putting everything away. Then store tools somewhere dry and protected, preferably hanging or otherwise raised off potentially damp floors. None of these individual jobs is particularly expensive, and most can be completed with supplies gardeners already have in the garage or workshop.
Do you clean and sharpen your garden tools before winter, or are you usually dealing with rusty shovels and dull pruners when spring arrives?
What to Read Next
The Frost-Proof Secret: Protecting Your $2 Plants from a Random Cold Snap
This DIY Cold Frame Design Is Collapsing Under Snow — And Causing Injuries
Leave a Reply