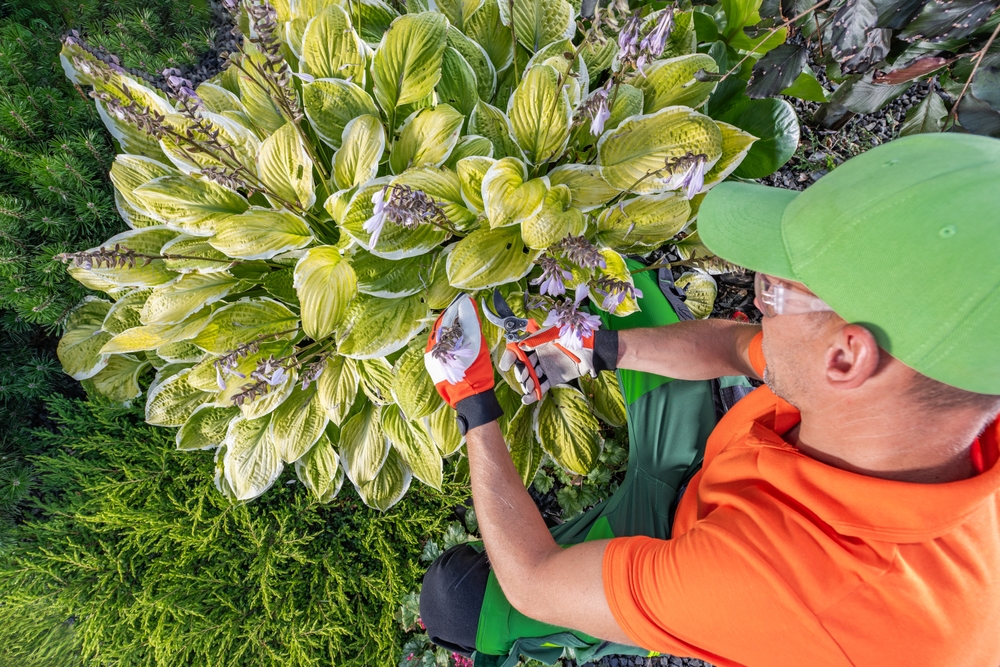
Hostas put on one of the best foliage displays in a shade garden all summer, but they aren’t particularly attractive once cold weather arrives. After a hard frost, those broad green leaves can quickly collapse into a yellow, brown or slimy mass lying over the soil. That’s normal: hostas are herbaceous perennials that go dormant and return from their crowns when conditions warm again. However, cutting back hostas after frost correctly can help remove places where pests and some plant problems may persist through winter. The trick is knowing when to cut, what to remove and what you shouldn’t accidentally damage in the process.
Don’t Cut Healthy Green Leaves Too Early
The first rule is to let the plant tell you when it’s finished for the season. Hostas use their foliage to photosynthesize, and University of Minnesota experts explain that perennials move nutrients into their rhizomes and roots during fall for use during future growth. That’s why there’s little advantage to chopping down a hosta simply because the calendar says October if its leaves are still healthy and green. Wait until foliage has yellowed substantially or frost has caused it to collapse and die back naturally. Cutting back hostas after frost means you’re cleaning up foliage that has largely finished its job rather than prematurely removing productive leaves.
Know What Frost-Damaged Hostas Look Like
You probably won’t have much difficulty recognizing a hosta that has been through a significant frost. North Carolina pros note that hosta foliage dies back in late fall or winter when temperatures fall to around 28 degrees Fahrenheit or below. Leaves that were upright and colorful can suddenly become limp, translucent, yellow, or brown as cold damages their tissues. That dramatic change doesn’t usually mean the entire hosta has died, because the crown and roots remain below ground awaiting their next growing season. Once most foliage looks spent rather than merely showing a few cosmetic blemishes, you’re ready for cleanup.
Cut the Leaves Near the Base Without Damaging the Crown
Use clean, sharp hand pruners or garden shears rather than ripping wet leaves away from the plant. Gather a manageable handful of dead foliage and cut the leaf stalks near the base, taking care not to slice into the hosta’s crown. You don’t need to excavate the plant or make the soil surface perfectly bare; the goal is simply to remove the dead foliage and petioles. Some experts recommend cutting back hosta foliage and petioles once their fall color has subsided. Working carefully is particularly important when several hostas are crowded together and it’s difficult to see exactly where each crown begins.
Remove the Dead Foliage Instead of Leaving It on Top
Once you’ve done the cutting, don’t leave a pile of soggy hosta leaves sitting directly over the crown. Try removing wet leaves from hosta crowns because that material can provide cover for pests including slugs, rabbits, and voles. Iowa State University similarly explains that slugs favor damp environments and hide beneath mulch, debris, and dense foliage during the day. Cleaning up doesn’t guarantee a slug-free garden next year, but eliminating an obvious damp hiding place makes sense when you’re already working in the bed. Cutting back hostas after frost should therefore include both pruning the plant and clearing away the collapsed material.
Be More Careful When the Leaves Look Diseased
Not every ugly hosta leaf is simply suffering from normal fall decline. Brown streaks, unusual spotting, mottling, or other symptoms appearing before normal dormancy can indicate disease or pest problems that deserve closer attention. Foliar nematodes, for example, can cause yellow discoloration followed by brown streaking between leaf veins. Removing affected foliage before the organisms settle into the crown, debris, or soil. If you know foliage is diseased, don’t automatically toss it into your home compost and assume the problem will disappear. Dispose of affected material according to guidance for the specific problem and clean cutting tools before using them on healthy plants.
Don’t Assume Every Hosta Needs Heavy Winter Mulch
Mature, established hostas are remarkably cold-hardy, and piling a mountain of mulch over every plant isn’t necessarily helpful. Newly transplanted hostas are a different situation because repeated freezing and thawing can potentially push shallow-rooted plants upward through frost heaving. It is recommended that you add winter mulch around newly transplanted hostas after the ground has frozen to help insulate the soil. That mulch should be removed in spring so excess material doesn’t encourage crown rot as temperatures warm. If your hostas are established, focus first on the conditions appropriate for your variety and climate rather than assuming more mulch always means more protection.
Fall Is a Good Time to Look for Problems You Missed
Cutting back hostas after frost gives you an unusually clear look at what’s happening around the base of plants that were hidden beneath large leaves all summer. Check for excessive mulch against the crown, signs of vole activity, slug hiding places, and areas where water remains trapped around the plants. Hostas like consistent moisture during the growing season, but North Carolina warns that they don’t tolerate soggy soil particularly well, especially during winter. This is also a convenient time to remove weeds that would otherwise have a head start when temperatures rise. Ten extra minutes of inspection in fall can prevent you from discovering the same problems only after damaged shoots emerge in spring.
Missing Fall Cleanup Isn’t a Hosta Emergency
If snow arrives before you get around to the hostas, don’t panic. University of Minnesota experts say hosta leaves can be removed after the first frost or in spring after the snow is gone, so missing the autumn window doesn’t mean you’ve harmed the plants. In spring, remove old material carefully because new hosta shoots can be easy to damage once they begin pushing through the soil. Gardeners with a history of slug, nematode, or disease problems may still prefer fall cleanup because it removes problematic debris earlier. Otherwise, think of autumn pruning as useful garden housekeeping rather than a requirement that must happen on one precise date.
A Few Minutes of Cleanup Can Save Work Next Spring
The best time for cutting back hostas after frost is after their foliage has naturally declined rather than while healthy green leaves are still feeding the plant. Cut the spent leaves and petioles near the base without injuring the crown, then remove wet debris that could provide hiding places for pests. Pay particular attention to diseased foliage, newly transplanted plants, and hostas growing in areas that remain excessively wet during winter. You’ll also save yourself the unpleasant job of peeling last year’s slimy leaves away from new shoots once spring growth begins.
Do you cut your hostas back after the first frost, or do you leave the cleanup until spring?
What to Read Next
How to Save Pepper Seeds Before Frost Damages the Plants
Leave a Reply