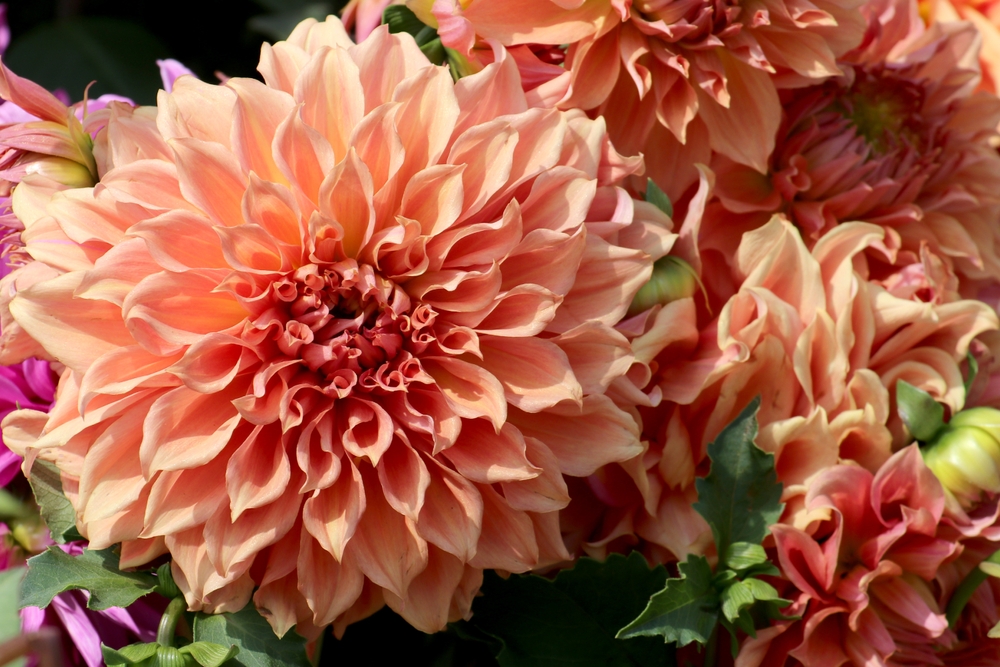
Dahlias can bloom spectacularly right into fall, which makes it painful to watch freezing weather turn a thriving plant black almost overnight. The flowers may be finished, but the valuable part of the plant is still underground: the cluster of tubers capable of producing next year’s plants. In colder climates, those fleshy tubers generally can’t survive frozen ground, so gardeners who want to keep favorite varieties need to dig them up and bring them inside. Learning how to store dahlia tubers can also save money because you aren’t replacing the same plants every spring. The process isn’t difficult, but timing, careful digging, and the right storage conditions can make the difference between healthy tubers and a box of shriveled or rotten ones.
Let the Plants Finish Their Season Before You Dig
There’s usually no reason to rush outside with a shovel just because nighttime temperatures have started dropping. Penn State notes that gardeners don’t necessarily have to wait for the first frost, although waiting allows them to enjoy their dahlias’ late-season flowers for as long as possible. Many gardeners traditionally wait until frost has blackened the foliage before lifting the plants, but the critical deadline is getting vulnerable tubers out before the ground freezes. This timing gives you maximum enjoyment from plants you’ve already spent an entire season growing. Watch your forecast closely because a stretch of pleasant fall weather can sometimes turn into genuinely freezing conditions surprisingly quickly.
Cut the Tops Before Tackling the Tubers
Once the plants have finished, remove the top growth so you aren’t wrestling several feet of stems while trying to dig. University of Illinois recommends removing the foliage while leaving roughly three to four inches of stem attached. That short stalk gives you a convenient visual marker showing where the tuber clump is located, but don’t use it like a handle to yank the plant from the soil. Dahlia tuber necks can break, and damaged tubers are more vulnerable to problems during storage. If you’re saving several varieties, this is also a smart time to attach labels before flowers and foliage disappear and everything begins looking frustratingly identical.
Start Digging Farther Away Than You Think
One of the easiest mistakes when learning how to store dahlia tubers actually happens before the tubers ever reach storage. Dahlia clumps can spread farther underground than their stems suggest, so plunging a shovel immediately beside the plant can slice straight through valuable tubers. University of Illinois recommends beginning about a foot from the main stem, while the University of Minnesota advises loosening soil on all sides of large plants before lifting the entire clump. A garden fork can work especially well because you can gradually loosen the surrounding soil rather than trying to pry everything out in one movement. Think of the job as excavating the clump instead of simply digging up a plant, and you’ll be less likely to damage it.
Handle Those Strange-Looking Tubers Carefully
Freshly dug dahlia tubers can look surprisingly fragile, with multiple swollen tubers connected around the plant’s central crown. Don’t toss the clump onto the ground; pull individual tubers loose or aggressively scrape away packed soil with a sharp tool. University of Minnesota warns that cuts, breaks, and skinned areas can provide entry points for disease organisms that contribute to rot and storage losses. Depending on the storage method you choose, soil may be gently shaken away or the clumps may be washed and allowed to dry thoroughly before packing. Whatever method you use, inspect the clump and discard obviously damaged or rotting material rather than putting it into winter storage beside healthy tubers.
You Don’t Have to Divide Them Immediately
Gardeners sometimes assume they must separate every tuber before putting dahlias away, but that’s not necessary. Penn State notes that tubers can be divided in fall, when they’re often easier to cut, or kept in clumps and divided in spring when the eyes may be easier to see. A viable division needs more than a plump tuber because it also requires an intact neck and a portion of crown containing an eye capable of producing new growth.
That’s why randomly breaking individual tubers away from the clump can leave you with perfectly healthy-looking pieces that never produce a plant. Beginners learning how to store dahlia tubers may find it less intimidating to label and store whole clumps and tackle division after surviving their first winter-storage attempt.
Dry Them Before Packing Them Away
Putting freshly washed, soaking-wet tubers directly into a sealed container is an invitation for trouble. University of New Hampshire recommends allowing cleaned tubers to dry and cure in a well-ventilated location out of direct sunlight for several days before storage. Penn State Master Gardener guidance similarly emphasizes adequate drying because excess moisture can contribute to rot. You aren’t trying to bake or completely dehydrate the tubers, however, because severely dried tubers can shrivel during winter. The goal is to put them into storage dry on the outside while preserving enough internal moisture to remain viable.
Aim for Cool, Dark and Above Freezing
Temperature is one of the biggest factors in successfully learning how to store dahlia tubers. Penn State reports good results storing tubers around 40 to 50 degrees Fahrenheit, while the American Dahlia Society says growers commonly recommend temperatures around 40 to 45 degrees. Freezing can ruin the tubers, while overly warm storage can encourage premature sprouting and conditions favorable to microorganisms and fungi. Depending on your home, a suitable location might be a cool basement, root cellar, or protected garage that reliably remains above freezing. Don’t assume an unheated shed is safe just because it’s enclosed; check actual winter temperatures before trusting an entire collection to it.
Check Your Dahlias During Winter Instead of Forgetting Them
Packing the tubers away isn’t the final step. Dahlia growers use several storage materials, including vermiculite and wood shavings, with the objective of preventing tubers from becoming either waterlogged or completely dehydrated. The American Dahlia Society recommends inspecting stored tubers about once a month and removing anything showing rot before the problem can affect healthy material. Shriveling suggests conditions may be too dry, while mold, softness, or rot can indicate excessive moisture or other storage problems. Regular checks are one of the simplest ways to turn how to store dahlia tubers from a fall chore into a reliable money-saving gardening routine.
Those Tubers Could Be Next Year’s Free Dahlia Garden
Digging dahlias adds an extra chore to fall cleanup, but the payoff arrives when you open your containers in spring and find healthy tubers ready for another season. Handle the clumps gently, dry them properly, label varieties before you forget which is which, and keep them cool without allowing them to freeze. One healthy plant can also produce a larger clump that may eventually be divided, potentially giving you additional plants without another trip to the garden center. Even experienced gardeners occasionally lose a tuber during storage, so don’t assume one failure means you’re doing everything wrong.
Do you dig and store your dahlias every fall, or do you prefer buying new plants and trying different varieties each spring?
What to Read Next
The Right Way to Store Garden Tools Before Cold Weather
Leave a Reply