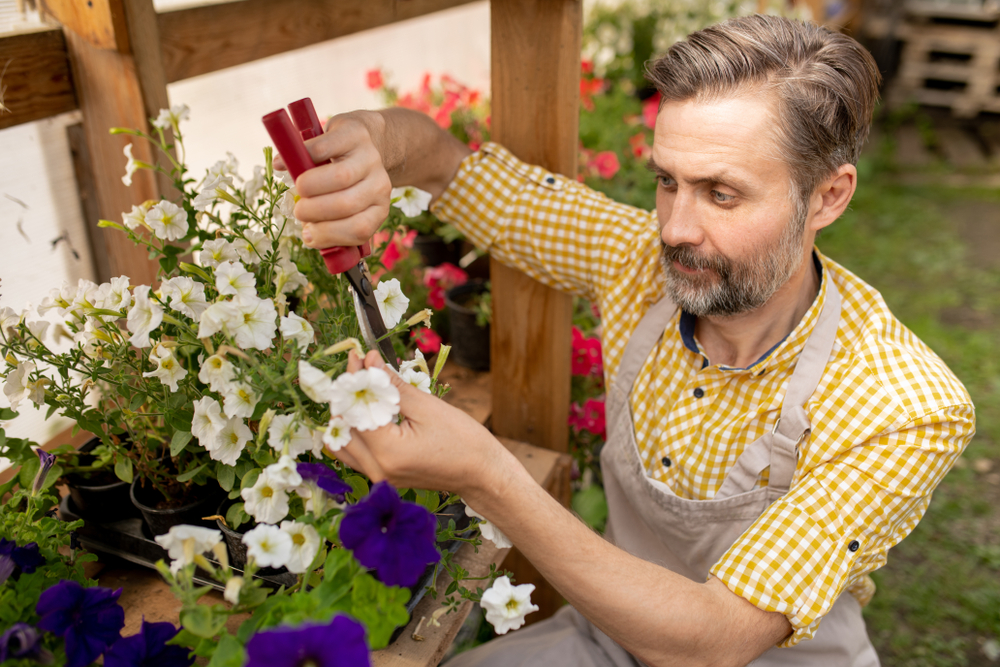
Those scraggly petunias, stretched-out marigolds, and tired zinnias might not look like much by the end of fall. After months of flowering, many annuals become woody, overgrown, or covered in dying leaves, making them tempting candidates for the trash.
But before you pull everything out and toss it away, there’s a better way to handle your end-of-season garden cleanup.
Learning how to cut back leggy annuals before composting them can help you turn worn-out plants into valuable organic material for next year’s garden. It can also make fall cleanup easier, reduce the amount of yard waste you throw away, and save money on purchased soil amendments.
According to the Environmental Protection Agency, composting yard trimmings and other organic materials helps recycle nutrients and create a useful soil amendment.
The trick is knowing which plants belong in your compost pile, how to prepare them, and when it’s better to leave certain material out.
Why Annuals Become Leggy at the End of the Season
Annual flowers often become stretched, sparse, and unattractive after spending months growing and producing blooms. Some plants develop long stems with fewer leaves because of insufficient sunlight, overcrowding, or natural aging as the growing season progresses. Others become especially leggy when gardeners skip regular pruning or deadheading during summer. By fall, plants such as petunias, cosmos, and zinnias may have thick stems, dried flowers, and declining foliage that no longer contribute much to the garden’s appearance. While you can sometimes encourage another flush of growth with pruning, gardeners facing an approaching hard frost may find it more practical to prepare these plants for composting.
Start by Checking Whether the Plants Are Healthy
Before you cut back leggy annuals, inspect the stems, leaves, and roots for signs of disease or pest problems. Plants showing extensive powdery mildew, suspicious spots, stem rot, or other disease symptoms may require special handling rather than being placed directly into a backyard compost pile. The University of Minnesota Extension advises gardeners to be cautious about adding diseased plant material to home compost because many piles don’t reach temperatures high enough to destroy pathogens reliably. You should also remove plants with mature weed seeds or invasive growth that could survive ordinary composting conditions. Taking a few minutes to sort healthy material from questionable debris can prevent unnecessary problems when you eventually spread finished compost around your garden.
Cut Long Stems Into Smaller, Manageable Pieces
Once you’ve identified healthy plants, use clean pruning shears to cut back the longest stems before removing the remaining growth. Instead of tossing entire three-foot zinnia plants into the compost pile, chop the stems into pieces roughly three to six inches long, adjusting the size for thicker or tougher material. Smaller pieces generally decompose more efficiently because microorganisms can access more of the plant material’s surface area. The EPA’s home composting guidance recommends breaking down larger materials to help the composting process work more effectively. When you cut back leggy annuals into shorter sections, you also make the pile easier to turn, mix, and manage throughout the colder months.
Don’t Forget to Remove Tough or Woody Stems
Not every part of an aging annual breaks down at the same speed, especially when plants develop thick or woody lower stems. Mature marigolds, sunflowers, and some larger flowering annuals can leave behind fibrous material that takes considerably longer to decompose than tender leaves and flowers. If you’re working with a small compost bin, consider chopping tough stems into especially small pieces or setting them aside for a separate, slower compost pile. A sturdy pair of hand pruners or garden loppers can handle most ordinary annual stems without requiring specialized equipment. Removing or reducing the toughest material helps create a more consistent compost mixture and can make finished compost easier to screen before using it around delicate seedlings.
Balance Fresh Plant Material With Dry Leaves
After you cut back leggy annuals, resist the temptation to dump a large pile of fresh green stems into your compost bin without adding anything else. Fresh plant material contains nitrogen, while dried leaves, shredded cardboard, and other brown materials provide carbon that helps balance the composting process. It is recommended to use approximately two to three parts brown materials for every one part green materials by volume. For example, if you add one bucket of freshly cut annual stems, mix in roughly two buckets of dry shredded leaves and adjust the mixture based on moisture and decomposition. This balance can help prevent unpleasant odors, excessive moisture, and the slimy conditions that sometimes develop when gardeners compost large quantities of fresh vegetation.
Watch Out for Seed Heads That Could Sprout Next Spring
One overlooked problem with composting annual flowers is the possibility of introducing unwanted seedlings into next year’s garden. Plants such as cosmos, calendula, and zinnias can produce large quantities of viable seeds before their stems finally die back. If those seeds survive the composting process, you may discover volunteer flowers appearing in places where you never intended to grow them. Home compost piles don’t always maintain the sustained high temperatures necessary to reliably destroy seeds, particularly during cooler weather. Before adding mature annuals to your pile, remove seed heads if you want to minimize volunteer plants, and consider saving seeds from healthy, open-pollinated varieties for next season.
You May Not Need to Remove Every Annual Immediately
Although fall cleanup is a common gardening tradition, removing every fading plant isn’t always necessary or beneficial. Standing stems and seed heads can provide food and shelter for birds, beneficial insects, and other wildlife during colder months. The Xerces Society encourages gardeners to leave suitable plant material and natural garden debris in place where practical to support overwintering insects. If your annuals are healthy and aren’t blocking pathways or creating maintenance problems, consider leaving some standing until spring instead of clearing the entire bed. You can still cut back leggy annuals in high-visibility areas while allowing less noticeable garden spaces to provide seasonal habitat.
Make Sure Your Compost Pile Has Enough Moisture
Fall weather can create surprisingly dry composting conditions, particularly when gardeners add large quantities of dead stems and fallen leaves. Composting microorganisms need moisture to break down organic material, but a saturated pile can lose the oxygen necessary for healthy decomposition. The University of Illinois Extension recommends maintaining moisture levels similar to a wrung-out sponge while allowing enough air circulation for decomposition. If your compost feels dry several inches below the surface, add water gradually as you mix the materials rather than soaking the entire pile at once. Remember that decomposition slows as temperatures drop, so freshly composted annuals may not fully break down until warmer weather returns.
Turn This Year’s Tired Flowers Into Next Year’s Garden Savings
Learning to cut back leggy annuals is one of those simple fall gardening habits that can make next year’s growing season a little less expensive. Instead of purchasing additional bags of compost or paying to dispose of healthy yard waste, you can recycle much of that organic material right at home. The key is to chop stems into manageable pieces, remove questionable plant material, balance greens with browns, and give the compost pile enough time to break down naturally. You don’t need expensive equipment or a complicated composting system to get started, just basic pruning tools, a suitable composting area, and a little patience.
Do you compost your annual flowers at the end of the season, or do you usually pull them out and throw them away? Share your fall cleanup routine in the comments.
What to Read Next
How to Balance Leaves and Kitchen Scraps in Compost
Leave a Reply