A thriving herb garden doesn’t need a big backyard, fancy tools, or even a bag of soil sitting in the corner. Fresh basil, mint, and parsley can grow right by the window, soaking up sunlight and adding life to any space without turning the kitchen into a dirt-covered disaster zone. The idea sounds almost too…
indoor gardening
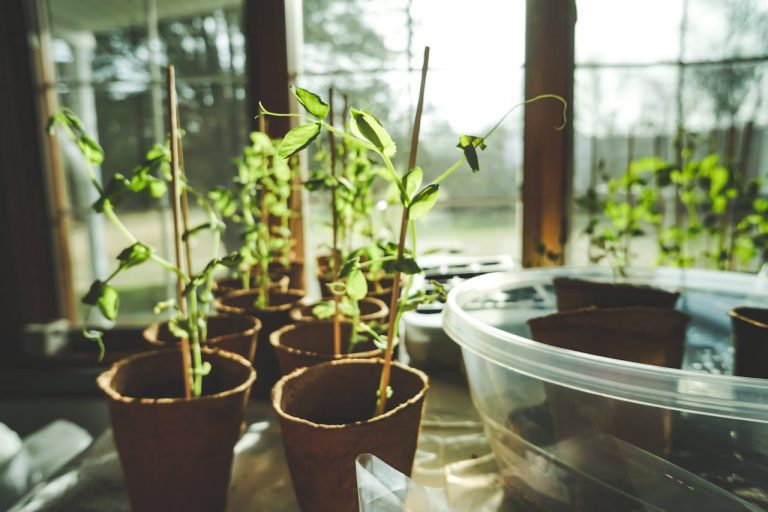
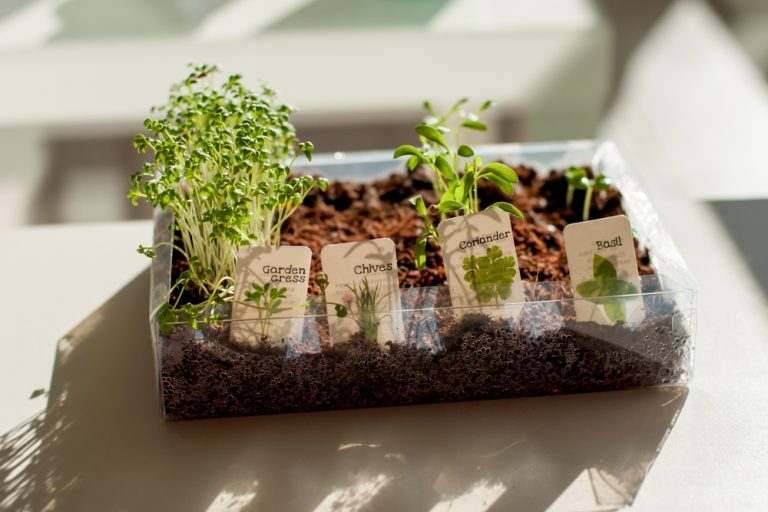
How to Start Seeds Indoors on a Tight Budget Without Wasting Money
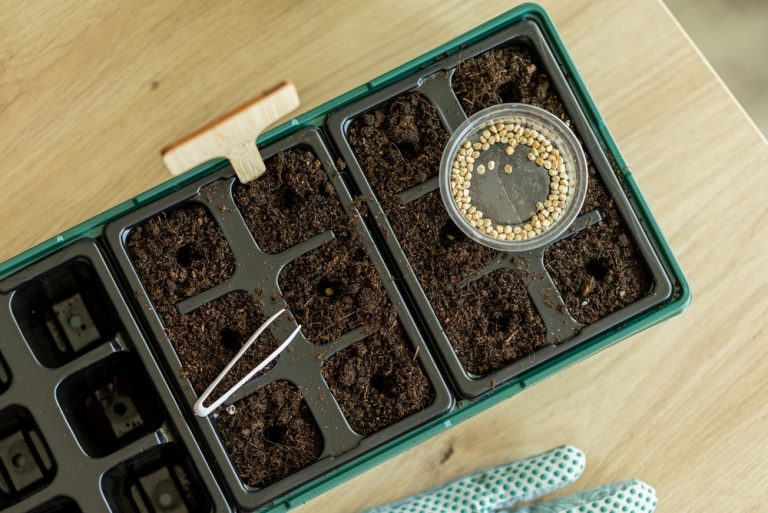
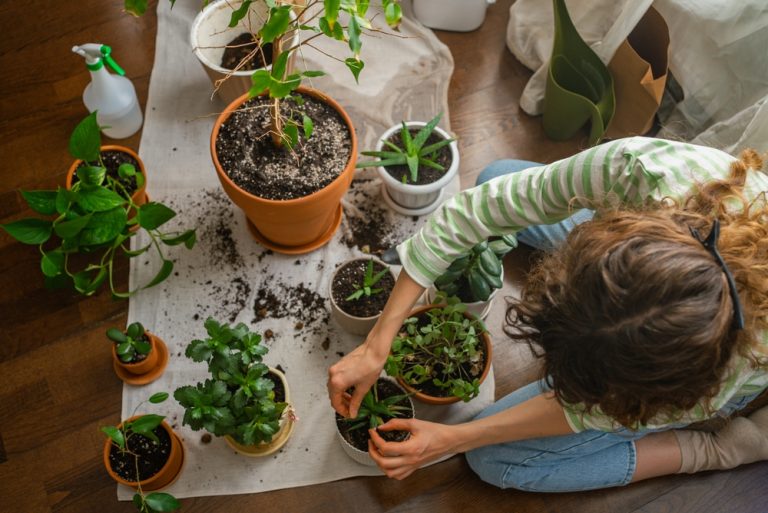
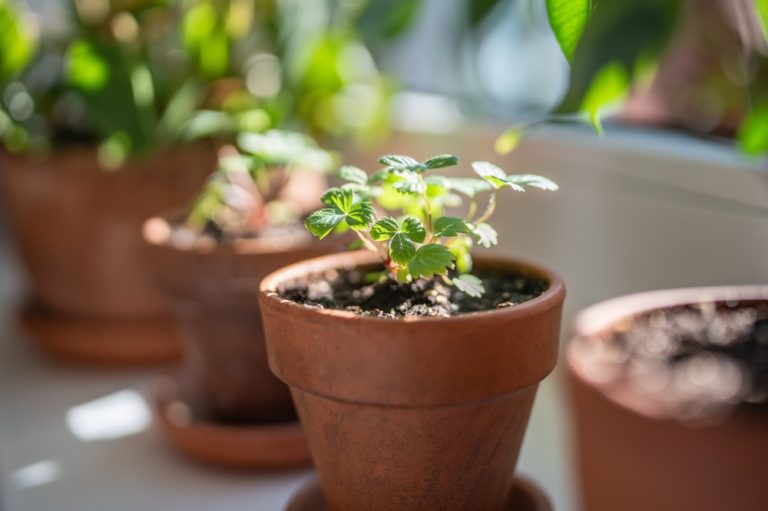
Starting seeds indoors doesn’t have to feel like a luxury hobby reserved for people with sprawling greenhouses or endless cash to burn. Even with a tight budget, a little creativity, planning, and resourcefulness can turn a sunny windowsill into a thriving garden. From clever container choices to inexpensive soil alternatives, there’s an art to starting…
Plants You Can Still Start Indoors for Free
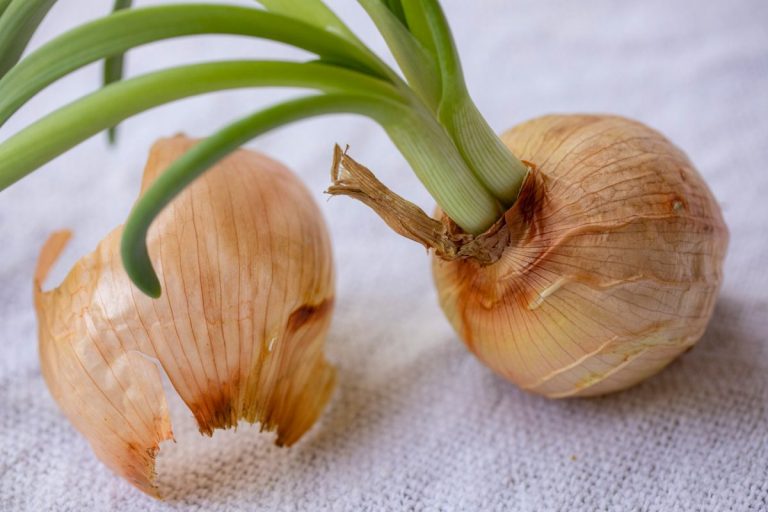
A thriving garden does not always begin with a seed packet or a trip to the garden center. Some of the most satisfying plants start with nothing more than scraps from the kitchen and a little curiosity. A carrot top left on the cutting board, the stub of a head of lettuce, or a sprouting…
Indoor Gardening Is Booming in 2026—But These 4 Common Setups Are Wasting Your Money
Step into 2026, and indoor gardening is exploding into every living room, apartment, and urban loft across the globe. People aren’t just growing a few herbs on the windowsill anymore—they’re creating mini jungles with LED lights, hydroponic towers, and smart watering systems that sound like they belong in a sci-fi movie. The trend is thriving…
12 Bulbs You Can Force Indoors for Blooms Before Valentine’s Day
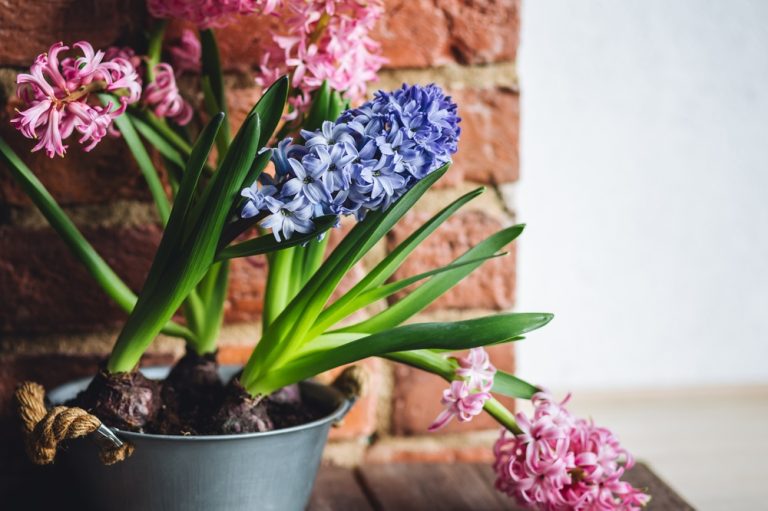
Winter can feel like it drags on forever, but your home doesn’t have to be a dreary, gray waiting room until spring. Imagine walking past a vibrant burst of color, the air scented with delicate floral perfume, and knowing you coaxed it from a humble bulb in your own cozy living room. Indoor forcing is…
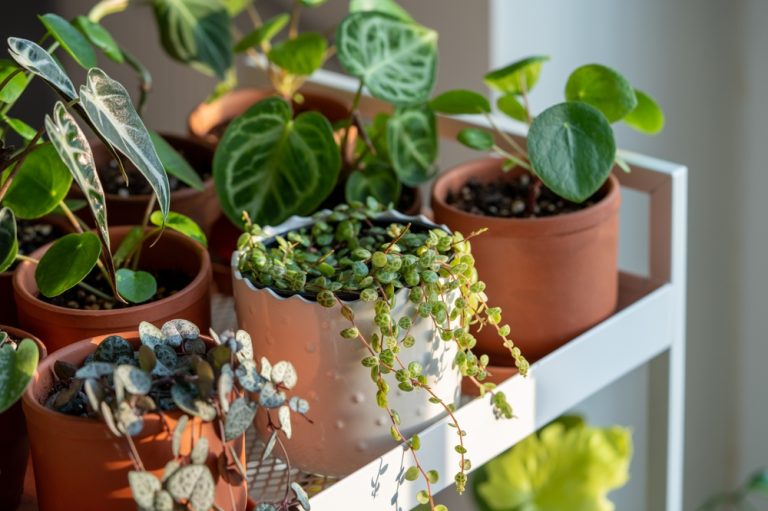
Why More Gardeners Are Growing Rare Plants Indoors
Rare plants are no longer the secret obsession of eccentric collectors hidden away in greenhouses. Today, the fascination with exotic foliage is booming, turning living rooms, kitchens, and even bathroom corners into miniature jungles. From jewel-toned begonias to carnivorous wonders, these plants are captivating gardeners everywhere with their unusual shapes, textures, and colors. Indoor gardening…
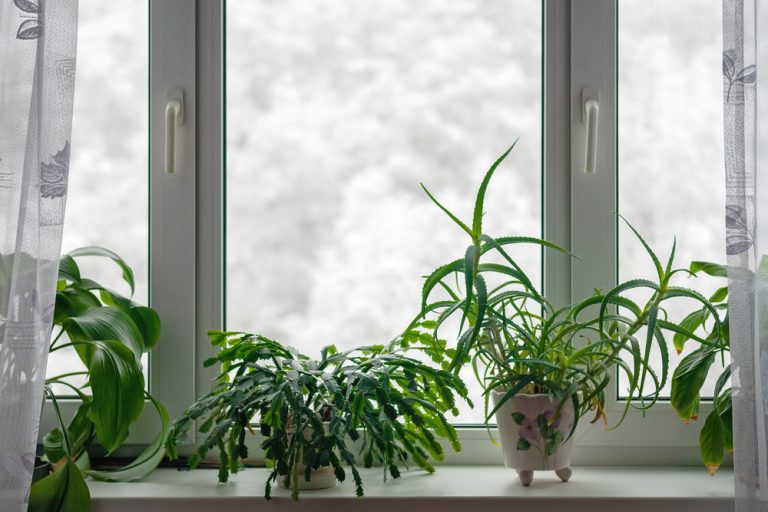
Why Indoor Gardening Is Trending in Cold-Climate Homes

Winter in cold climates isn’t just about snowdrifts, frozen pipes, and icy sidewalks—it’s also about cabin fever that slowly gnaws at your soul. But indoors, a green revolution is quietly taking root, turning chilly, gray spaces into vibrant, thriving jungles. Indoor gardening isn’t just a trend; it’s a lifestyle upgrade that brings color, life, and…
12 Ways to Grow Microgreens Indoors While the Ground is Frozen
Winter has a way of turning gardens into icy wastelands, but that doesn’t mean your green thumb has to hibernate. Microgreens, those tiny, nutrient-packed powerhouses, are the perfect indoor solution to keep your taste buds and your plants thriving while the ground outside is frozen solid. They grow fast, look gorgeous on any plate, and…
13 Indoor Plants to Rescue and Overwinter from the Garden
As the days grow shorter and frost edges closer, your garden may be whispering one last goodbye. But not all plants are ready to bid farewell to sunlight and warmth just yet. Some can be rescued, brought indoors, and nurtured through the winter months to thrive again next spring. Overwintering plants is part science, part…
6 Indoor Herb Gardens Perfect for the Holiday Season
The holiday season brings cozy vibes, twinkling lights, and the irresistible aroma of cinnamon, pine, and something delicious baking in the oven. But why stop there? Adding an indoor herb garden to your festive setup can turn your home into a fragrant wonderland while giving you fresh ingredients for all your seasonal recipes. From bright…