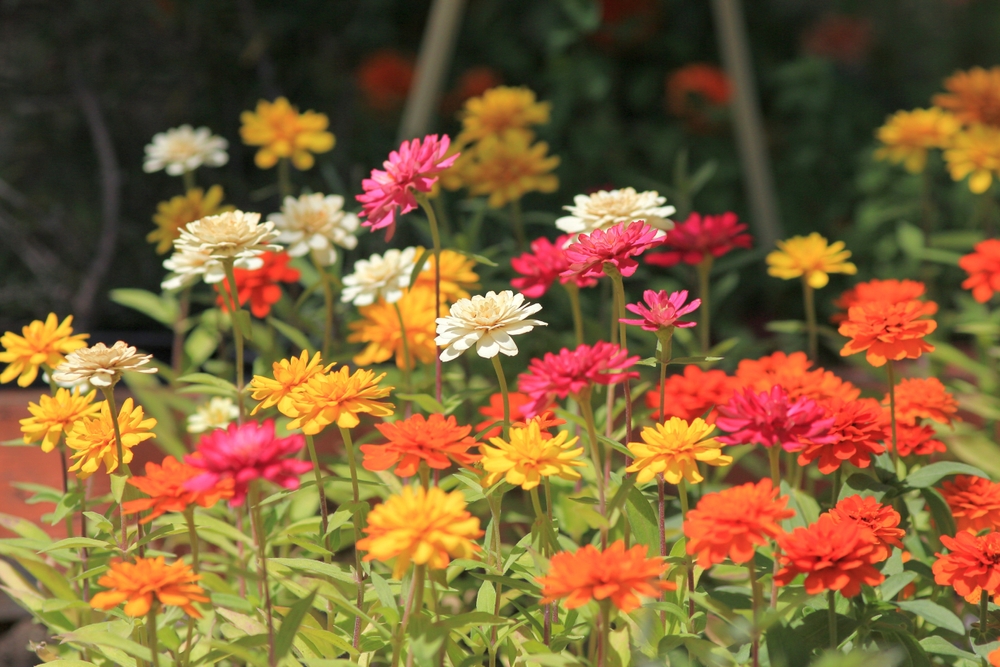
Those beautiful zinnias that filled your garden with color all summer could provide next year’s flowers for free. But if you’re planning to save their seeds, there’s one mistake that could ruin your chances: waiting until a hard frost damages the flowers before collecting them.
Zinnias are among the easiest annual flowers to grow from seed, making them an excellent choice for gardeners trying to reduce their annual landscaping expenses. A single mature flower head can contain numerous seeds, potentially providing enough plants to fill another garden bed next spring.
According to Iowa State University Extension, zinnias are among the annual flowers well suited to home seed saving.
However, successfully learning how to collect zinnia seeds involves more than simply cutting off a few faded flowers and putting them in an envelope. Timing, moisture, seed maturity, and storage conditions all determine whether those seeds will actually grow.
Here’s how to collect your zinnia seeds before freezing temperatures arrive and give yourself a head start on next year’s garden.
Wait Until the Flower Heads Turn Brown and Dry
The most important step in learning how to collect zinnia seeds is recognizing when the seeds have reached maturity. According to University of Illinois Extension, gardeners should wait until flower heads become completely dry, brown, and shriveled before harvesting seeds. A flower that still has colorful, flexible petals may contain developing seeds that aren’t ready for storage. Look for papery petals, a dry flower center, and a browning stem near the base of the bloom as signs that harvesting time is approaching. Collecting too early can reduce germination success because immature seeds may not have developed enough to survive storage and sprout the following spring.
Choose the Healthiest Zinnias in Your Garden
Before collecting seeds, take a few minutes to identify which zinnia plants performed best throughout the growing season. It is recommended that you save seeds from healthy, disease-free plants with desirable characteristics such as attractive flowers, vigorous growth, and good disease resistance. For example, if one zinnia produced dozens of blooms while another struggled with powdery mildew, the stronger plant would generally be the better seed-saving candidate. Avoid collecting from plants showing significant disease symptoms, particularly if you’re uncertain whether the problem could affect seed quality. Choosing carefully won’t guarantee identical flowers next year, but it gives you a better starting point than randomly harvesting every dried flower head.
Cut the Seed Heads Before Frost Arrives
Once the flower heads have dried naturally, use clean pruning shears or scissors to remove them from the stems. The Colorado State University Extension recommends harvesting zinnia seed heads after they’ve dried but before they begin falling apart and scattering their seeds. Hold a paper bag or small container beneath each flower as you cut it to catch any loose seeds. If frost is approaching and some flowers are still green or moist, prioritize collecting fully mature heads rather than assuming immature seeds will become viable simply by drying indoors. Learning how to collect zinnia seeds before a hard freeze can help protect your harvest from wet weather, seed dispersal, and damage that may occur as plants deteriorate.
Separate the Seeds From the Dried Petals
After collecting the flower heads, bring them indoors and spread them across a clean table or shallow tray. According to North Carolina Cooperative Extension, zinnia seeds can be removed from dried flower heads and separated from the surrounding plant debris, often called chaff. Gently pull apart each flower head, looking for firm, flattened seeds that may be attached to the bases of dried petals or located within the flower center. Their shapes can vary, so don’t assume every viable seed must look exactly alike or discard all seeds that appear slightly different. Removing excess petals and debris makes the collection easier to inspect, dry, label, and store until the following growing season.
Give Your Seeds Extra Time to Dry Indoors
Even when zinnia flower heads feel dry outdoors, collected seeds may still contain moisture that could cause mold during winter storage. The Penn State Extension Master Gardener program recommends spreading harvested seed heads or seeds in a shallow container and allowing them to air-dry before storage. Place your seeds in a single layer on paper or a shallow tray in a dry, well-ventilated room away from direct sunlight. Allow several days to a week or longer if necessary, checking that the seeds and any remaining plant material are thoroughly dry before packaging them. Proper drying is essential when learning how to collect zinnia seeds because even a small amount of trapped moisture can encourage mold and damage your collection.
Store Zinnia Seeds in Labeled Envelopes
Once your seeds are completely dry, transfer them into small paper envelopes and label each packet with the variety, flower color, and collection year. The Michigan State University Extension advises storing dry zinnia seeds in paper envelopes or bags because plastic containers can trap moisture if the seeds haven’t dried sufficiently. Keep the envelopes somewhere cool and dry, such as an interior closet, rather than in a damp basement or garage with fluctuating temperatures. For additional protection, thoroughly dried seeds can be stored inside an airtight container with a desiccant packet, provided no moisture remains trapped inside. Taking a few minutes to organize your collection now can prevent confusion next spring, especially if you’re saving seeds from several different zinnia varieties.
Don’t Expect Every Saved Zinnia to Look Identical
One detail that surprises many gardeners is that saved zinnia seeds don’t always produce flowers that resemble the original plant. Seeds from hybrid plants may produce offspring with different characteristics because hybrids don’t reliably reproduce true to type. Zinnias can also cross-pollinate, meaning even seeds collected from attractive open-pollinated varieties may produce some unexpected flower colors or forms. If maintaining a particular variety is important, choose open-pollinated seeds and consider separating varieties or using controlled pollination techniques. However, if you’re simply hoping to grow colorful flowers inexpensively, experimenting with saved seeds can be part of the fun.
Test Older Seeds Before Planting Them
Properly stored zinnia seeds may remain viable beyond a single growing season, although germination rates generally decline with age and unfavorable storage conditions. The University of Maryland Extension notes that zinnia seeds can remain viable for several years when stored properly, with moisture and temperature playing important roles. If you’re unsure whether your seeds will sprout, place 10 seeds between damp paper towels, keep them warm, and check periodically for germination. If seven seeds sprout, your small test suggests approximately 70% germination, which can help you decide whether to plant additional seeds to compensate for losses. Testing seeds before planting an entire flower bed is a simple way to avoid wasting valuable growing time and garden space.
Plant Your Saved Zinnias After the Last Frost
Although collecting zinnia seeds happens in fall, planting them too early in spring can undo your careful preparation. Common zinnias grow best in full sun and well-drained soil and should be sown outdoors after the last frost date. You can also start seeds indoors several weeks earlier if you want established seedlings ready for transplanting when temperatures become favorable. Avoid planting directly into cold, waterlogged soil, since zinnias are warm-season annuals that perform better when growing conditions are suitable. Once established, your saved seeds can produce colorful flowers that attract pollinators and brighten garden beds without requiring another trip to purchase annual plants.
Save This Year’s Blooms and Spend Less Next Spring
Learning how to collect zinnia seeds is one of the simplest ways to make flower gardening more affordable from year to year. Instead of throwing away every faded bloom during fall cleanup, allow selected flowers to mature and harvest their seeds before frost and wet weather cause problems. With careful drying, proper storage, and a little patience, you could have enough seeds to fill flower beds, start containers, or share with neighbors next spring. Even if some saved seeds fail to germinate or produce unexpected colors, the financial risk is minimal compared with purchasing new plants every season.
Have you ever saved zinnia seeds from your garden, or do you usually buy new seeds and plants each spring? Share your experiences and seed-saving tips in the comments.
What to Read Next
Why Some Tomatoes Should Be Pulled Before Frost
Leave a Reply