
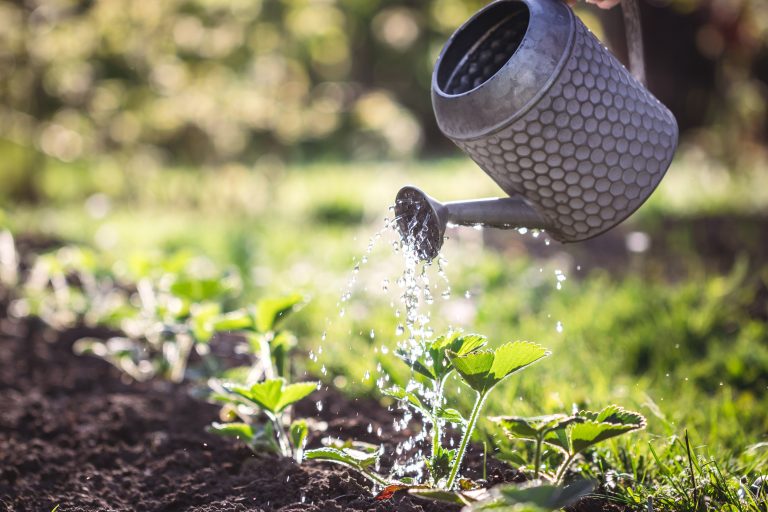
Summer heat is blazing, your plants are wilting, and your water bill just made you do a double-take. But what if a simple garden trick could cut that bill in half while keeping your flowers, vegetables, and lawn thriving? Yes, you read that right—half! This isn’t some fad or gimmick. With a few clever tweaks,…
irrigation
12 Garden Maintenance Chores for December That Avoid Spring Stress
Winter may have arrived, but your garden doesn’t have to hibernate completely. December is the perfect time to roll up your sleeves and tackle small but crucial chores that will make your spring planting smoother, healthier, and far less stressful. Even in the cold, there are tasks you can do to protect your plants, improve…
Your Irrigation System Needs One Thing Before It Freezes Solid

Winter is coming. And if you have an irrigation system, it’s not just a Game of Thrones metaphor—it’s a reality check that can make or break your spring garden. Water left inside pipes when temperatures drop can freeze, expand, and turn your expensive irrigation setup into a burst pipe disaster. The scary part? Many homeowners…
The Best Time of Day to Water—And Why Most People Get It Wrong
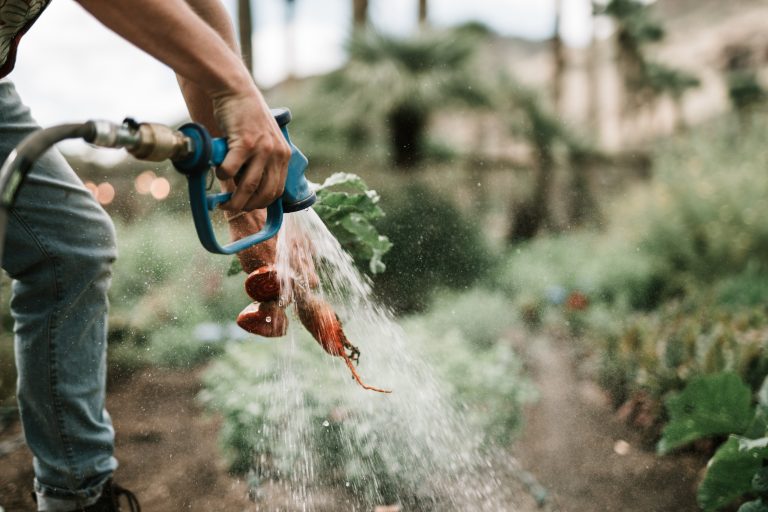
You’ve probably seen it before—your neighbor out there with a hose in hand at high noon, giving their lawn a good soaking while the sun blazes overhead. It might look productive, but here’s the truth: most people are watering their lawns, gardens, and plants at exactly the wrong time of day. And this simple mistake…
4 Frugal DIY Drip Irrigation Systems
Buying a fancy drip irrigation system is one way to go. But it’ll cost you. Instead, consider a DIY drip irrigation system. Either way, you’ll need to spend time installing irrigation, so why not save a few bucks, too? Benefits of drip irrigation You’ve got a hose or a sprinkler, so why invest…
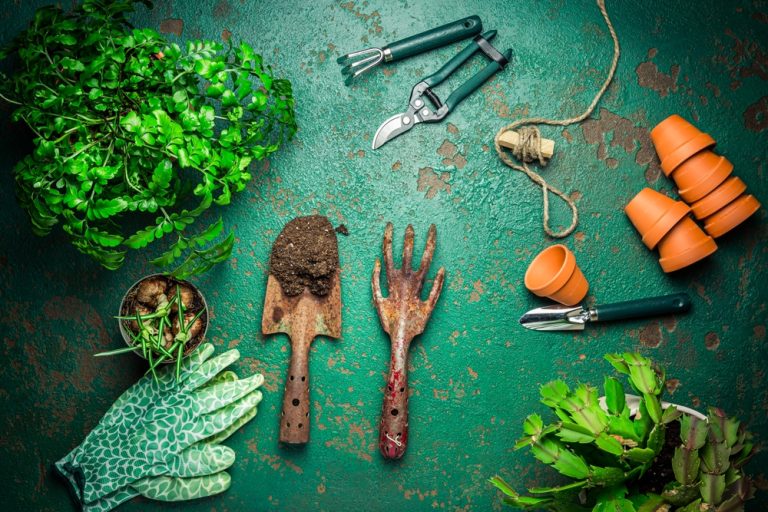
Keep the Garden Well-Watered: 5 Tried & True Tools
Years ago, when, with the help of my dad, I started my first vegetable garden, I was vaguely aware of the importance of watering plants. I watered whenever I felt like it, and whenever it seemed like my plants yearned for moisture—it turns out many of the symptoms of overwatering and under watering are shockingly…