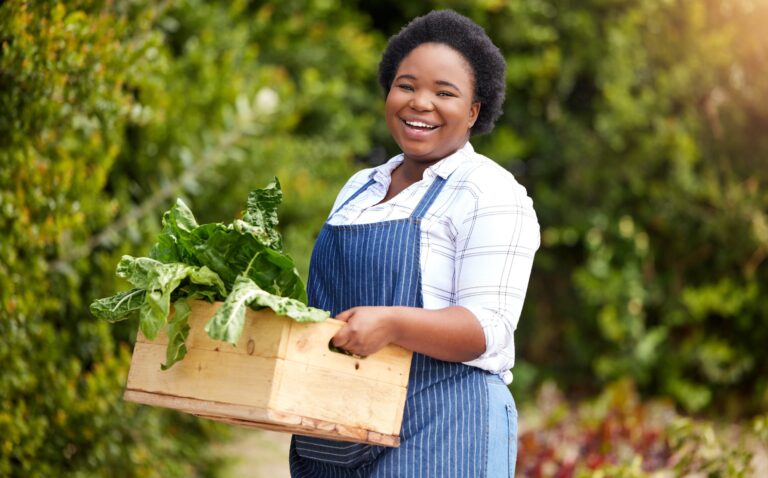
Low-maintenance plants and gardens are great ways to start your gardening journey. Some plants can produce tons of food with minimal effort from you, especially if you set your garden up to be low-effort from the beginning. First, I will explain how to set up a low-effort garden, and then I will give you some…
Starting Seeds Inside: The Basic Guide
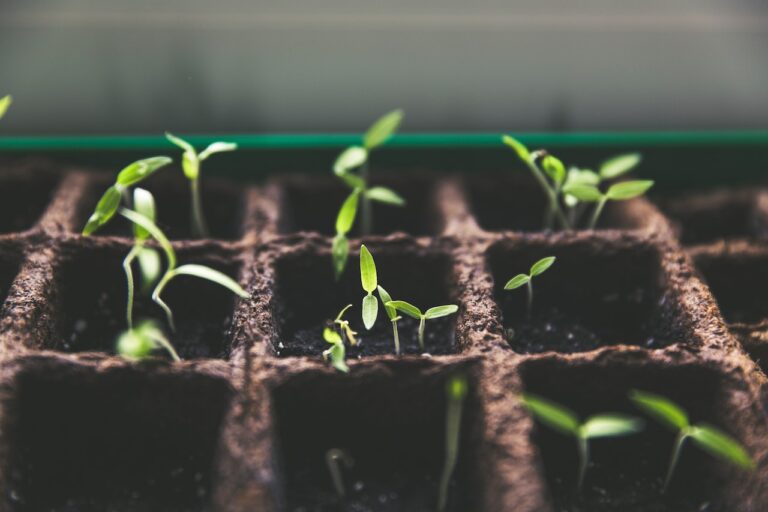
This is the time of year my family would begin starting seeds inside. The first week of February was about dreaming of summer by fixing the soil in seedling trays. The next several weeks brought tiny little plants that always fascinated me. This post will teach you the basics of seed starting and give…
Packing Plants for Transport
Packing plants for moving or shipping can feel daunting. Yet, you put so much care and effort into these beings that you can’t imagine them being damaged during transport. I will show you how to pack seeds, cuttings, bare-root plants, and whole plants for transport. Transporting Seeds Seeds are the easiest things to transport. Start…
Edible Plants You Can Grow Inside
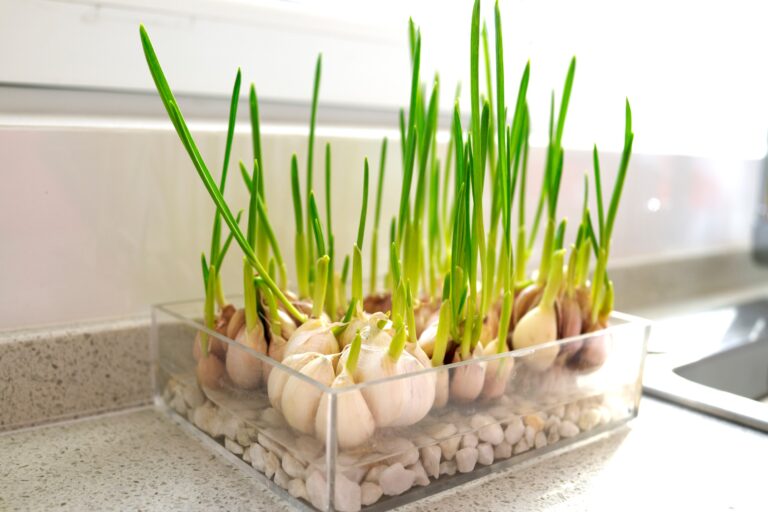
Growing edible plants inside isn’t tricky. All you need is an appropriate container, enough light, and to pick varieties that grow well in containers. Picking the Right Container Whenever you want to grow edible plants inside, you need to pick a container that meets the needs of your plants. When picking a container, you must…
Top 8 Edible Plants You Can Grow in Winter
When temperatures start to drop, many people think gardening has to stop. That’s not true. Here are the top 8 edible plants you can grow in winter. Tons of edible plants can survive winter temperatures, rain, and poor soil drainage conditions. And purple varieties, in particular, contain a compound (anthocyanin) that helps prevent root rot…
The Best TikTok Gardening Channels
Tiktok is a great place to feel community. And #gardentok does not disappoint. Below is a list of the Tiktok Gardening channels! Gardening with Goo Gardening with Goo follows Goo and his garden! He constantly grows tasty-looking veggies and spreads real know-how by sharing his experiences. Growing with Gertie Gertie (aka Katie) shares top-tier gardening…
9 New Year’s Resolutions for Gardeners
New Year, New Garden, right? The new year allows us to start from a clean slate and decide what is essential and which is not. And that is where you should start your resolutions. Consider what things are important to you and which are not. Make a list. Below are a few things I will…
Companion Planting: A Brief Introduction
Companion planting is the practice of planting certain plants close to each other that benefit one another. It’s an easy way to reduce garden labor, use less fertilizer, and grow healthy plants. Companion Planting: Sources are Important Before I give you some tips for companion planting, I caution that a significant portion of companion…
Gift Exchange Ideas With Fellow Gardeners
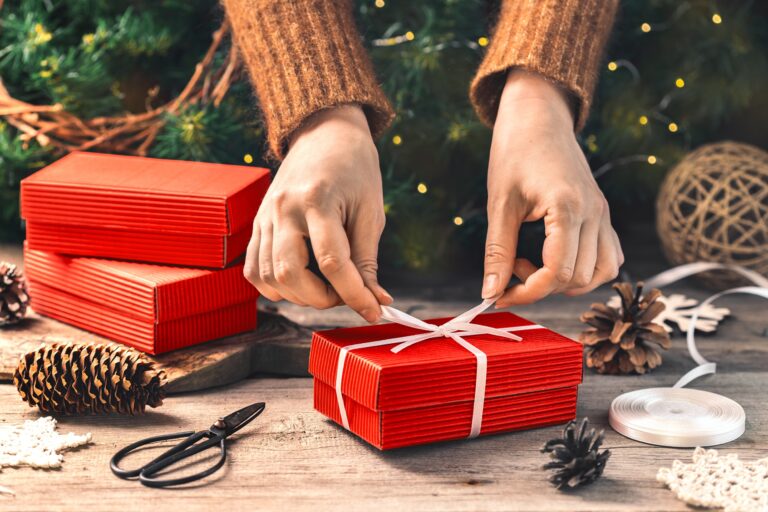
Giving gardeners thoughtful and useful gifts is easy! I will provide you with a few ideas for great gifts for fellow gardeners so you can find a touching gift for the important gardener in your life (even if that’s you!). Multitools Multitools are a small collection of tools that usually fold into a rectangular shape…
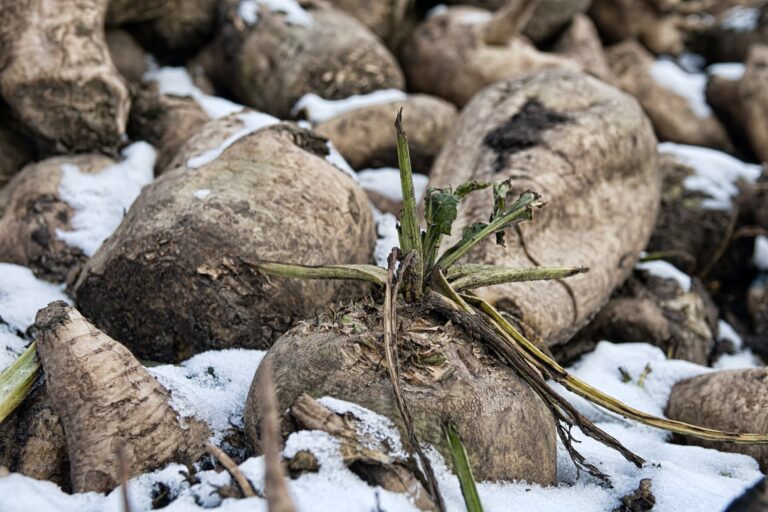
Tips to Prevent Winter Plant Damage

Winter plant damage can come from several places: storm damage, frozen roots, and damage to foliage from cold temperatures and strong winds. But with some planning and hard work, you can prevent these types of damages on your precious plants. Protecting Foliage Covering Trees/Shrubs If you fear that the leaves or needles of your…